In this project, we will use the KY-015 Arduino DHT11 Temperature/Humidity sensor and display it to the Arduino IDE serial monitor. This project is really simple and shouldn't take us very long.
MaterialsThe materials are here as follows:
- Arduino Uno (Any "Uno" will work, I have a Geekcreit Uno)
- KY-015 Arduino DHT11 Temperature/Humidity
- Jumper Wires
- Breadboard
- Cable (USB 2.0)
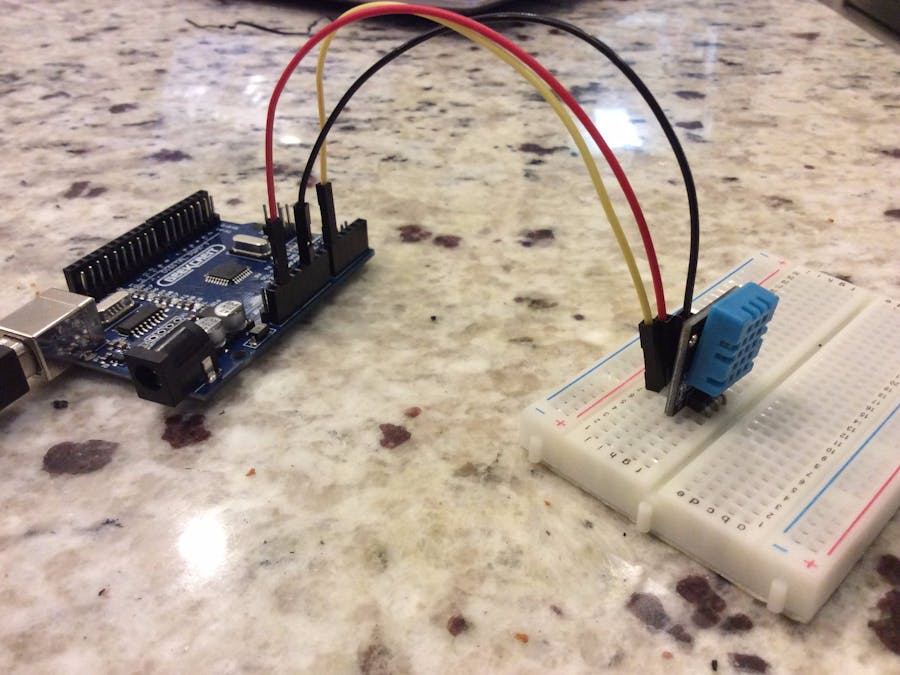
The first thing you are going to do is place the sensor on the breadboard. If you place the breadboard in the orientation the way it was made, the blue part of the sensor should be facing you.
Step 2: Connect everythingWow, we're already almost done! The pins on the sensor are S, for signal, the one in the middle is voltage, and the minus sign is ground. The signal pin goes to header A0 on the Arduino. The middle pin goes to 5V, and the minus sign goes to GND. Our yellow cable is our Analog cable, our red cable is power, and our black one is ground.
Note: If you're only looking at the pictures, stop right there, read the instructions I just gave and rewire it correctly. The Geekcreit Uno has a different pin layout than the Arduino Uno, but if you follow where I told you to put the pins it will work on both boards.
Multiple people in the comment section have blamed me for frying their circuits, just read the instructons next time. :)
Step 3: Adding the DHT libraryOkay this part is actually kind of important. Go to the credits on this post and click on the link for Brainy Bits. The credits are at the very bottom of this page, click on the link where it says 'thanks to Brainy Bits', or you can click here.
Scroll to the very bottom of the page. There should be a card that provides the download link towards the bottom.
Now download our code attached to the post. In the Arduino IDE, go to Sketch >> Include Library >> Add ZIP file.
When you click the 'Add .ZIP library', you should get a file window that pops up. Add the DHT_Library.zip.
If you'll notice in the code, another line of code pops up that says:
#include <dht.h>There now should be two duplicate lines. One of the duplicate lines that was there before, that should be underneath the new duplicate line - delete it. Now the code should work.
Okay, NOW upload the code. When it is finished, go to the top right of the Arduino IDE window and click the little magnifying glass button. That will open the serial monitor, and the data of the sensor should be displaying itself and updating every 5 seconds.
Well, that's it! Enjoy your temperature/humidity sensor!


_ztBMuBhMHo.jpg?auto=compress%2Cformat&w=48&h=48&fit=fill&bg=ffffff)


Comments
Please log in or sign up to comment.