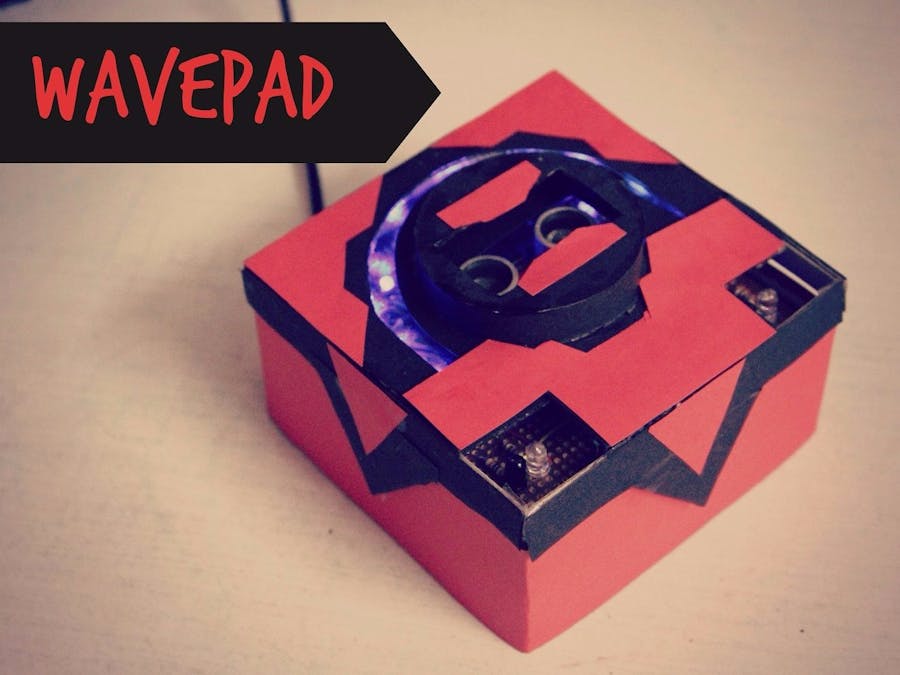
Wavepad is a gesture controlled music player. It is built using Raspberry pi microcontroller. With Wavepad you can increase and decrease the volume of the song, play next song, play previous song, pause and resume song. To recognise the gestures we are using 2 types of sensors. First one is Ultrasonic sensor which is used to control the volume and Other is IR proximity sensor x 2 which are used to change ,pause and resume songs.
Step 1: Building CircuitIn our circuit there are three main parts.
1. IR Proximity sensor
2. Ultrasonic Sensor
3. LED's
We will go to each parts step by step.
Step 2: Build IR Proximity SensorA proximity sensor is a sensor able to detect the presence of nearby objects without any physical contact. We are using 2 proximity sensors in our project it will be used to play next or previous and pause the song.
To build the circuit follow the above circuit diagram.
Explanation of Diagram
We are using pair of Photodiode and IR LED's. Photodiode is connected to 10K Resistor while IR LED connected to 100 Ohm Resistor. S1 & S2 outputs are connected to LM324SN Operational Amplifier which amplifies the voltage according the Potentiometer connected. The output of the LM324SN is 5V. But we need 3.3.V to Raspberry Pi therefore we are using Voltage Divider Circuit.
Connect Output O1 & O2 to GPIO 27 & 17 Pins respectively.
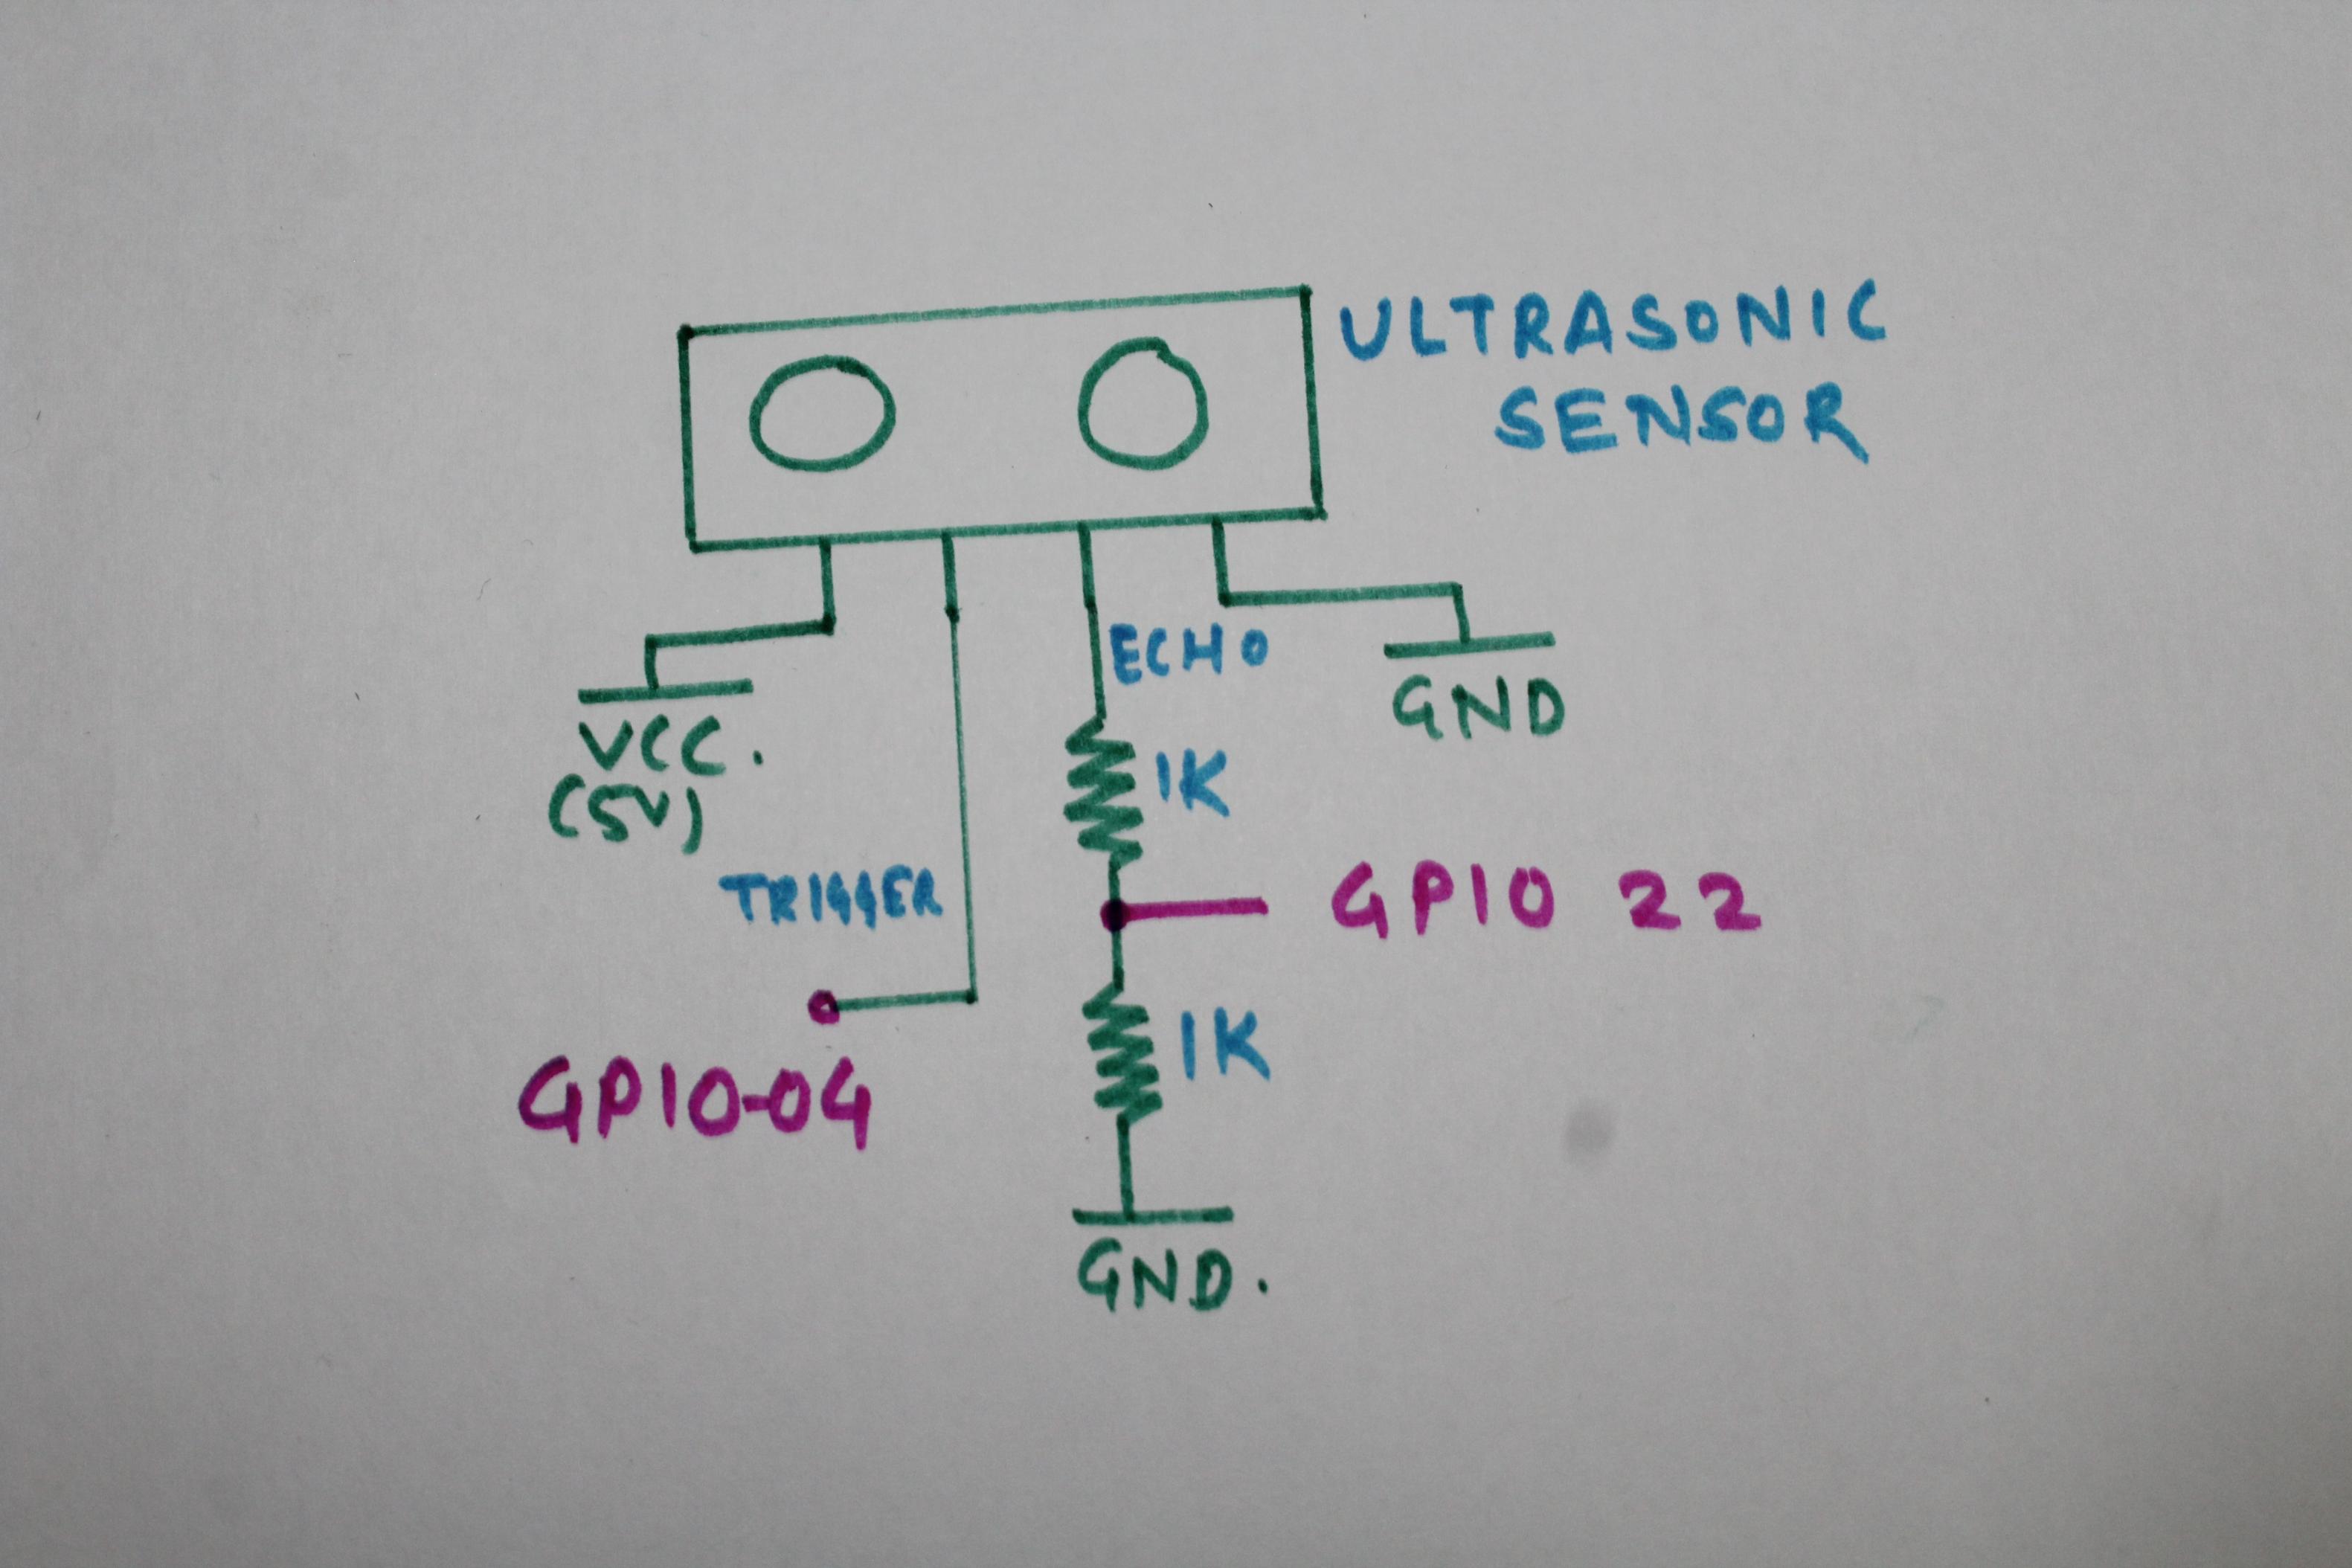
Step 3: Connecting Ultrasonic SensorWe connect Ultrasonic Sensor as follows
VCC -----> 5V
GND -----> GND
TRIGGER----> GPIO 04
ECHO -----> Voltage Divider Circuit------>GPIO 22
Echo gives output 5V but Raspberry pi needs 3.3V therefore we are using Voltage Divider Circuit to make voltage equivalent to 3.3V.
Step 4: Connecting LED'sLED's are used to Indicate the volume level. We are using 10 LED's but you can use as many as you want. Each LED's Cathod is connected to common ground and Anode connected to 1K Resistor , then connected to GPIO Pins from Raspberry Pi.
Connect LED's To Following GPIO Pins:
LED1 --> GPIO 14
LED2 --> GPIO 15
LED3 --> GPIO 18
LED4 -- > GPIO 23
LED5 --> GPIO 24
LED6 --> GPIO 25
LED7 --> GPIO 8
LED8 --> GPIO7
LED9 --> GPIO 12
LED10 --> GPIO16
Step 5: CodingSteps to run the program:
1. Download the wavepad.py file and put it in /home/pi directory of raspberry pi.
2. Put songs in /home/pi/Music directory
3. Now we need our python script to execute at startup. To do this follow these steps:
a. Type sudo nano .bashrc
b. Add this line without quotes "sudo python wavepad.py &"
c. Go to Application Menu -> Preferences -> Raspberry pi configuration -> Then click on To CLI Radio button.
d. Restart your pi
Step 6: Finishing Up.Now it's time to put our circuit in case. I didn't have 3D printer that's why i handmade this simple box using cardboard. And just stick printed paper on it.


Comments
Please log in or sign up to comment.