


Hardware components | ||||||
 |
| × | 1 | |||
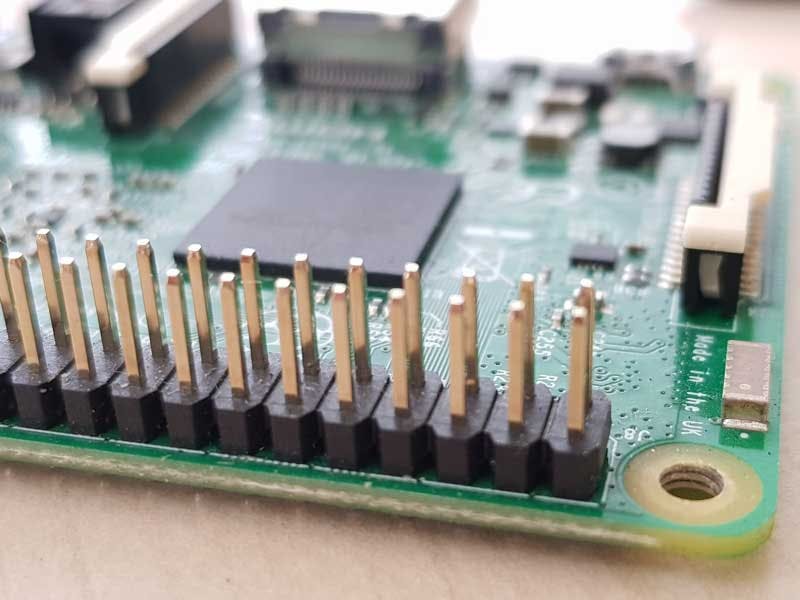
The General Purpose Input/Output (GPIO) pins allow you to control and interact with the real world.
Learn more here: https://www.raspberrypi.org/documentation/usage/g...
Step 1: Switch On an LEDLet's do the usual material "Hello World:" switching a LED.
Just build as the photo shows.
Learn more about the hardware here: Learn more here: http://thethingbox.io/docs/GPIO-Book.pdf
Step 2:More details.
Step 3: A Simple FlowHere is the simple flow we will build with the graphical editor.
Step 4: Download and Install the Pi SD CardGo to http://theThingbox.io and download the SDCard image you can flash using the Etcher app ( https://www.raspberrypi.org/magpi/pi-sd-etcher)
Learn more here: Learn more here : http://thethingbox.io/docs/GPIO-Book.pdf
Step 5: Access the Visual EditorUse your web browser to access the visual editor using the network name you gave in the setup process.
Learn more here: Learn more here : http://thethingbox.io/docs/GPIO-Book.pdf
Step 6: Build a Simple FlowWe will build a simple flow with the GPIO node.
Step 7: Edit the NodeEdit the node to set the GPIO port to use.
Step 8: Deploy and Testjust hit the deploy button and now, by clicking the Go button you can switch the LED on and off.


Comments
Please log in or sign up to comment.