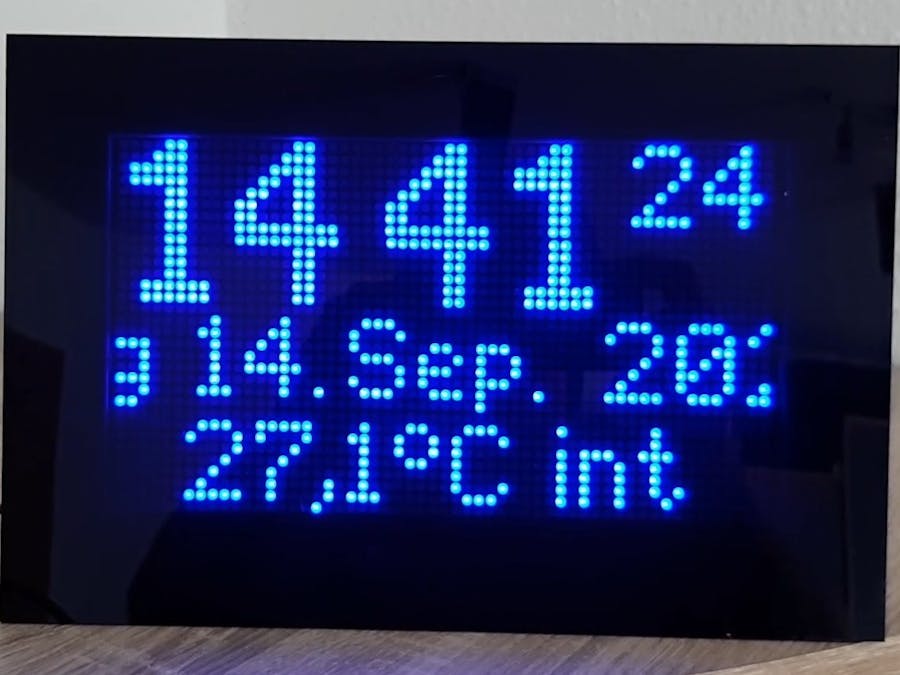
That is what some readers may think, what? Another dot matrix clock?
In 2014 I designed my first version of a precise clock which would combine inside/outside thermometers. At that time the clock was controlled by an Arduino Mini and received the time from a DCF receiver. DCF77 is the local time transmitter here in Germany, however using this technology, the device usage was limited to Central Europe only. Once I discovered the fantastic options that the ESP32 provides, I decided to change the design to a WLAN connected NTP clock. The clock supplies a web interface where the local time zone as well as the NTP server to be used can be configured. With this design, the clock can be used anywhere in the world where a WLAN is available, and if there is no WLAN you can hook up a GPS receiver module to synchronize.
Features of my project
Two temperature sensors DS18B20 or DS18S20 connected via cables to measure inside and outside temperatures
One humidity sensor DHT22 to measure the inside humidity
An LED dot matrix display of 56x32 dots which totals 1792 LEDs (28 Max7219 modules)
Configurable language for date string in German, English or French
Configurable temperature display in °F or °C
Built-in WLAN access point for initial configuration of all settings (especially WLAN)
Optional GPS input in case of no available WLAN
External adapter 12V, 1, 5A power supply
Commissioning the circuit
The 12V power supply is connected to the system vis DC jack J1. It supplies the switching DC/DC converter via fuse F1 (1A). The usage of a switching regulator (buck converter, NOT a linear regulator) is required to avoid excessive heating of the device.
The regulator must be able to supply at least 2, 5A at 5V.
Measure the correct voltage FIRST before you hook up the display and the ESP, make sure you have 5V! The 5V are sufficient to run the 28 Max7219, the NodeMCU ESP32 and the driver IC 7408.
The NodeMCU has a built-in voltage regulator that supplies 3, 3V on pin1 of the MCU, this is used to run the DHT22 humidity sensor and the two one-wire sensors for the inside and outside temperature. These two derive their power directly from the data line (“parasite power”). For the outside sensor, the cable length can be at least 10m.
The parasite power comes via resistors R1 and R2.The photo transistor SFH300 measures the environment brightness and feeds this back to IO36 of the MCU via a low pass R3/C1. This transistor is optional, other types of photo transistors will also do the job. You can use the potentiometer to adjust the brightness as desired.
The 7408 in this circuit is used as a level shifter and driver for the signals to the Max7219 chain. It usually works without such a driver, but only up to a certain length of the chain. The chain length of 28 modules that I used would not work without it during my tests. IO16 is prepared to receive GPS data from an external GPS module in case no WLAN is available or no WLAN is supposed to be used. This one is optional.
The display
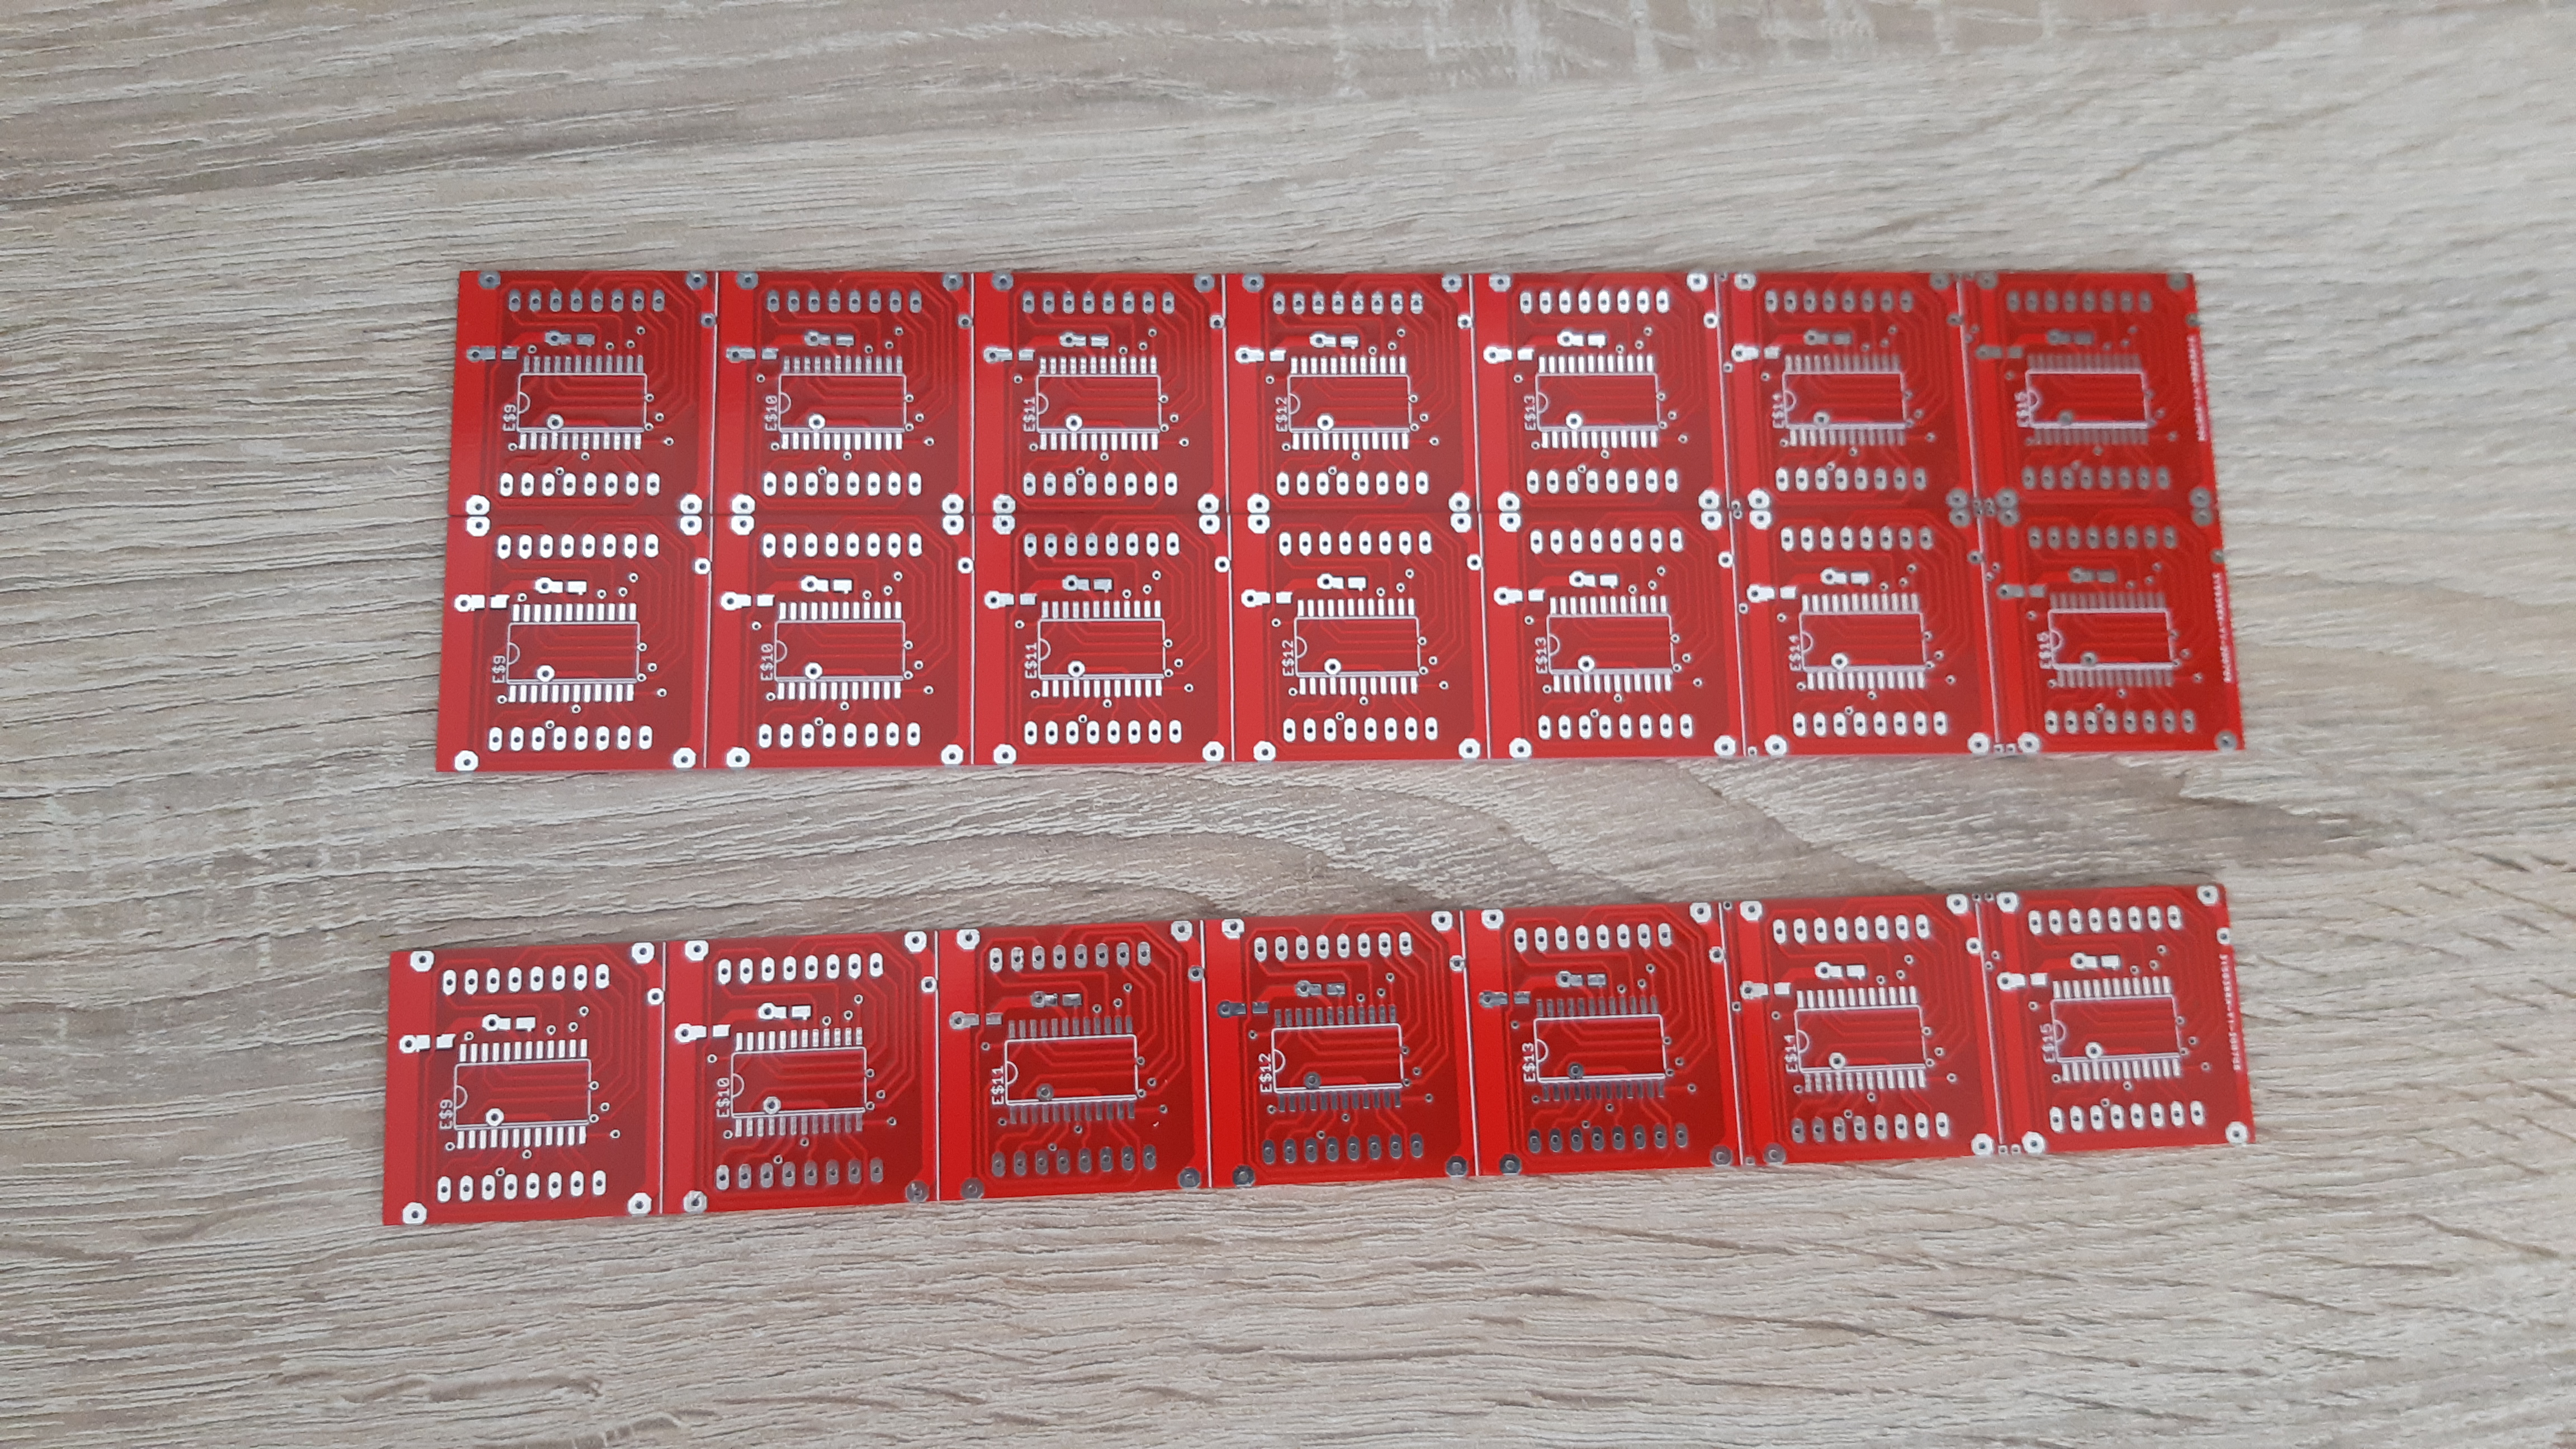
There are 28 LED matrix modules (8x8) that are controlled by 28 Max7219 driver ICs. They are daisy-chained and the setup is four rows with 7 blocks each. Initially I bought modules with 4 blocks and connected them (one block was cut off in every row) but I was not happy with the result because of the spaces between the blocks so I designed my own PCBs that hold 7 blocks side by side with no spaces with the option to combine 4 of these so that my display is now without spaces.
This can also be done with the standard modules that are available anywhere, perhaps there is a supplier where the LED blocks sit shoulder to shoulder. You will need to cut off one block in every row, so you have four spare LED blocks in case one fails later. The wiring is standard, the first module receiving the data is located in the bottom right position, data always flows right to left, from bottom to top.
The software
For the software design I used the free of charge Platform IO under Visual Studio Code. The framework is Arduino, but the VS Code IDE is much more user friendly than the Arduino IDE. There are multiple tutorials how to install VS Code with Platform IO and ESP32 IDE on the internet.
When the software starts up it tries to connect to the preconfigured WLAN displaying its IP address for a couple of seconds until it reaches the NTP server. On first startup nothing is configured so WLAN access will fail. In this case it switches to access point (AP) mode and acts as a WLAN AP on 192.168.4.1 that you can connect to with a smart phone or a laptop. The AP is called "MatrixClock", the password is 123456789.To open the configuration web page, navigate with a web browser to the IP address that the display showed. The web page allows you to configure what is required including the WLAN settings where the clock will connect to. Save the settings and click "Restart". The time is displayed in large numbers, temperatures, humidity and date in smaller text. The date scrolls continuously from right to left showing the day, month, year and day of the week. The internal and external temperatures, together with the internal humidity, alternately switch back and forth while the transition includes random animations. The displayed time, date and temperature positions change randomly every 10 minutes.
The hardware
As I mentioned before I had special PCBs made that accommodate 7 driver ICs with 7matrix LED blocks. The resistors at the Max7219 drivers defining the brightness were chosen as 39K, which is pretty high, for example, my blue modules even when adjusted to lowest levels were much too bright.
If you use prebuilt modules you may want to change the default resistors (there is only one per LED block, easy to locate). The photo transistor is "looking" into the direction of the viewer, with more ambient light, brightness will increase.
The 8x8 LED modules are available in different colours, I was able to locate red, green and blue and am not sure if there are other colours available. Important: There are two different pin-outs available for the LED blocks. The basic difference is the location of the row and column pins and the location of the cathodes and anodes. Caution: Be sure to use the right modules according to the supplied schematics if you are going with my PCBs and not with ready-made modules. If you use the wrong modules, it will not work.
The whole circuit is covered beneath a large Plexiglass in the same colour as the LEDs. It is mounted in a hand-made plywood box, a simple rectangular back plane with four side walls. The NodeMCU and the 7408 were soldered on a piece of breadboard together with the 5V voltage regulator and the fuse. The temperature sensors are connected via 3, 5mm jacks and cables. In this particular clock I did not include the DHT22 however I tested its functionality and it worked.


_1x_bGT19vVAby.png?auto=compress%2Cformat&w=40&h=40&fit=fillmax&bg=fff&dpr=2)


_3u05Tpwasz.png?auto=compress%2Cformat&w=40&h=40&fit=fillmax&bg=fff&dpr=2)
Comments
Please log in or sign up to comment.