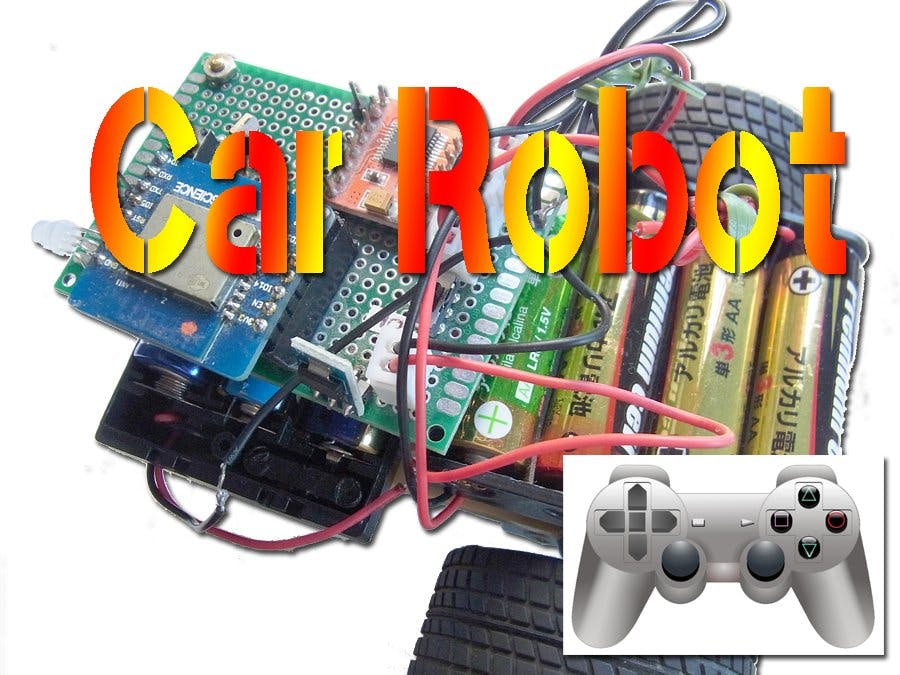
This project is about Wi-Fi controlled car, called Car Robot, which uses a gamepad displayed on a web browser of a mobile phone as a controller. The gamepad transmits car control data to Car Robot by web socket protocol.
When the user presses buttons (e.g., stop, advance, reverse, right turn, left turn) on the gamepad, the gamepad app creates car control data by the pressed buttons. The gamepad app transmits car control data to Car Robot using web socket protocol. Car-robot app on Car Robot receives car control data then sets data to Motor Driver Module to control Car Robot. The Motor Driver Module controls motors by on the data setting (e.g., stop, advance, reverse, right turn, left turn) and drives the car.
You can view a short demonstration in the following video.
Car Robot construct by a Car-robot board and a chassis. The Car-robot board includes Motor Driver Module and ESP8266 for executing the Car-Robot app. The chassis forms by a double gearbox and a ball caster, attached to a universal plate. The Double gearbox connects to Motor Driver Module on the Car-robot board to drive the motors.
The gamepad is displayed on a web browser of an iPhone, an Android, or a PC as follows. User presses buttons (stop, advance, reverse, right turn, left turn, speed up, speed down, and connection) on the gamepad.
A connection between the Motor Driver Module (TB6612FNG) and ESP8266 at the Car-robot board is as follows. Car-robot board Schematic is available on GitHub.
The motor control method using TB6612FNG is shown below.
A Component mounting diagram of the Car-robot board is as follows.
The chassis consists of parts attached to the universal plate. The front side of the universal plate mounts parts as follows.
The back side of the universal plate mounts parts as follows.
Web Socket Interface uses to connect between the Car-Robot app and the gamepad app for transmitting car control data by web socket protocol. Web socket URL is as follows.
ws://192.168.10.xx:81/Arduino
   “192.168.10.xx” Car-robot board IP Address
The Car control data has two types, one is a drive data that moves the car, and another is a connection data that confirms a connection between the Car-Robot app and the gamepad app.
The gamepad app sends the drive data to the Car-Robot app. The format of the drive data is text format as follows.
'#010040000120'
   '01': IN1 of TB6612FNG channel A
   '00': IN2
   '40': PWM
   '00': IN1 of TB6612FNG channel B
   '01': IN2
   '20': PWM
The gamepad app sends the connection data to the Car-Robot app. The format of the connection data is text format as follows.
'%'The Car-Robot app on ESP8266 receives the drive data and the connection data from the gamepad app using web socket protocol. The Car-Robot app Code associated with web socket protocol uses the arduinoWebSockets library by Links2004 and is available on GitHub. The code includes the necessary libraries at first, create a WebSocket server on port 81, start the WebSocket server, and if there's an incoming web socket message, go to function 'WebSocketevent.'
#include <WebSocketsServer.h>
      …
WebSocketsServer webSocket = WebSocketsServer(81);
      …
webSocket.begin();
webSocket.onEvent(webSocketEvent);
      …
This code is executed on WebSocket server-related events, like if the WebSocket is disconnected, if a new WebSocket is connected, and if new text data is received.
void webSocketEvent(uint8_t num, WStype_t type, uint8_t * payload, size_t length) {
    switch (type) {
      case WStype_DISCONNECTED:
         …
         break;
      case WStype_CONNECTED: {
         …
         break;
      case WStype_TEXT:
         …
         break;
    }
}The Gamepad app on ESP8266 sends the drive data and the connection data to the Car-Robot app using web socket protocol. The Gamepad app Code is available on GitHub. The Gamepad app Code associated with web socket protocol includes creating a WebSocket client on port 81 as follows.
“scripts.js”
var connection = new WebSocket('ws://' + '192.168.10.xx' + ':81/', ['arduino']);
connection.onopen = function () {
   connection.send('Connect ' + new Date());
};
When the user presses the Top button on the gamepad of the browser, the Gamepad app invokes the function “carmove.” That function “carmove” creates the drive data and sends it using that function “send” of the WebSocket client.
“index.html”
<button onclick="carmove('top');" class="position-top btn"></button>
   …
“scripts.js”
function carmove(id) {
     console.log('carmove');
     switch (id) {
       case 'top':
         moveflag = 1;
         turnflag = 0;
         AIN1 = '00';
         AIN2 = '01';
         BIN1 = '00';
         BIN2 = '01';
         PWMA = speed;
         PWMB = speed;
         break;
         …
     }
     move = '#' + AIN1 + AIN2 + PWMA + BIN1 + BIN2 + PWMB;
     console.log('move: ' + move);
     connection.send(move);
}


Comments
Please log in or sign up to comment.