


Trusted Objects provides TLS secured stack. This stack can be easily integrated to any project.
This project shows how to secure a TLS device using AVNET - Trusted Objects TO136 Secure Element, with AWS IoT backend.
Backend configurationAWS IoT is a backend for IoT devices, which is connected with all other AWS services.
Log-in your AWS account , or create it if you do not have one (free the first year).
Open AWS IoT dashboard.
We need to allow our device to connect to AWS IoT by registering certificates, and giving it right permissions.
First, we will register CA certificate to allow AWS to verify our certificate. In left colum, select Secure, CAs, and Register.
Then select Register CA.
Ignore the verification certificate generation, as it is provided with your AVNET - Trusted Objects TO136 SE samples (ask for it indicating your registration code indicated in Step 2 if you miss it).
Select Avnet CA certificate in Step 5, verification certificate in Step 6, and check Activate CA certificate.
Select Register certificates to validate.
Then, we need to create a policy for futur certificates. For this demo, we will create a full access policy. In left colum, select Secure, Policies, and Create.
Give it a name, iot:* as action, * as resource and Allow as effect.
Select Create to validate.
Finally, we need to register device certificate signed by previously registered CA. In left column, select Secure, Certificates, and Create.
Then select Get started in Use my certificate section.
Select the previously registered CA, and select Register certificates.
Select your device(s) certificate(s) with Select certificates, and select Activate all.
Your certificate is now registered and activated, but it has no permission.
In certificates list, check new certificates, and select Actions, Attach policy.
Select the previously registered policy, and select Attach.
The certificate has now the policy permissions, and the back-end is ready to handle TLS connection using this certificate.
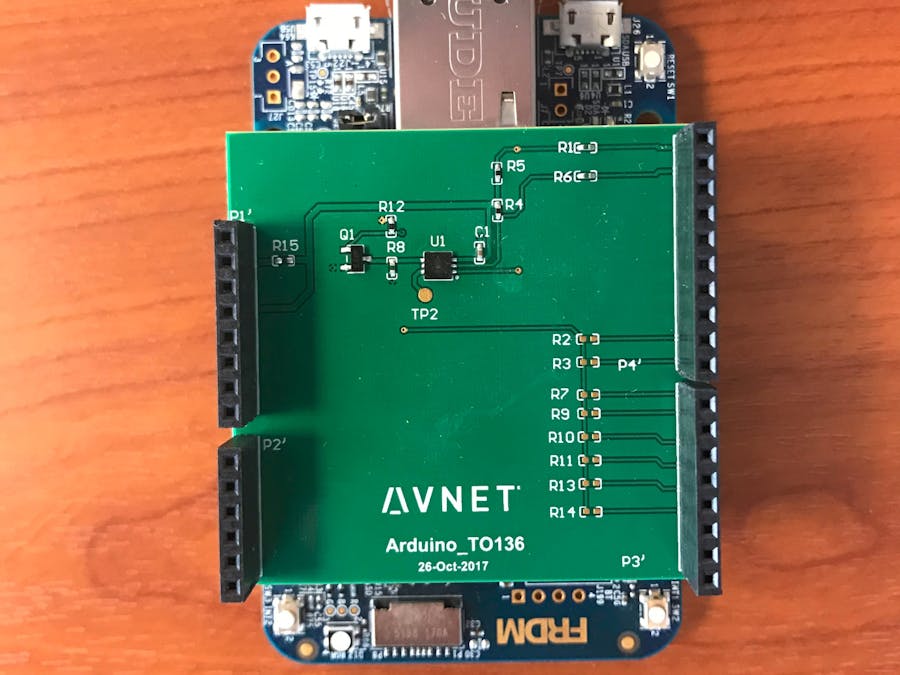
Device configurationIn this demonstration, we use the board FRDM-K66F from NXP. Note that any platform with Arduino form-factor and Ethernet / Wifi can be used. These platforms are listed on Mbed website.
In order to compile the platform firmware, you need Mbed Command-Line Interface and with GCC toolchain installed.
In a dedicated folder, create a new Mbed project with the following command :
mbed new .
Extract your Trusted Objects library src and include folders and wrapper/mbed_os.cpp file in your root folder.
It can be done with the following command :
unzip <library directory>/libto-x.x.x.zip "libto-*/src/*" "libto-*/include/*" "libto-*/wrapper/mbed_os.cpp"
Create a file named MQTTPacket.lib, and fill it with https://os.mbed.com/teams/mqtt/code/MQTTPacket/.
Get MQTTPacket library sources with the following command :
mbed deploy
Finally, copy attached main.cpp to your folder.
Modify the AWS defines of main.cpp at lines 9 & 10 with your AWS IoT core values (available in Settings section).
Compile sources with the following command :
mbed compile -m K66F -t GCC_ARM -DTO_ENABLE_TLS -DTO_ENABLE_TLS_OPTIMIZED -DTO_ENABLE_TLS_HELPER
When the compilation succeed, the last line gives you the binary firmware file path.
Plug your platform to your host using a USB cable (use SDA USB port). Mount it if it is not automatically done (depends of your OS).
A new serial device should appear (/dev/ttyACM0 on Linux). Open a serial console to see output logs.
On Windows, you can use Putty, on Linux you can use Picocom with following command :
sudo picocom -b 115200 --imap lfcrlf,crcrlf --omap delbs,crlf /dev/ttyACM0
Copy the binary firmware to the board mount point. The board led will blink during the flash. When the LED stops to blink, press the Reset button to start the program.
The program behaviour is :
- Create secured tunnel with AWS IoT using TO136 and TLS
- Connect to AWS MQTT broker
- Subscribe to topic topic/down
- Wait for number on topic topic/down
- Increment the received number and publish it on topic/up
Open AWS IoT Test section, and subscribe to topic topic/up by filling it in Subscription topic input, and selecting Subscribe to topic.
Fill topic topic/down in publish input, and a number as message, and select Publish to topic to do so.
The device will respond on topic/up with incremented value.
Note : For demonstration purposes, we transfer raw integer through MQTT protocol. In normal use case, we will prefer to use JSON formatting.


Comments
Please log in or sign up to comment.