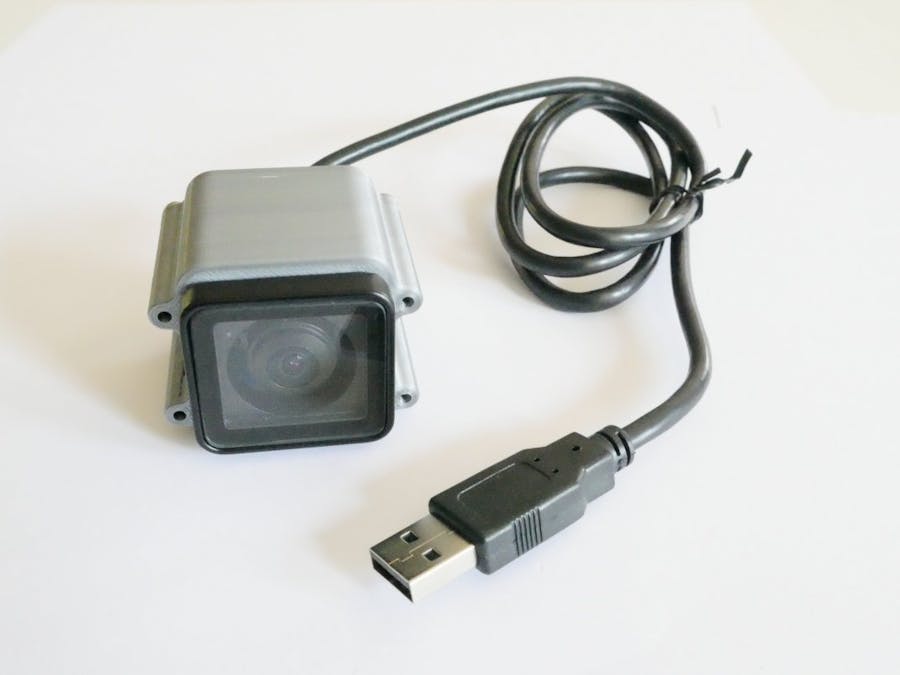
It's always easier to show something than to describe, so I'll go quick - have fun!
Little disclaimer:
If you're not in Turtle Community - the .stl models for the camera will link you here: http://www.turtlerover.com/models-subscribe
If you're the Community insider - just access our Turtle Google Drive repository - everything sits there. (If you forgot how, just write to us :)
1.0 PrepareYou need to puncture the rubber bushing with a screwdriver before you put the cable through it.
Cut the excess 5th cable - it's normally used as USB shield, but we don't need it.
Cut 4 pieces of cable sleeve or just use a isolating tape to isolate the wires after soldering. Solder the matching pairs and cover them.
Put a ziptie close to the end of black isolation so it won't be able to pull the cable back through the rubber bushing.
Pull the cable until it touches the bushing.
Make sure you put the seal in the right direction.
Use the little Torx screws provided with the Lens Shield Replacement Kit.
Make sure the seal is evenly squeezed. If not, tighten the corresponding screw.
Before you do the next step, cut the outer frame of the camera with any hand cutter you have. Just do it with caution as you won't get any second chance!
Make sure the camera is put in the right direction.
Use 4x 2.2x6.5 self-tapping screws.
After you complete the seal setting, cut the excess and leave extra 2-3 mm for the seal to overlap.
This way the parts will seal themselves when pressed by mounting screws.
Use 2x 2.9x9.5 self-tapping screws at first to make sure the seal is properly set, then secure the next ones.
The front holes act as a mounting points. You can use the 2.9x9.5 self-tapping screws to mount the camera to anything you need.
Don't want to spend hours sourcing the parts? Get yourself a kit:
http://shop.turtlerover.com/category/addons/fisheye-usb-camera-with-waterproof-case
And check out what Turtle Rover can do! - www.turtlerover.com


Comments
Please log in or sign up to comment.