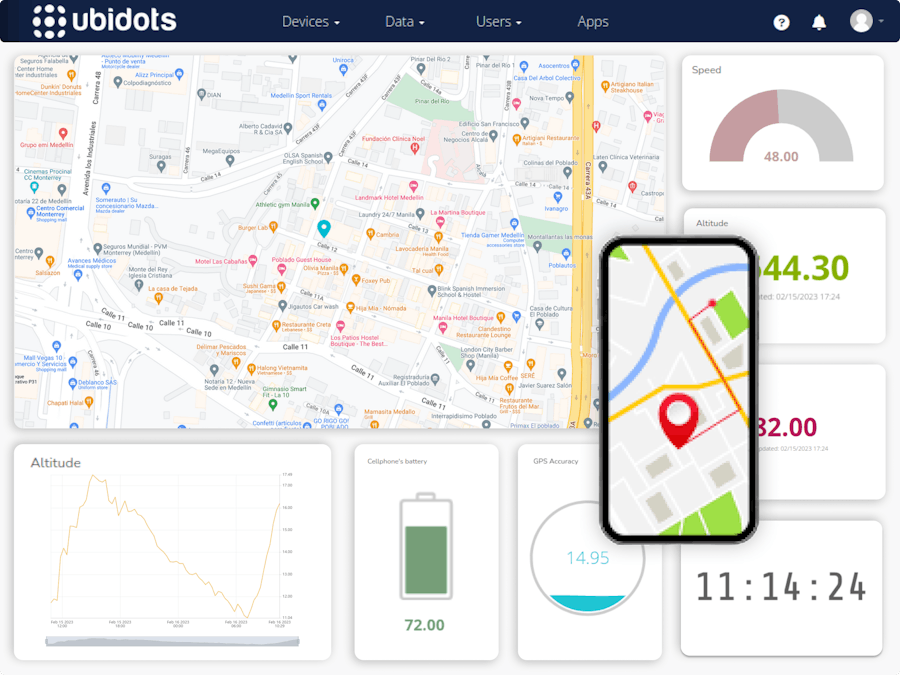
Just as for most electronic products, the prices of GPS trackers have been dropping, making them suitable for a growing set of asset monitoring applications that were impossible before. As the price (and size) of GPS trackers continue to drop, more types of assets are being possible to track in real-time, uncovering new business opportunities for IoT entrepreneurs and systems integrators alike.
GPSLogger App:GPSLogger is an Android application that uses the phone's GPS to gather positioning data, but, unlike other GPS apps, it offers several approaches on what to do with the data, such as sending it through custom HTTP requests, enabling a straight-forward integration with several cloud platforms.You’re just 3 steps away from creating your own GPS-tracking application using Ubidots and an old Android phone, for free and without writing any code!
Step One:Downloadand install the GPSLogger app
Download the latest version of the GPSLogger App on your Android phone from the official project's GitHub page. Once the download finishes, install the.APK file. The first time that you launch the app, you'll need to provide some permissions as the following pictures show. Make sure to select "Allow all the time" in order to let the app log GPS data as a background process.
Step Two:Configure the GPSLogger App CustomURL
Head over to the Hamburguer Menu Icon and tap on it to display the settings, then tap the "Custom URL" option as shown below:
The following options will be displayed:
Start by enabling the "Log to customm URL" option. This way, the app will be able to send the gathered data to a custom URL set by the user.
You can enable "Allow auto sending" option in order to automatically send the data according to a configured time interval.
Next is to set the custom URL to which you'd like to send the data, in this case, Ubidots platform. To do so, tap on the "URL" option and paste the following:
https://industrial.api.ubidots.com/api/v1.6/devices/%AIDThis URL corresponds to the API that Ubidots provides to send data to a device. On the other hand, the %AID is a variable that stores a unique identifier for your phone. This unique identifier will be used a Device Label on Ubidots.
Step Three: Set the HTTP request settings
Since we are sending data to Ubidots, we need to match the JSON containing the GPS data according to Ubidots compatible JSON. Said so, set the custom HTTP Body by taping on the "HTTP Body" option and pasting the following:
{"position":{"lat":%LAT, "lng":%LON}, "speed":%SPD, "altitude":%ALT, "satellites":%SAT, "accuracy":%ACC, "battery": %BATT, "travelled":%DIST, "direction":%DIR}This will send the following data to Ubidots:
- Latitude
- Longitude
- Speed
- Number of satellites
- Accuracy
- Battery
- Travelled distance
- Direction
The only remaining configuration is to set the HTTP request headers. For this step you'll need your Ubidots token, so go and get it. In the following link you can get more information about how to do so.
Once you have your Ubidots Token at hand, tap on the "HTTP Headers" option and paste the following, taking into account that you should replace "<your-account-token>" for your actual Ubidots token.
Content-Type: application/json
x-auth-token: <your-account-token>
Lastly, tap the "HTTP Method" option and write "POST"
Step Four: Additional settings
Go back to the main menu and tap the "Performance" option as shown below:
The following interface will be displayed:
Here, you'll have to enable both "Log GPS/GNSS locations" and "Log network locations" settings.
Step Five: Start logging data and visualizing it
Head back to the main menu and tap on the "START LOGGING" button. This will start sending the GPS data to Ubidots.
You can visualize it by going to your Ubidots account Devices section, there, a newly created will be displayed, whose label is the cellphone's IMEI number.


Comments
Please log in or sign up to comment.