
Hardware components | ||||||
 |
| × | 2 | |||
 |
| × | 1 | |||
| × | 1 | ||||
 |
| × | 2 | |||
 |
| × | 2 | |||
 |
| × | 2 | |||
| × | 4 | ||||
 |
| × | 2 | |||
 |
| × | 2 | |||
Software apps and online services | ||||||
 |
| |||||
In the first part of this project, we built up the hardware for the prototype on 2 breadboards.
https://www.hackster.io/unexpectedmaker/arduino-hot-wheels-speed-track-part-1-prototype-6a01b8
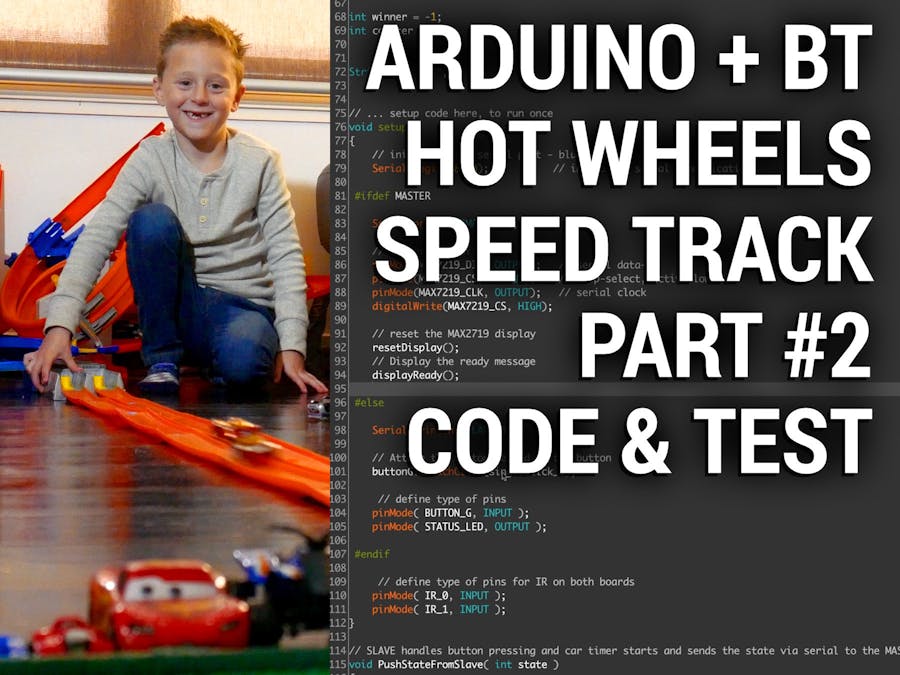
And in this part, we will go over the code, how it works, and then test it out.
Both MASTER and SLAVE in the Same CodeThe code is in 2 parts, but inside the same file. I use #define and #ifdef to determine which code will be compiled or ignored so I can separate any code that is just for the MASTER breadboard and code that is just for the SLAVE breadboard.
Basically, if the define MASTER is found, then any code that sits inside the MASTER code block will be compiled and any code outside of that block will be removed at compile time.
 #ifdef MASTER
//Master specific code is in here
#else
    #define SLAVE
// Slave specific code is in here
#endif
I am also using the same technique to #define SLAVE when MASTER is compiled out so you only need to worry about defining MASTER or not to enabled SLAVE to be defined.
BLUETOOTH Modules Talk via Serial Read and WriteIn this project only the SLAVE breadboard talks to the MASTER breadboard. The MASTER never talks back, it only listens and then acts on the data coming in.
The modules talk and listen using the built in Serial class in the Arduino coding ecosystem.
Bluetooth modules communicate at 38400 baud, so both code paths initialise their Serial communications using:
Serial.begin(38400);
And the SLAVE uses:
Serial.write( data in here );
To talk to the MASTER, and the MASTER uses:
data = Serial.read();
To listen to the serial stream and read it's contents and store it inside a variable.
Controlling the RaceThe SLAVE tells the MASTER if it is in race more or ready mode via the green button connected to it's micro-controller. In ready mode, the IR sensors don't do anything and the MASTER will show 8 dashes on the display to indicate it is in ready mode.
When the SLAVE tells the MASTER that a race is going to begin, the SLAVE starts to poll the IR sensors on it's side (The start of the race track) for cars to pass underneath.
As each car passes under each IR sensor, it sends an A (car 1) or B (car 2) to the MASTER.
When the MASTER receives an A or B, it enables the timer for that specific car and then waits for the car to pass underneath the corresponding IR sensor at the finish line.
The display is updated every 50ms to display the current time for each car in seconds with 2 decimal places.
Once both cars have hit the finish line, the MASTER decides which car was the fastest and flashes that time on the display to indicate the winner.
The Rest of the CodeThe rest of the code is just utility code that either controls displaying data on the 8 digit display, or handles button press logic etc.
At the end of the video above, I show an example of the code running on the 2 breadboards, so make sure you check that out!
That's it for now... In part 3 we will look at moving the components off the breadboard and onto something more permanent... Stay tuned!
I hope you are enjoying this project!
Follow me on:
https://www.youtube.com/c/unexpectedmaker
http://twitter.com/unexpectedmaker
https://www.facebook.com/unexpectedmaker


_3u05Tpwasz.png?auto=compress%2Cformat&w=40&h=40&fit=fillmax&bg=fff&dpr=2)
Comments