I have been learning and getting things running on my Onion Omega2p for past 1 month. When I came across Blynk, I found it to be really easy and powerful to learn & use for IoT with Omega2p. This project mainly focuses on how to use different widgets of Blynk with Omega2p.
This is my first step on making some very simple IoT project with Omega2p.
Blynk Library SetupTo use Blynk app, you must have the Blynk Library installed on your Omega2p. You can follow the setup instructions mentioned here:
https://docs.onion.io/omega2-docs/blynk-library.html
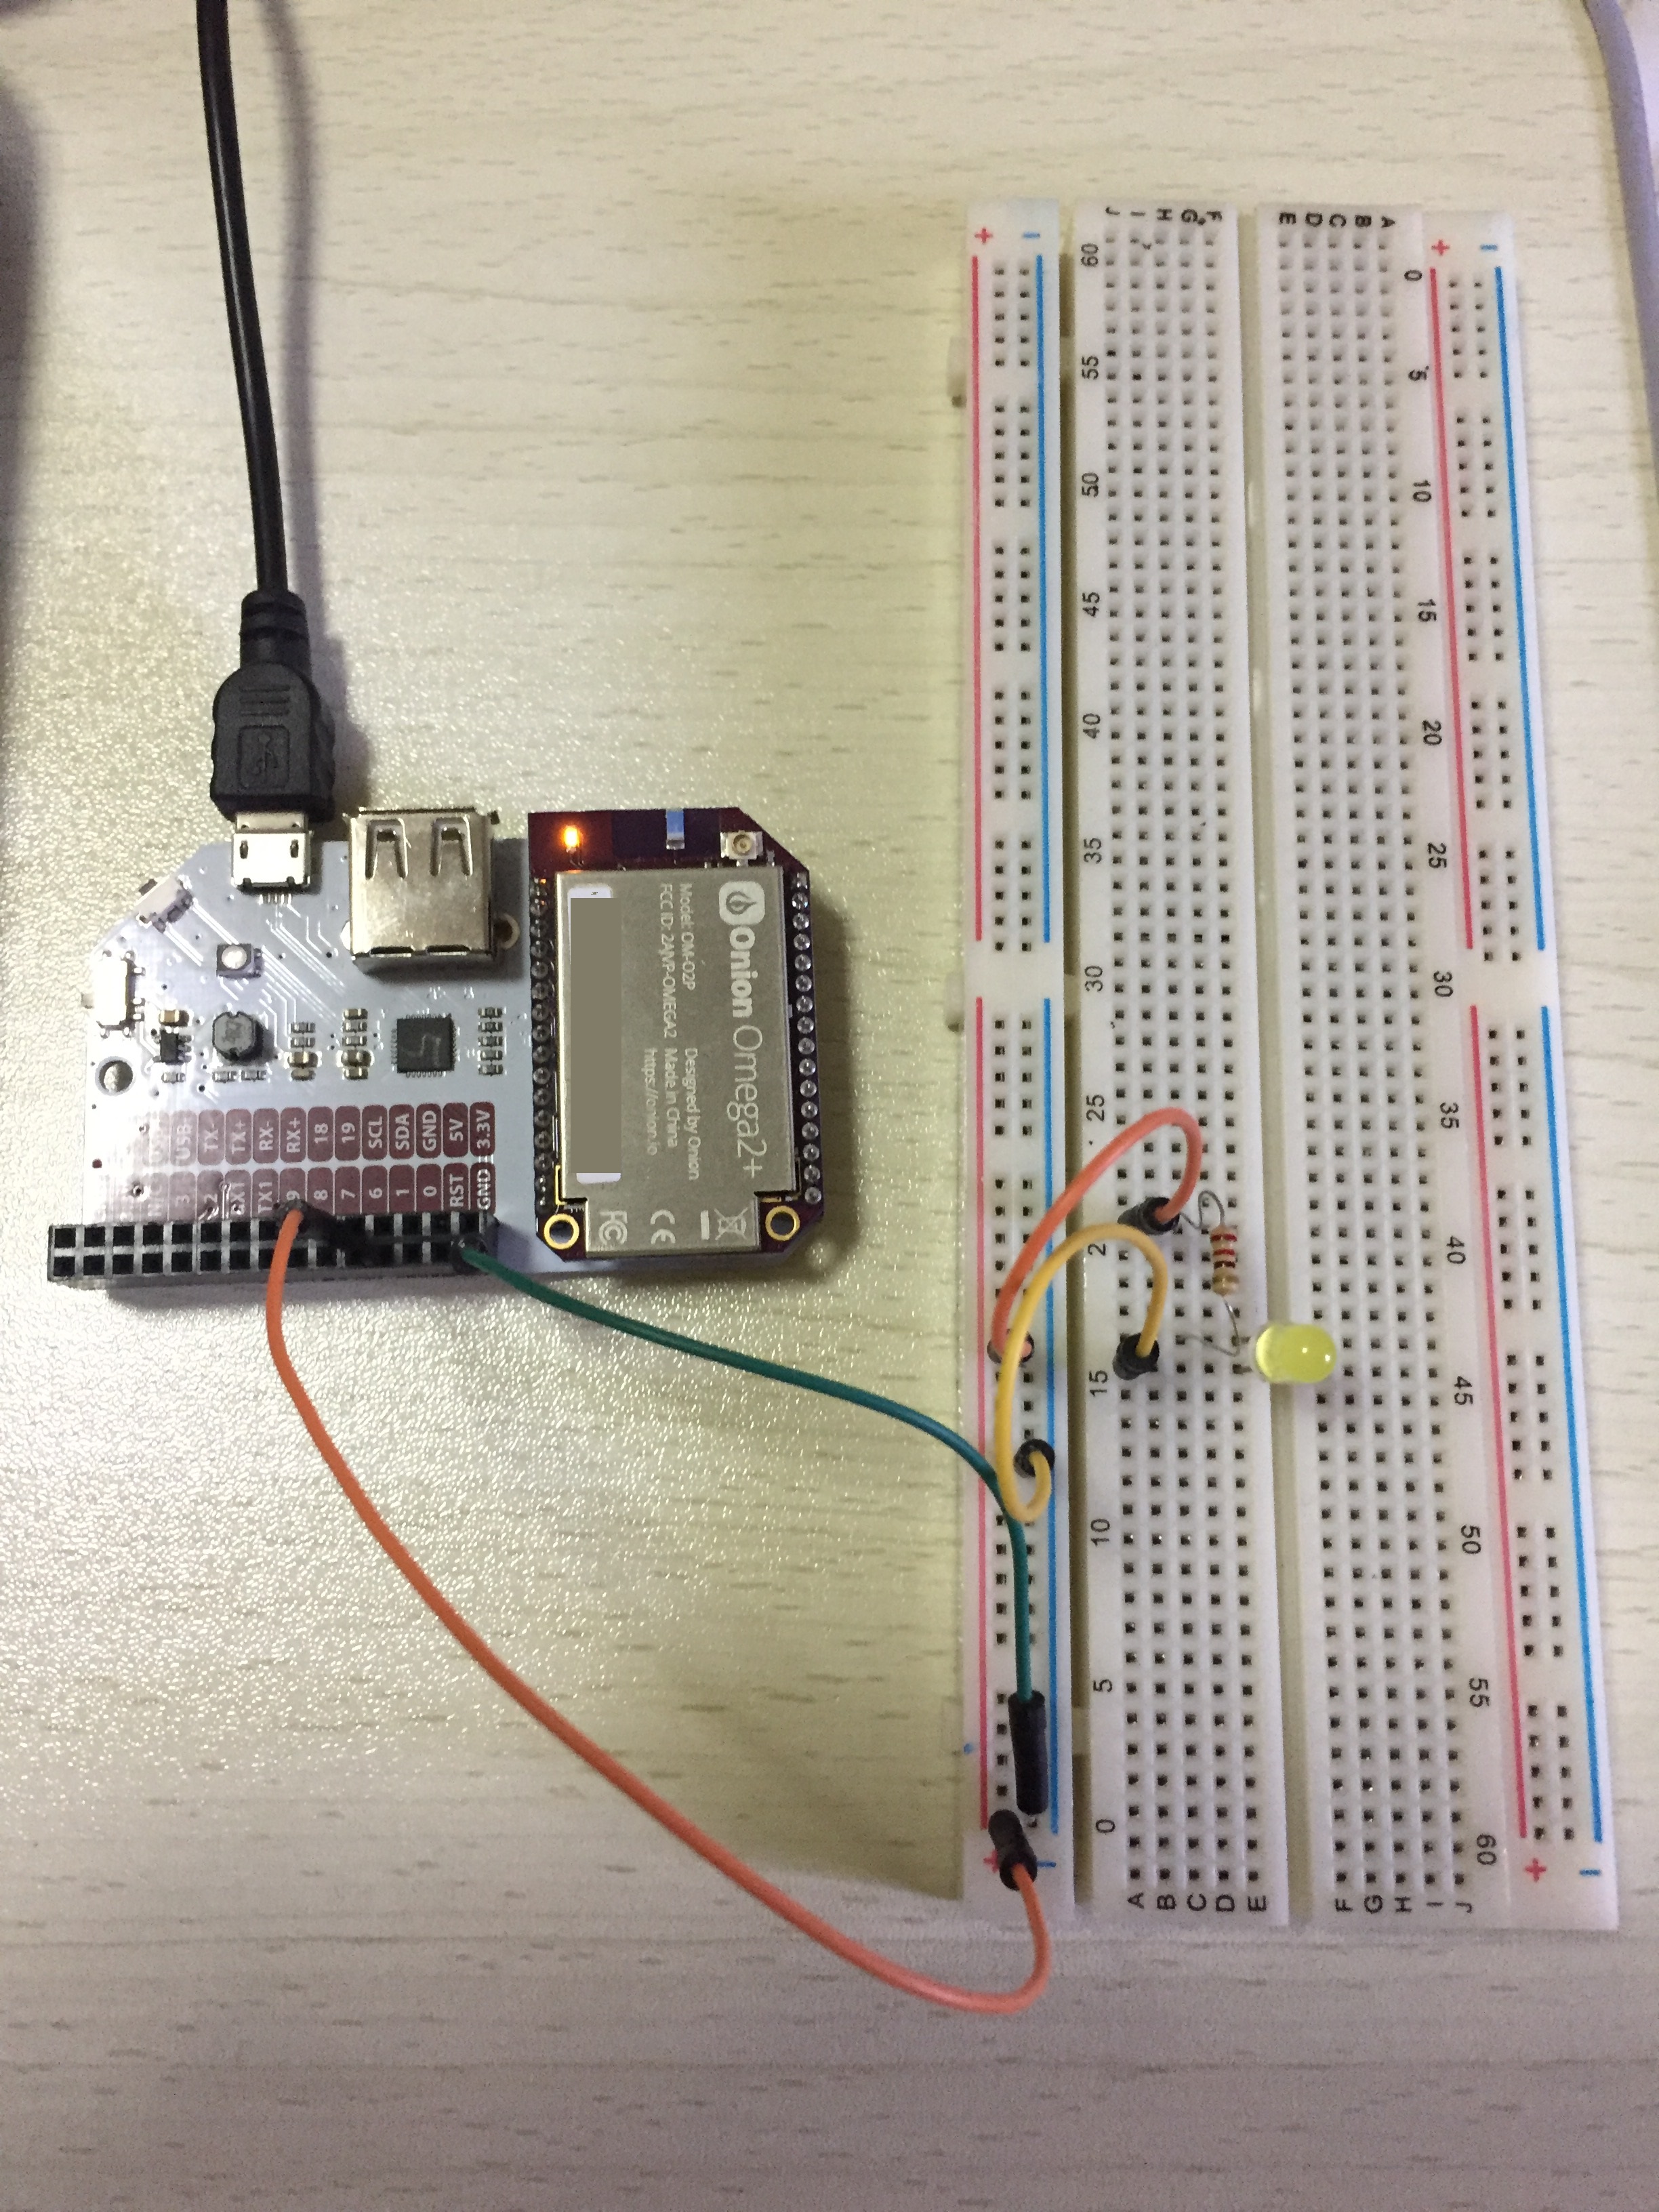
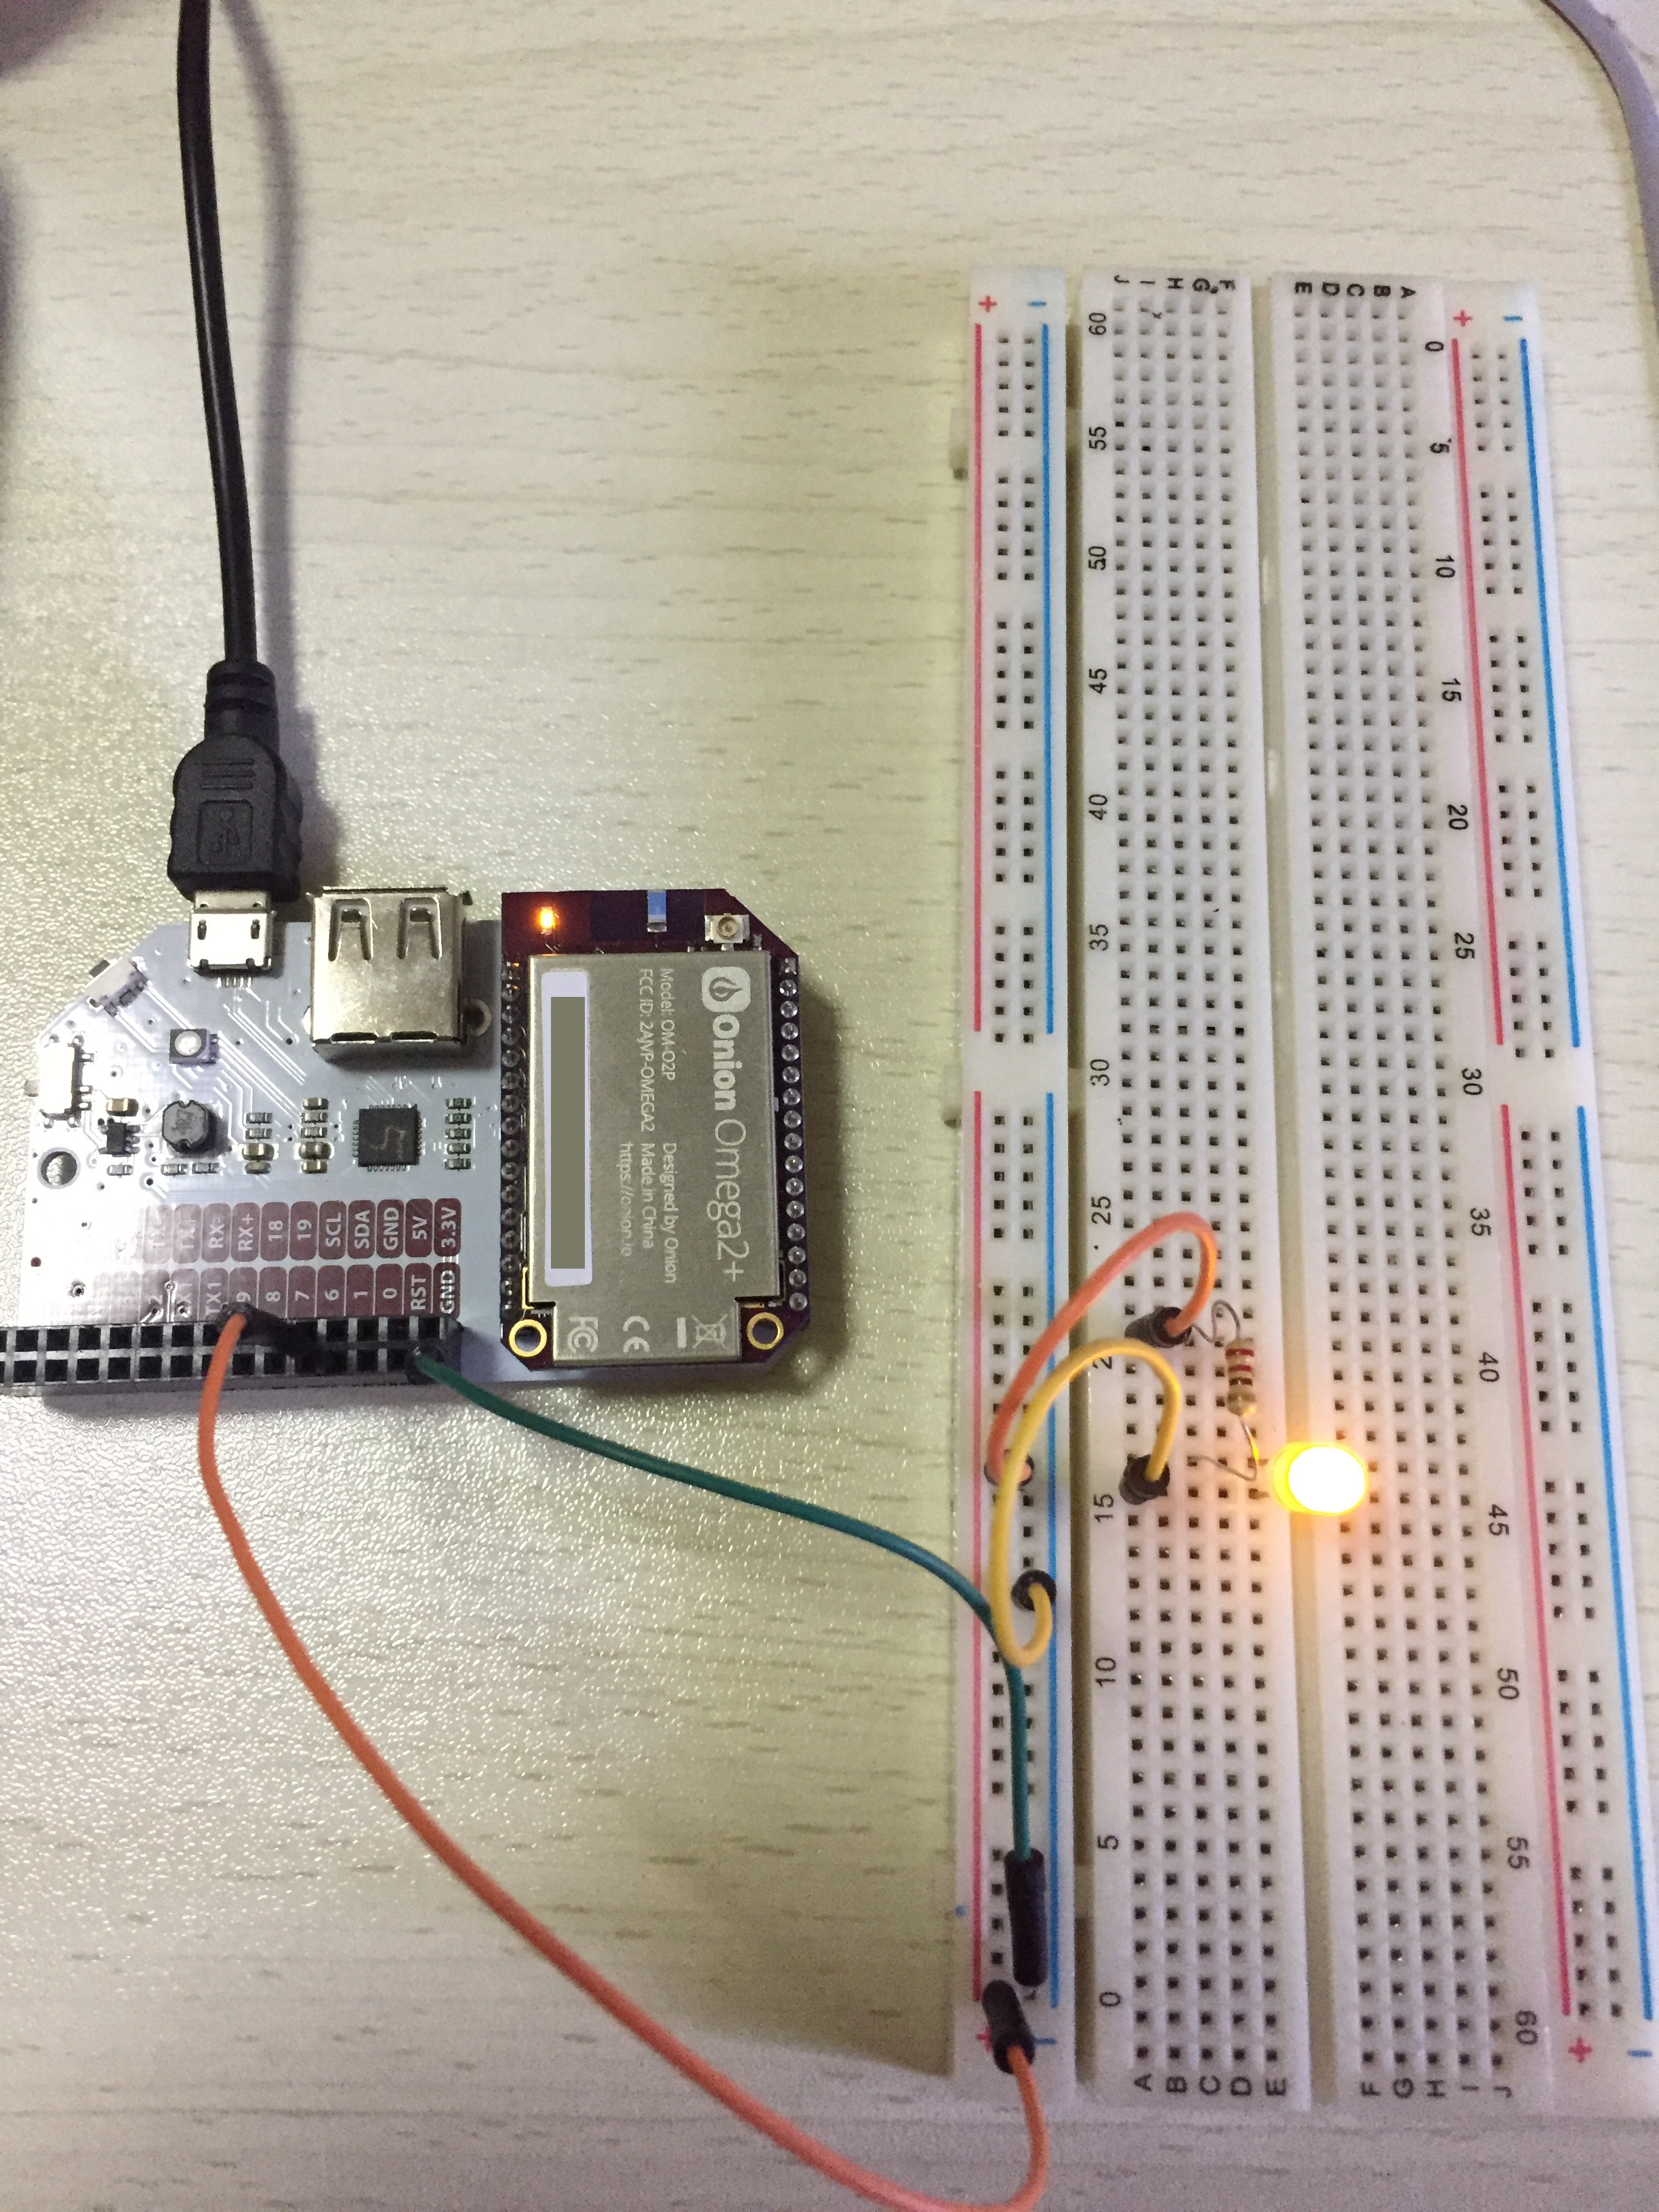
Hardware SetupYou can use a breadboard to connect an Led to Pin 19 on Omega2p.
Insert the LED legs in the breadboard. Insert a 221 Ohm resistor with it's one end connected to the anode (longer leg) of LED and other end connected to the Pin 19 of Omega2p. Connect the cathode (shorter leg) of LED to ground of Omega2p. This setup will allow the current to flow through LED and use the resistor to avoid a short-circuit.
Create a file Blynk_test.js in root folder of your Omega2p.
In the file write the following code
var BlynkLib = require('/usr/bin/blynk-library');
var blynk = new BlynkLib.Blynk('Auth Token'); // Make sure to replace this with your Auth Token
var v1 = new blynk.VirtualPin(1);
var led = new blynk.WidgetLED(2);
var LCD = new blynk.WidgetLCD(3);
var v4 = new blynk.VirtualPin(4);
var flag = 0;
var num = 255;
LCD.clear();
setInterval((function(){
	LCD.print(0,0,"Hello Onion");
}),2000);
v1.on('write', function(param) {
 console.log('V1:', param);
});
v4.on('read', function() {
 v4.write(new Date().getSeconds());
});
setInterval((function(){
	if(flag == 0){
		this.num = 0;
		flag = 1;
	}
	else{
		this.num = 255;
		flag = 0;
	}
	led.setValue(this.num);
}),2000);
Auth Token is a unique token/id used by Blynk to communicate with your Omega2p. Make sure you use that token here. To get a Blynk token ID, use your Blynk app and obtain a new token ID.
- 1. Virtual Pin 1 (v1) is used to read the status of the virtual pin 1 from Blynk app anytime it's state changes. And it writes it's status on console.
- 2. Virtual Pin 2(led) is connected to WidgetLed on the Blynk app. Here it's trying to set the state of this led On/Off alternately every 2 seconds. This state gets reflected on Led widget on Blynk app.
- 3. Virtual Pin 3(LCD) is connected to WidgetLCD on the Blynk app. Here it's clearing the LCD and then writing to LCD widget every 2 seconds. The value will be reflected on the LCD widget on Blynk app.
- 4. Virtual Pin 4(v4) is checking if some widget on Blynk app is reading it, it will send the seconds value.
node Blynk_test.js
Blynk app is available for Apple and Android. Make sure you have downloaded and installed the app on your mobile and setup your account.
Open the Blynk app
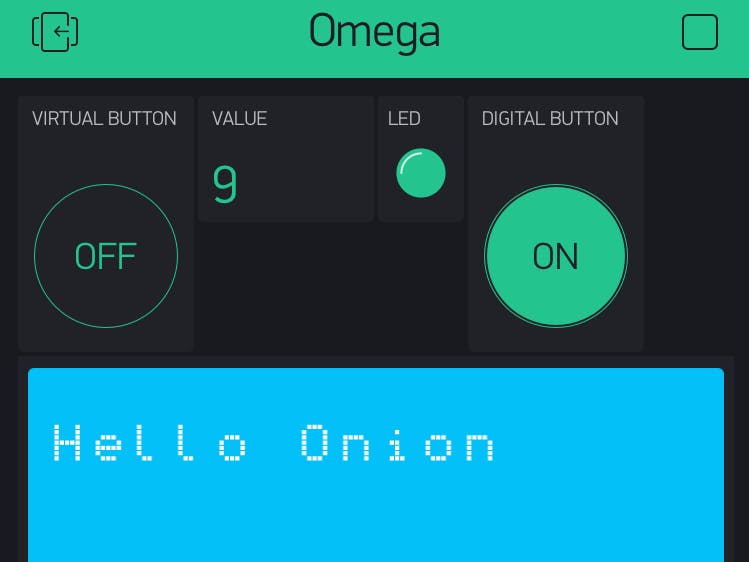
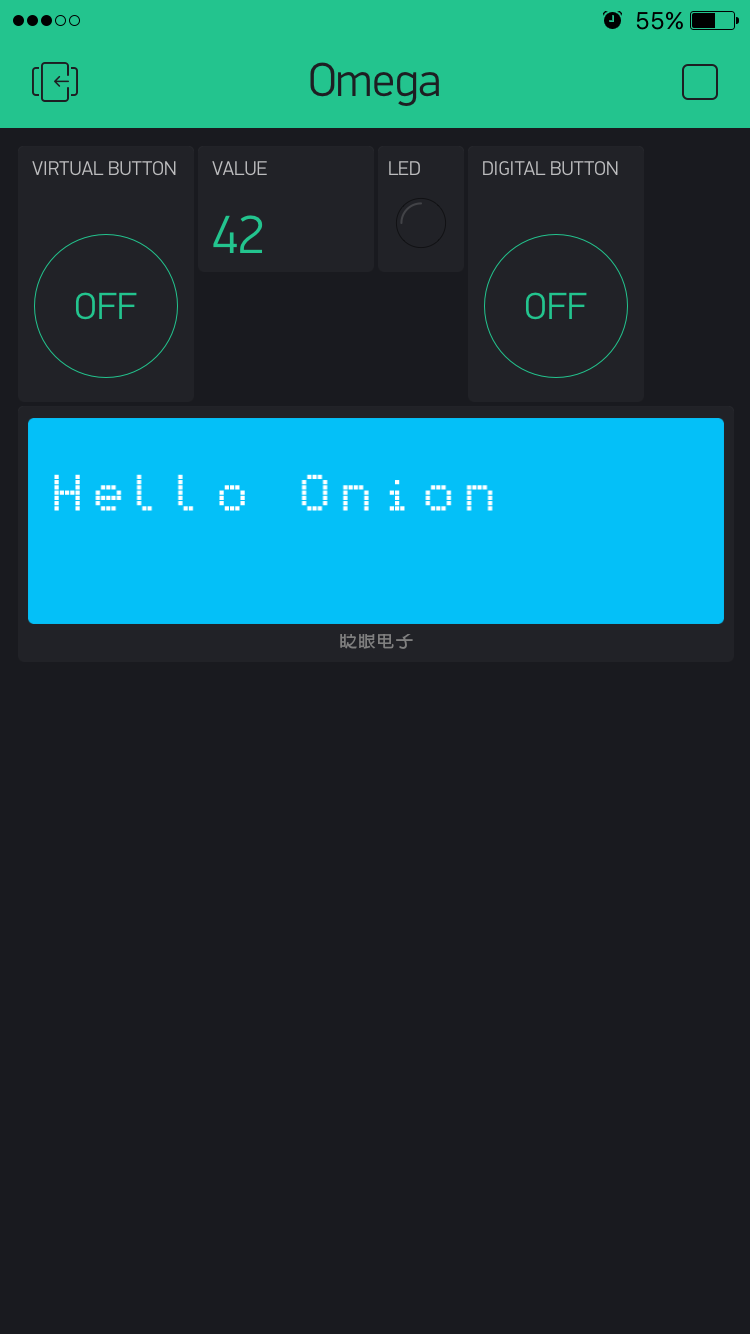
- 1. Drag a Button widget. Set it to Virtual Pin 1. Mode to Switch. In the picture above it's labelled as Virtual Button.
- 2. Drag a Value Display S widget and set it to Virtual Pin 4. In the picture above it's labelled as Value.
- 3. Drag a LED widget and set it to Virtual Pin 2. In the picture above it's labelled as LED.
- 4. Drag a Button widget and set it to Digital Pin 19. In the picture above it's labelled as Digital Button.
- 5. Drag a LCD widget and set it to Virtual Pin 3. In the picture above it's shown in blue color.
Click the play button on your Blynk app.
- 1. If you push Virtual Button you will see your terminal V1: on or off.
- 2. You will see the values of seconds coming on your Value Display widget.
- 3. LED widget will be blinking On/Off.
- 4. Press the Digital Button, it will switch On/Off the LED connected through Omega2p on Pin 19.
- 5. LCD widget will show you "Hello Onion".


Comments
Please log in or sign up to comment.