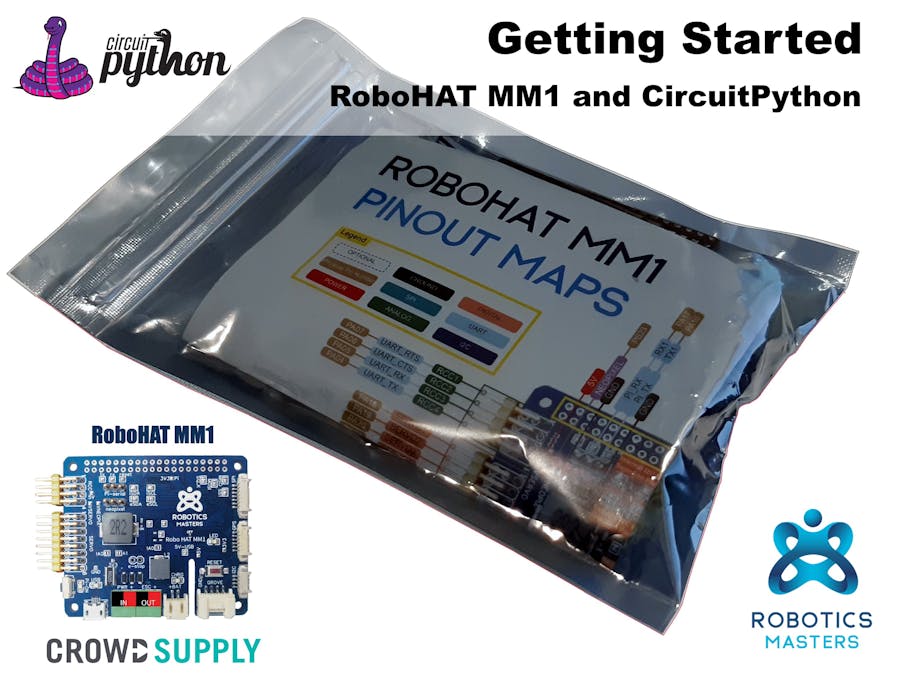
With the Robo HAT MM1 now being received by backers, there has been a few questions about getting things up and running. This guide is for people looking at writing CircuitPython with their new Robo HAT MM1 board from Crowd Supply.
Most of the Robo HAT MM1 kits will contain a Robo HAT MM1 board, pin out guide and an assortment of accessories. This is enough for you to get up and running with a multitude of projects and sensors.
- Robo HAT MM1
- Pin out map
- Power Fly-Lead
- 2 x Green Connectors for ESC and Power
- Stand-offs
- Assortment of cables for each of the three ports
All the Robo HAT MM1 boards were flashed with CircuitPython at the factory. All you need to access CircuitPython on the HAT is to connect a cable between your computer and to the Micro USB port on the HAT.
If you are using Windows, you should see a CIRCUITPY drive appear in This PC. For Mac Users the drive may appear on your desktop or in the Computer option under Go at the top of the screen.
You can open and edit the file called code.py from the CIRCUITPY drive to test that your board is working.
Here is a blink example (code.py):
import board
import digitalio
import time

led = digitalio.DigitalInOut(board.LED)
led.direction = digitalio.Direction.OUTPUT

while True:
    led.value = True
    time.sleep(1)
    led.value = False
    time.sleep(1)
If the red LED on the HAT starts flashing after you saved code.py, then you have successfully written your first CircuitPython program on the Robo HAT MM1 !
If you need more assistance or a more detailed guide, check out the Adafruit Learn Guide for CircuitPython.
https://learn.adafruit.com/welcome-to-circuitpython/the-circuitpy-drive
It discusses some of the background and in-depth about how to get CircuitPython running on many different boards.
CircuitPython - ConsoleTo see what your code is doing when you run it, you have to log into the serial console (REPL) that is on the HAT.
There are different ways of doing this depending on your operating system. The Windows instructions are below.
After connecting your HAT via USB to a computer, a serial port is configured by Windows 10. To see the serial port (COM) you need to open up Device Manager. Do this by searching for it in the start menu.
The Robo HAT MM1 will have a COM port associated with it. The number should be higher than 1. In the screenshot below my Robo HAT MM1 is running on COM12.
Now that we know that COM12 (or different) is the Robo HAT MM1, we are able to log into it using Putty. Putty is a SSH and Telnet client that is able to communicate with serial devices. You can use another program if you like - Putty is my personal preference.
Make sure to change the settings to match the screenshot above and then click Open.
If you are not running any code you should see the following appear:
Otherwise, press CTRL + C to cancel the running program and to open up the interactive Python terminal.
Note: If you want to continue running your CircuitPython code and close the interactive shell - press CTRL + D.
Further information about the Python Shell can be found in the Adafruit Learn Guide - Interacting with the Serial Console.
Updating CircuitPythonAt the moment the latest version of CircuitPython (5.0.0) works with the Robo HAT MM1.
To update the HAT all you need to do is download the latest firmware from CircuitPython.org/downloads and copy it to the HAT while it is in Bootloader Mode.
Bootloader mode is launched by double pressing the reset button in the middle of the HAT while connected to USB. The red LED will start to flash or fade in and out and a new USB drive called ROBOM4BOOT will appear.
Easy!
What do I do now?Well, now that you have CircuitPython up and running - you can do anything!
There are a number of Adafruit Guides for different CircuitPython projects already out there. The Essentials Guide is a great starting point (I always refer to it).
I am going to publish some other projects later on that have been completed with the Robo HAT MM1. They might give you some ideas!
Projects ListWhere to purchase the Robo HAT MM1?


Comments
Please log in or sign up to comment.