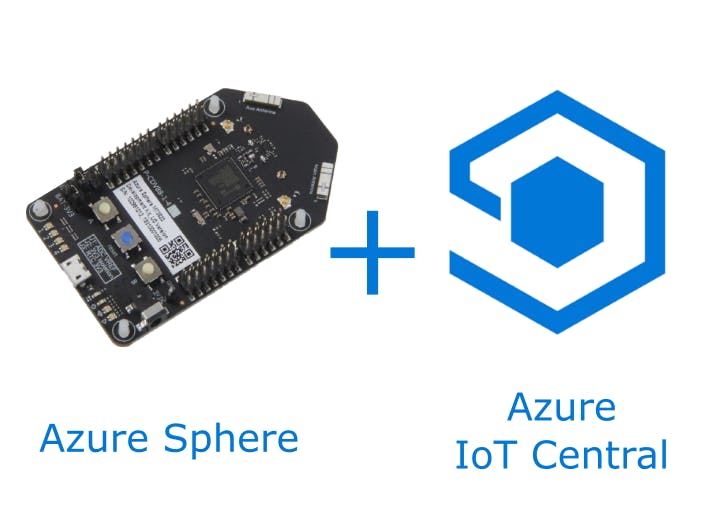
The principal objective of this tutorial is to show how to connect the Azure Sphere MT3620 Development Kit to the Azure IoT Central, a new Azure SaaS service that makes easy to deploy an IoT dashboard with all secutiry requirements that a real application needs.
Some assumptions!- You have an Azure account, if you don't have, go here https://azure.microsoft.com/pt-br/free/?WT.mc_id=AZ-MVP-5003638 - You have an Azure Sphere device, claimed and connect to your internet connection. If you don't have, go here: https://azure.microsoft.com/en-in/services/azure-sphere/get-started/?WT.mc_id=AZ-MVP-5003638
Architecture Azure IoT CentralAs a complete solution, Azure IoT Central provides the Cloud gateway through automatically provisioning an Azure IoT Hub, and a Web App that is useded as a dashboard. This dashboard show the IoT device data using Time Series tecnology, making easy to analyze data. Besides that, Azure IoT Central provide mechanisms to monitor sensor data and run Azure Functions or Azure Logic Apps.
Every device needs to be registry based on a template, this template define device's: measurements, settings, properties, rules and dashboards.
The first step required is to create the Azure IoT Central feature through the Azure portal. Using the link "Create a resource" you can easy find the IoT Central option. Note that you only need to enter the name of the resource, the template and the region where Azure IoT Central will be created.
Then you will receive the URL to access your Azure IoT Central using your AD account.
When you access the URL you will be taken to the main dashboard screen. We can now start the Azure Sphere registration process in Azure IoT Central.
To register the device, we need to provide proof that a set of keys is our responsibility. As this diagram shows, this type of proof is quite common during Azure Sphere operation.
Go to Administration -> Device Connection -> X.509 Certificates menu. Now we must use Azure Sphere CLI to export the certificate that identifies the tenant group where the device was registered.
azsphere tenant download-CA-certificate --output CAcertificate.cerReturn to the Azure IoT Central admin panel and use the folder icon button to load the CAcertificate.cer file.
When the upload is complete, a new window will appear with a verification code that was generated by Azure IoT Central. Copy this code.
Then, using Azure Sphere Command Prompt, use the same command to use the verification code and generate a new certificate to validate that you own the tenant.
azsphere tenant download-validation-certificate --output ValidationCertification.cer --verificationcode <CODE FROM AZURE IOT CENTRAL>Click on Verify button and upload the new certificate file.
This next screen shows that your tenant certificated has been validated, and you can registry Azure Sphere Devices from this tenant.
Every Azure Sphere device has a unique identifier, let's use this command to export the identifier.
powershell -Command ((azsphere device show-attached)[0] -split ': ')[1].ToLower()Now we must create the template that will identify the properties of our Azure Sphere, use the device model option to add a new one and click the new button to include a new telemetry parameter called Temperature. The parameter name must be identical to the one sent by the device in the update messages.
The next step is to register the device from the template, tick the devices option, choose the Azure Sphere template, and in the ID field enter the key that was generated by the azsphere device show-attached command.
To begin development of code that will be executed by Azure Sphere, we will use a set of examples provided by Microsoft in the following GitHub repository. Clone the repository and open with Visual Studio the project in the azure-sphere-samples \ Samples \ AzureIoT folder.
https://github.com/Azure/azure-sphere-samples/tree/master/Samples/AzureIoT
This sample code sends random temperature data to Azure IoT Central, if you prefer you can use a real sensor like the Azure Sphere Grove Starter Kit. To do this you will need to add the project dependency containing the libraries to use the sensor. Documentation on how to install this dependency can be found at: https://www.seeedstudio.com/Grove-Starter-Kit-for-Azure-Sphere-MT3620-Development-Kit.html I'm going to put my sample code in a GitHub repository so you can take a closer look at the whole project.
Whether or not using an actual sensor, the next step is to modify the project properties file called app_manifest.json to include connection information with Azure IoT Central. The information is the Azure IoT Central scope identifier, the Azure IoT Hub provisioned URL for connection to Azure IoT Central, and the Device Authentication code.
Within the cloned project of the GitHub repository, there is a folder called Tools. Using the prompt run the ShowIoTCentralConfig.exe command, enter the type of authentication you use to connect to Azure IoT Central, the Azure IoT Central scope identifier that is in it, and the primary SAS key for direct connection to Azure IoT Central. in the administration option, and the ID that identifies the Azure Sphere device. This will generate the information that needs to be replaced in the app_manifest.json file.
Override the values in the configuration file.
Finally, press F5 to save the program to your Azure Sphere and verify that the data is displayed in Azure IoT Central.
This tutorial shows all the steps to send data from Azure Sphere device to Azure IoT Central.


Comments
Please log in or sign up to comment.