I made this for health workers,because many health workers effected covid when they help other covid effected people this is my inspiration. it is wearable device..
when i made this my friend christy told that there is contest based on detecting and protecting covid in hackster.io . my project is a just prototype. I think prototype is way to product . isn't? .this project detect the covid effected person and protect other from effecting. Do you know how it works?
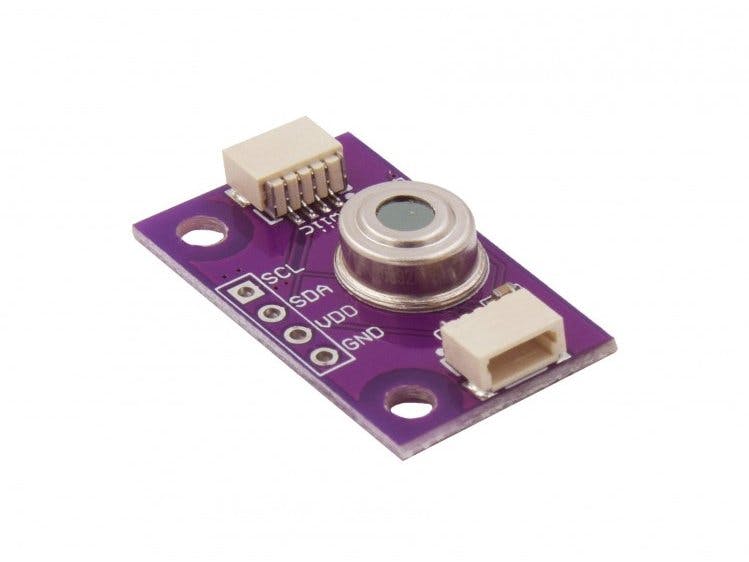
We all know that if a person effected covid , their body temperature will very high,
and some person in our society having bad behave .if they effected covid they try to spread it around. So we beware of them. We don't know that person but the health community can know..
here we give this to houses that covid effected or doubted houses.
we give this product . and check their body temperature and regular inter well of time know you think for this health community needed to go their home..answer is no because we create a blynk application that will show their body temperature (wireless).
From this we can detect the covid effected person in our place .
We have protect setting also. this wear device is attached to their body . To identify their location, if they go some were we can get information.
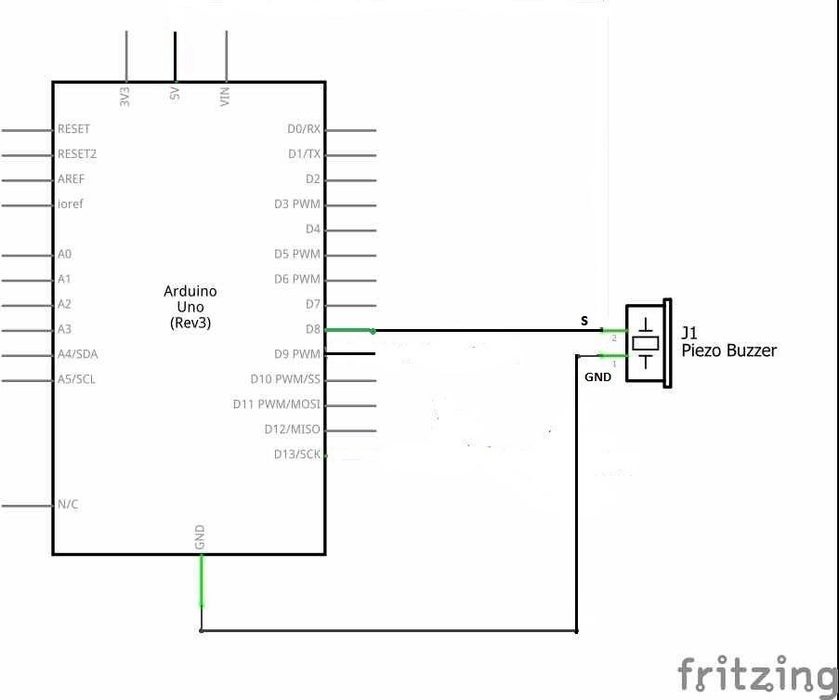
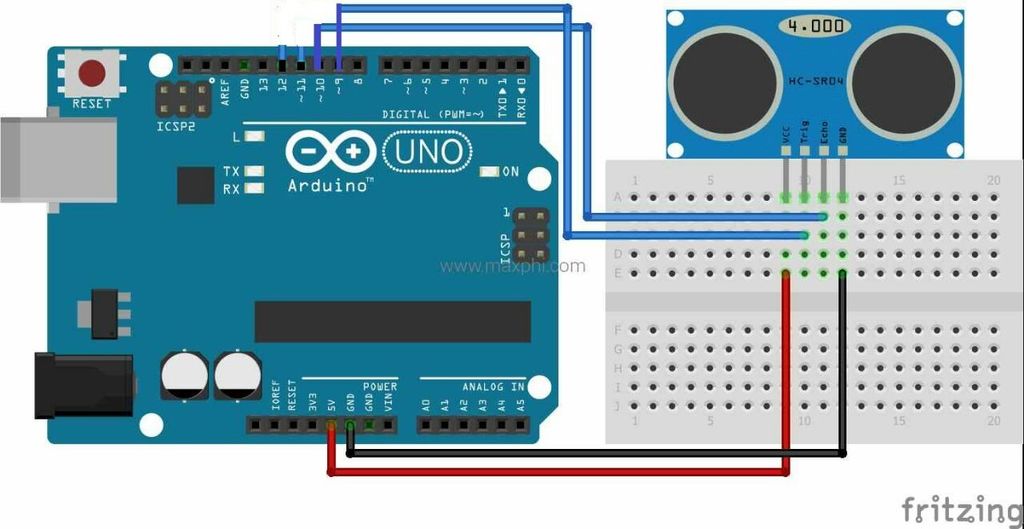
now you think if we remove they will not get any information.it is exactly good idea .but that idea will not work because ,if they remove it ,at the same second that information will send to depended authorities. here we use a ultra sonic sensor. if obstacle is found it will not send any information (obstacle take as our hand) this is a prototype only .i like to made this project using pulse sensor and i order it but lock down make some trouble, that's why i am made this using ultra sonic sensor.
So , we can protect other from effecting covid.
I will show some pictures
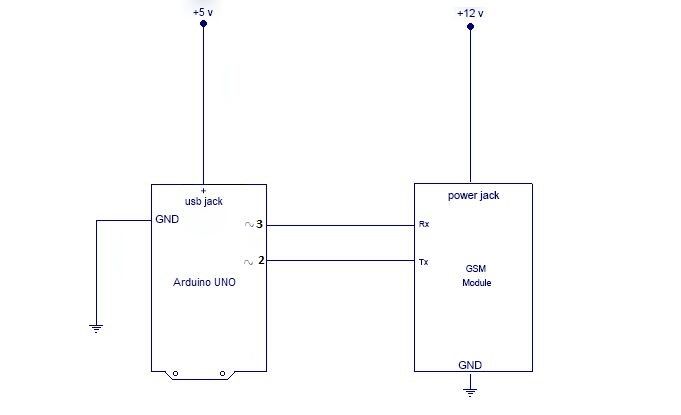
my hardware are big. Because brought gsm module for other project. so my module is big but if you 800 type module we can manage the space.
setting up blynk
1.Download the Blynk APP and create a user
2. Create a New Project
3. Fill up a Project Name, select ESP32 Dev Board and WiFi as Connection Type
4. An email will be sent with an Auth Token, keep this email as the Token information will be needed later on! This Token can also be found under your Project settings (It is the icon that looks like a nut bolt just next to your project name).
5. Tap on the screen and select Value Display on the Widget Box
6. An empty box will appear on the screen, tap on it to open up the Display Settings
7. Type in Object Temperature on the Title. Select PIN and change to Virtual. Select V0 on the selection for the Virtual PINS. Tap OK on the right top corner.
8. Tap on the screen again and select another Value Display on the Widget Box. Follow step 6 and 7 but change the Title to Ambient Temperature and the PIN to V1
Now we have created two Value Displays to gather both Object and Ambient Temperatures.
Go to your email and copy paste the Auth Token to the code as well as changing the SSID and password for the WiFi network. Flash the firmware!
Display Data to Blynk
By now you should be able to view the sensor data on the OLED. In order to also view the data on the Blynk, go to the APP one more time and tab on the ‘Play’ icon on the right left corner.
After this, the project is complete and the data is also being displayed to your phone!



_ztBMuBhMHo.jpg?auto=compress%2Cformat&w=48&h=48&fit=fill&bg=ffffff)



Comments
Please log in or sign up to comment.