.
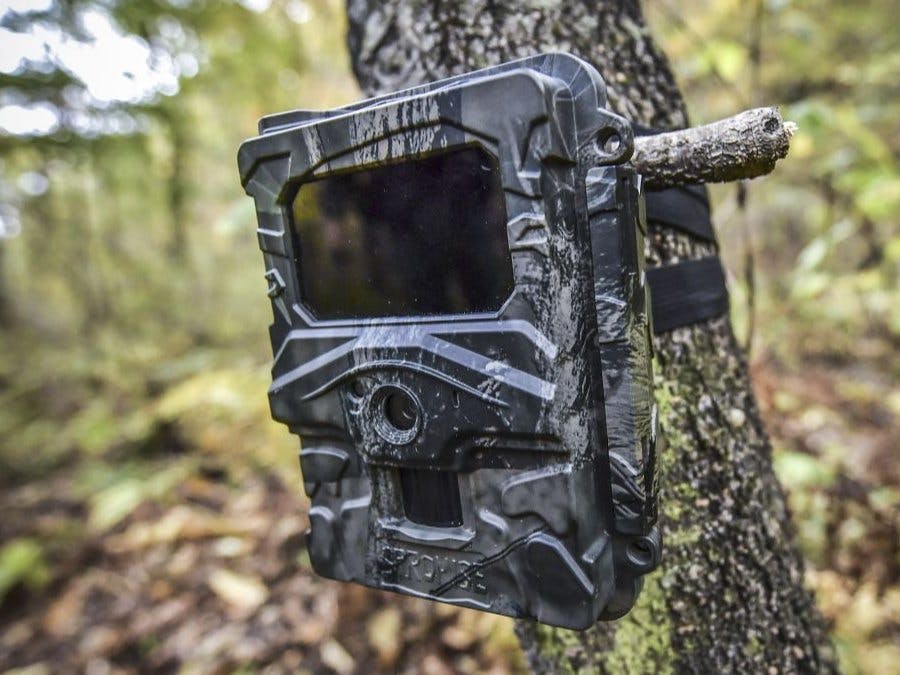
The traditional methods used by bird researcher to do bird monitoring are often labor intensive and error prone. Camera trap can be used to measure species and community population.
I am going to build a bird watcher which uses AI to do bird classification and data collected will be fed to the cloud for further processing (hopefully I have time to complete the cloud processing part).
.
Setup.
I am using a Windows 11 desktop as the development environment. I prepared the setup following the steps described in Train and Deploy Your Own AI Model Into Grove - Vision AI.
In this initial phase of the project, I will build a bird classification model for the BALD EAGLE.
.
Collect dataset.
The in-built camera on the Grove - Vision AI Module is used for data collection. This is because the colors, image quality and other details will be similar when we perform inference on Grove - Vision AI Module which makes the overall detection more accurate.
Connect the Grove - Vision AI Module to PC by using USB Type-C cable.
Double click the boot button to enter boot mode.
Drag and drop the following .uf2 files to GROVEAI drive according to your device
Grove - Vision AI (capture_images_Grove_AI_firmware)
.
Copy and paste this Python script inside a newly-created file named capture_images_script.py on your PC
.
Execute the Python script to start capturing images
python3 capture_images_script.py.
Change the device firmware back to default firmware after data collection
Enter Boot mode on Grove - Vision AI Module as explained before
Drag and drop the below .uf2 files to GROVEAI drive according to your device
Grove - Vision AI (Grove_AI_default_firmware)
.
Annotate dataset.
We use the Roboflow online annotation tool. This tool is very convenient because it will let us help distribute the dataset into "training, validation and testing". Also this tool will allow us to add further processing to these images after labelling them. Furthermore, it can easily export the labelled dataset into YOLOV5 PyTorch format.
.
Sign in and click Create New Project to start our project.
Fill in Project Name, keep the License (CC BY 4.0) and Project type (Object Detection (Bounding Box)) as default. Under What will your model predict? column, fill in an annotation group name. For example, in our case we choose apples. This name should highlight all of the classes of your dataset. Finally, click Create Public Project.
.
.
Drag and drop the images that you have captured using Grove - Vision AI Module
.
After the images are processed, click Finish Uploading. Wait patiently until the images are uploaded.
.
After the images are uploaded, click Assign Images
.
Select an image, draw a rectangular box around an apple, choose the label as bald-eagle and press ENTER
.
Continue to annotate all the images in the dataset. Once labelling is done, click Add images to Dataset
.
Next we will split the images between "Train, Valid and Test". Keep the default percentages for the distribution and click Add Images
.
Click Generate New Version
.
Now you can add Preprocessing and Augmentation if you prefer. Here we continue without making any further changes.
.
Next, proceed with the remaining defaults and click Generate
.
Click Export, select Format as YOLO v5 PyTorch, select show download code and click Continue
.
This will generate a code snippet that we will use later inside Google Colab training.
.
Train model.
After you are done with annotating the dataset, you need to train the dataset. Jump to this part which explains how to train an AI model using YOLOv5 running on Google Colab.
.
Deploy and Inference.
We will move the model-1.uf2 that we obtained at the end of the training into Grove - Vision AI Module. Then we will connect the Grove - Vision AI Module with the Wio Terminal to view the inference results.
.
Follow this Deploy the trained model and perform inference to see the detection information on the serial monitor.
.
.
Code.
I use the capture_images_script.py as it it. But I pass an interval of 5000ms in order to have time to capture the images.
python3 capture_images_script.py --interval 5000.
The following is the Roboflow code which is used during the Colab training:
!pip install roboflow

from roboflow import Roboflow
rf = Roboflow(api_key="APIKEY")
project = rf.workspace("vincent-wong-mxmiz").project("bald-eagle")
dataset = project.version(2).download("yolov5")
All the other codes are provided within the YOLOV5-training-for-Vision-AI.ipynb notebook..
Summary.
This is a simple project which I follow all the instructions provided in Train and Deploy Your Own AI Model Into Grove - Vision AI. The current project classifies only on type of bird which is the bald eagle. Future enhancement can be made to include (1) additional type of birds and (2) displaying detail on the Wio Terminal and (3) sending data to cloud for storage.
..


Comments
Please log in or sign up to comment.