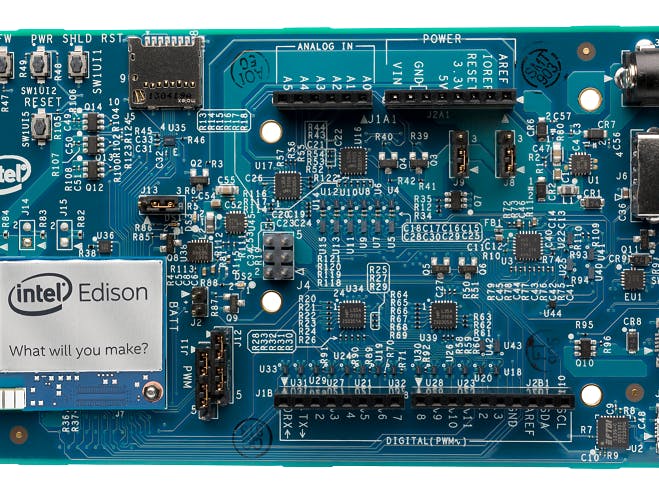
This is a tutorial project which follow the getting started guide from Intel. The difference is that this guide targets specifically the 64-bit Windows 10 development environment and has more screen captures for the steps.
Overview- Step 1: Assemble the board
- Step 2: Download and install the Intel XDK IoT Edition
- Step 3: Create a project, upload it to the board and run it
- Windows 10 (64-bit)
- Intel Edison board
- A few LEDs or the Grove - Starter Kit Plus: Intel IoT Edition.
- Follow this link to set up the Intel Edison Development Board on Windows 64-bit.
- Follow this link to set up the Intel Edison Development Board on Windows 32-bit.
Download the Intel XDK IoT Edition from here. Right-click the installer you just downloaded, then select Run as Administrator. If a confirmation message is displayed, click Yes to continue. Follow the instructions in the installation wizard to install the Intel XDK IoT Edition.
Running Intel Edison Board Configuration Tool
At Welcome page, click Next to proceed.
At License page, click Next to continue.
Click Intall Drivers to install USB drivers if not already installed.
Click Flash Firmware button.
Downloading...
Installation completed.
Checking SSH configuration...
Set device name.
Set password.
Setup Wi-Fi.
Setup completed.
Running the Intel XDK IoT Edition installer
- Create a project
Run the Intel XDK IoT Edition. Follow the on-screen instructions to log in to your Intel® XDK account or sign up for a new Intel XDK account. You can work through this guide without creating an account, but it will streamline working with your applications in the future.
From the Projects tab, click Start a New Project in the bottom left. The Start a New Project page opens.
In the Internet of Things Embedded Application list on the left, click Templates. A list of templates are displayed on the right.
Select the Onboard LED Blink template, then click Continue. In the Project Name field, type a name for your project.
Click Create. Your project is created.
If you are a Windows user and Bonjour is not installed on your machine, a "Bonjour is missing" message is displayed. Complete the steps in the Install Bonjour section to install Bonjour.
- Connect to the Edison board
From the IoT Device drop-down list in the bottom left, select your development board. The Connect to your IoT Device dialog box opens.
If your development board is not included in the drop-down list, you must connect to your board manually. Select Add Manual Connection and supply your board's IP address in the Address field. By default, the Intel XDK IoT Edition assumes your board's IP address is 192.168.2.15.
If you have created a user name and password to log in to your board, type them in the User Name and Password fields. Otherwise, leave the default values.
Click Connect.
If you see a message saying that your daemon is out of date, update the daemon. This will disconnect from the board, as the daemon has to be restarted, so follow the instructions to reconnect when prompted.
If you see a message about the clock on your board and the Intel XDK IoT Edition being out of sync, click Sync.
A confirmation message appears, displaying the connection status and IP address of your development board. Click Dismiss. Your board is now connected.
- Upload and run the project
You have no code to write as the template provides the code required.
From the top of the application window, click the Develop tab. Look for the IoT toolbar at the bottom of the window.
Click the Upload icon to upload your project to the board.
Now click the Run icon to run your code. You should see an LED on your board flashing on and off. Click the Stop icon to stop the LED.
Now, you have run your first IoT app using the Intel XDK IoT Edition.


Comments
Please log in or sign up to comment.