What's New
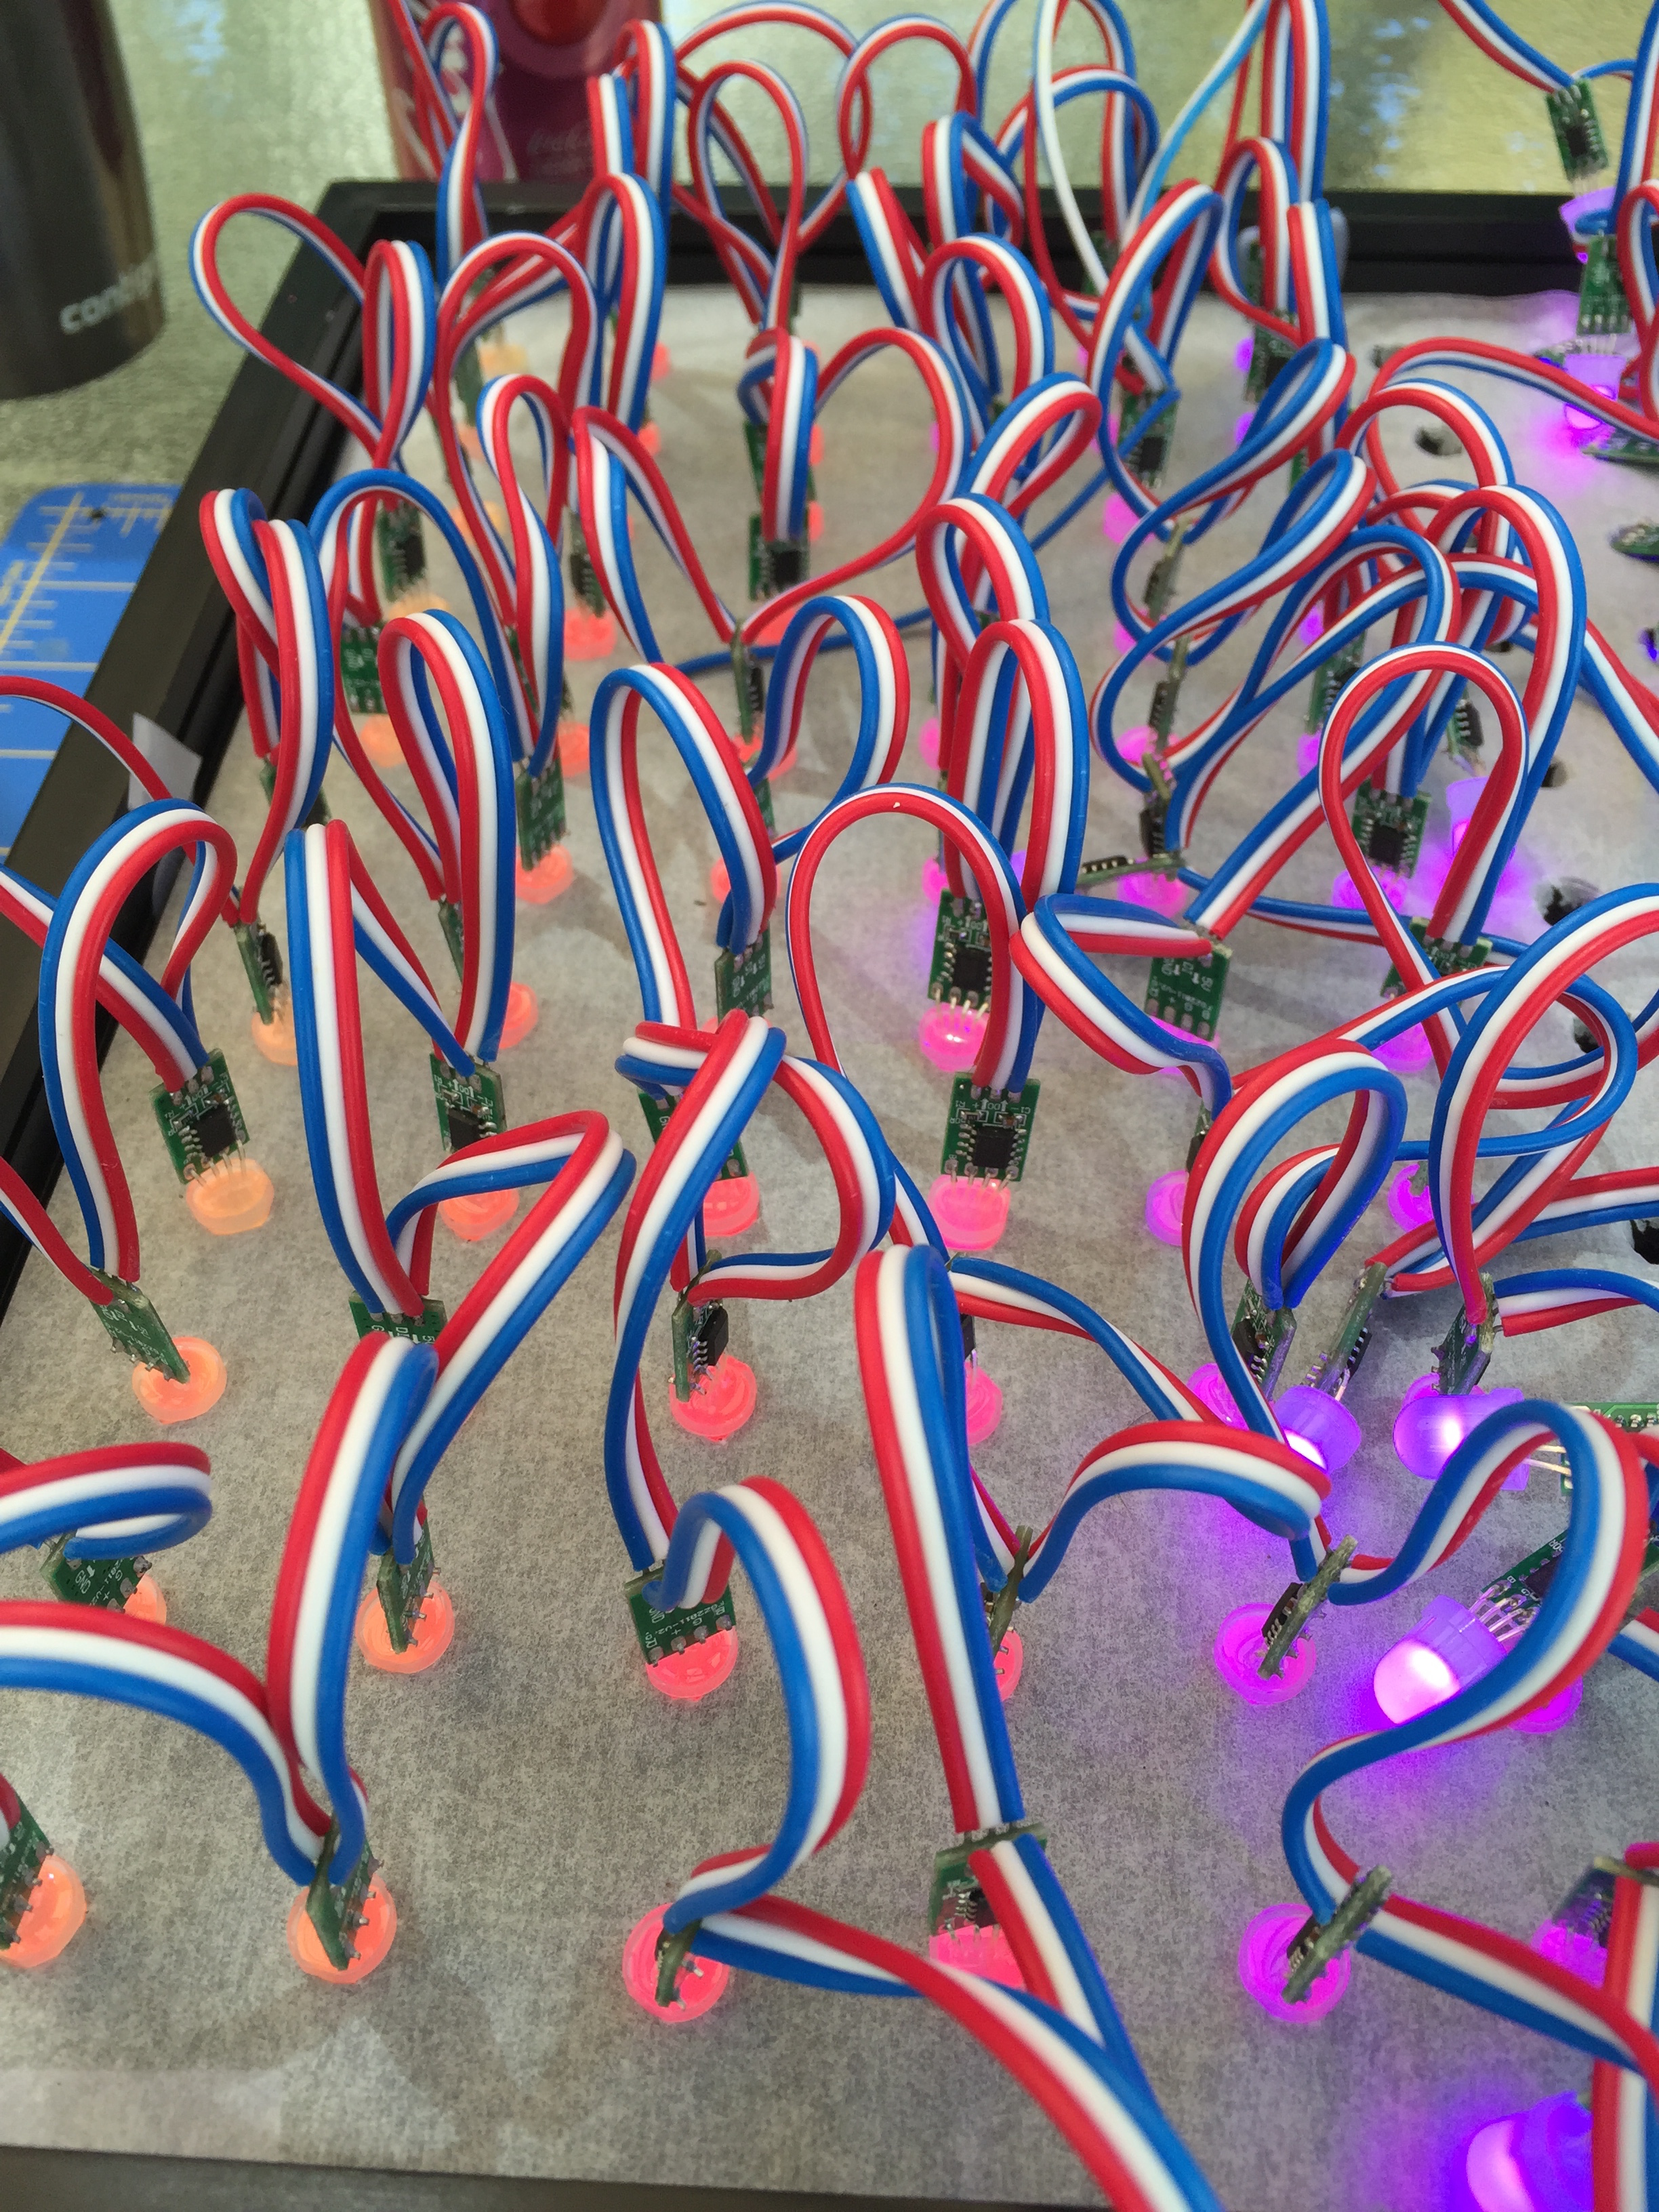
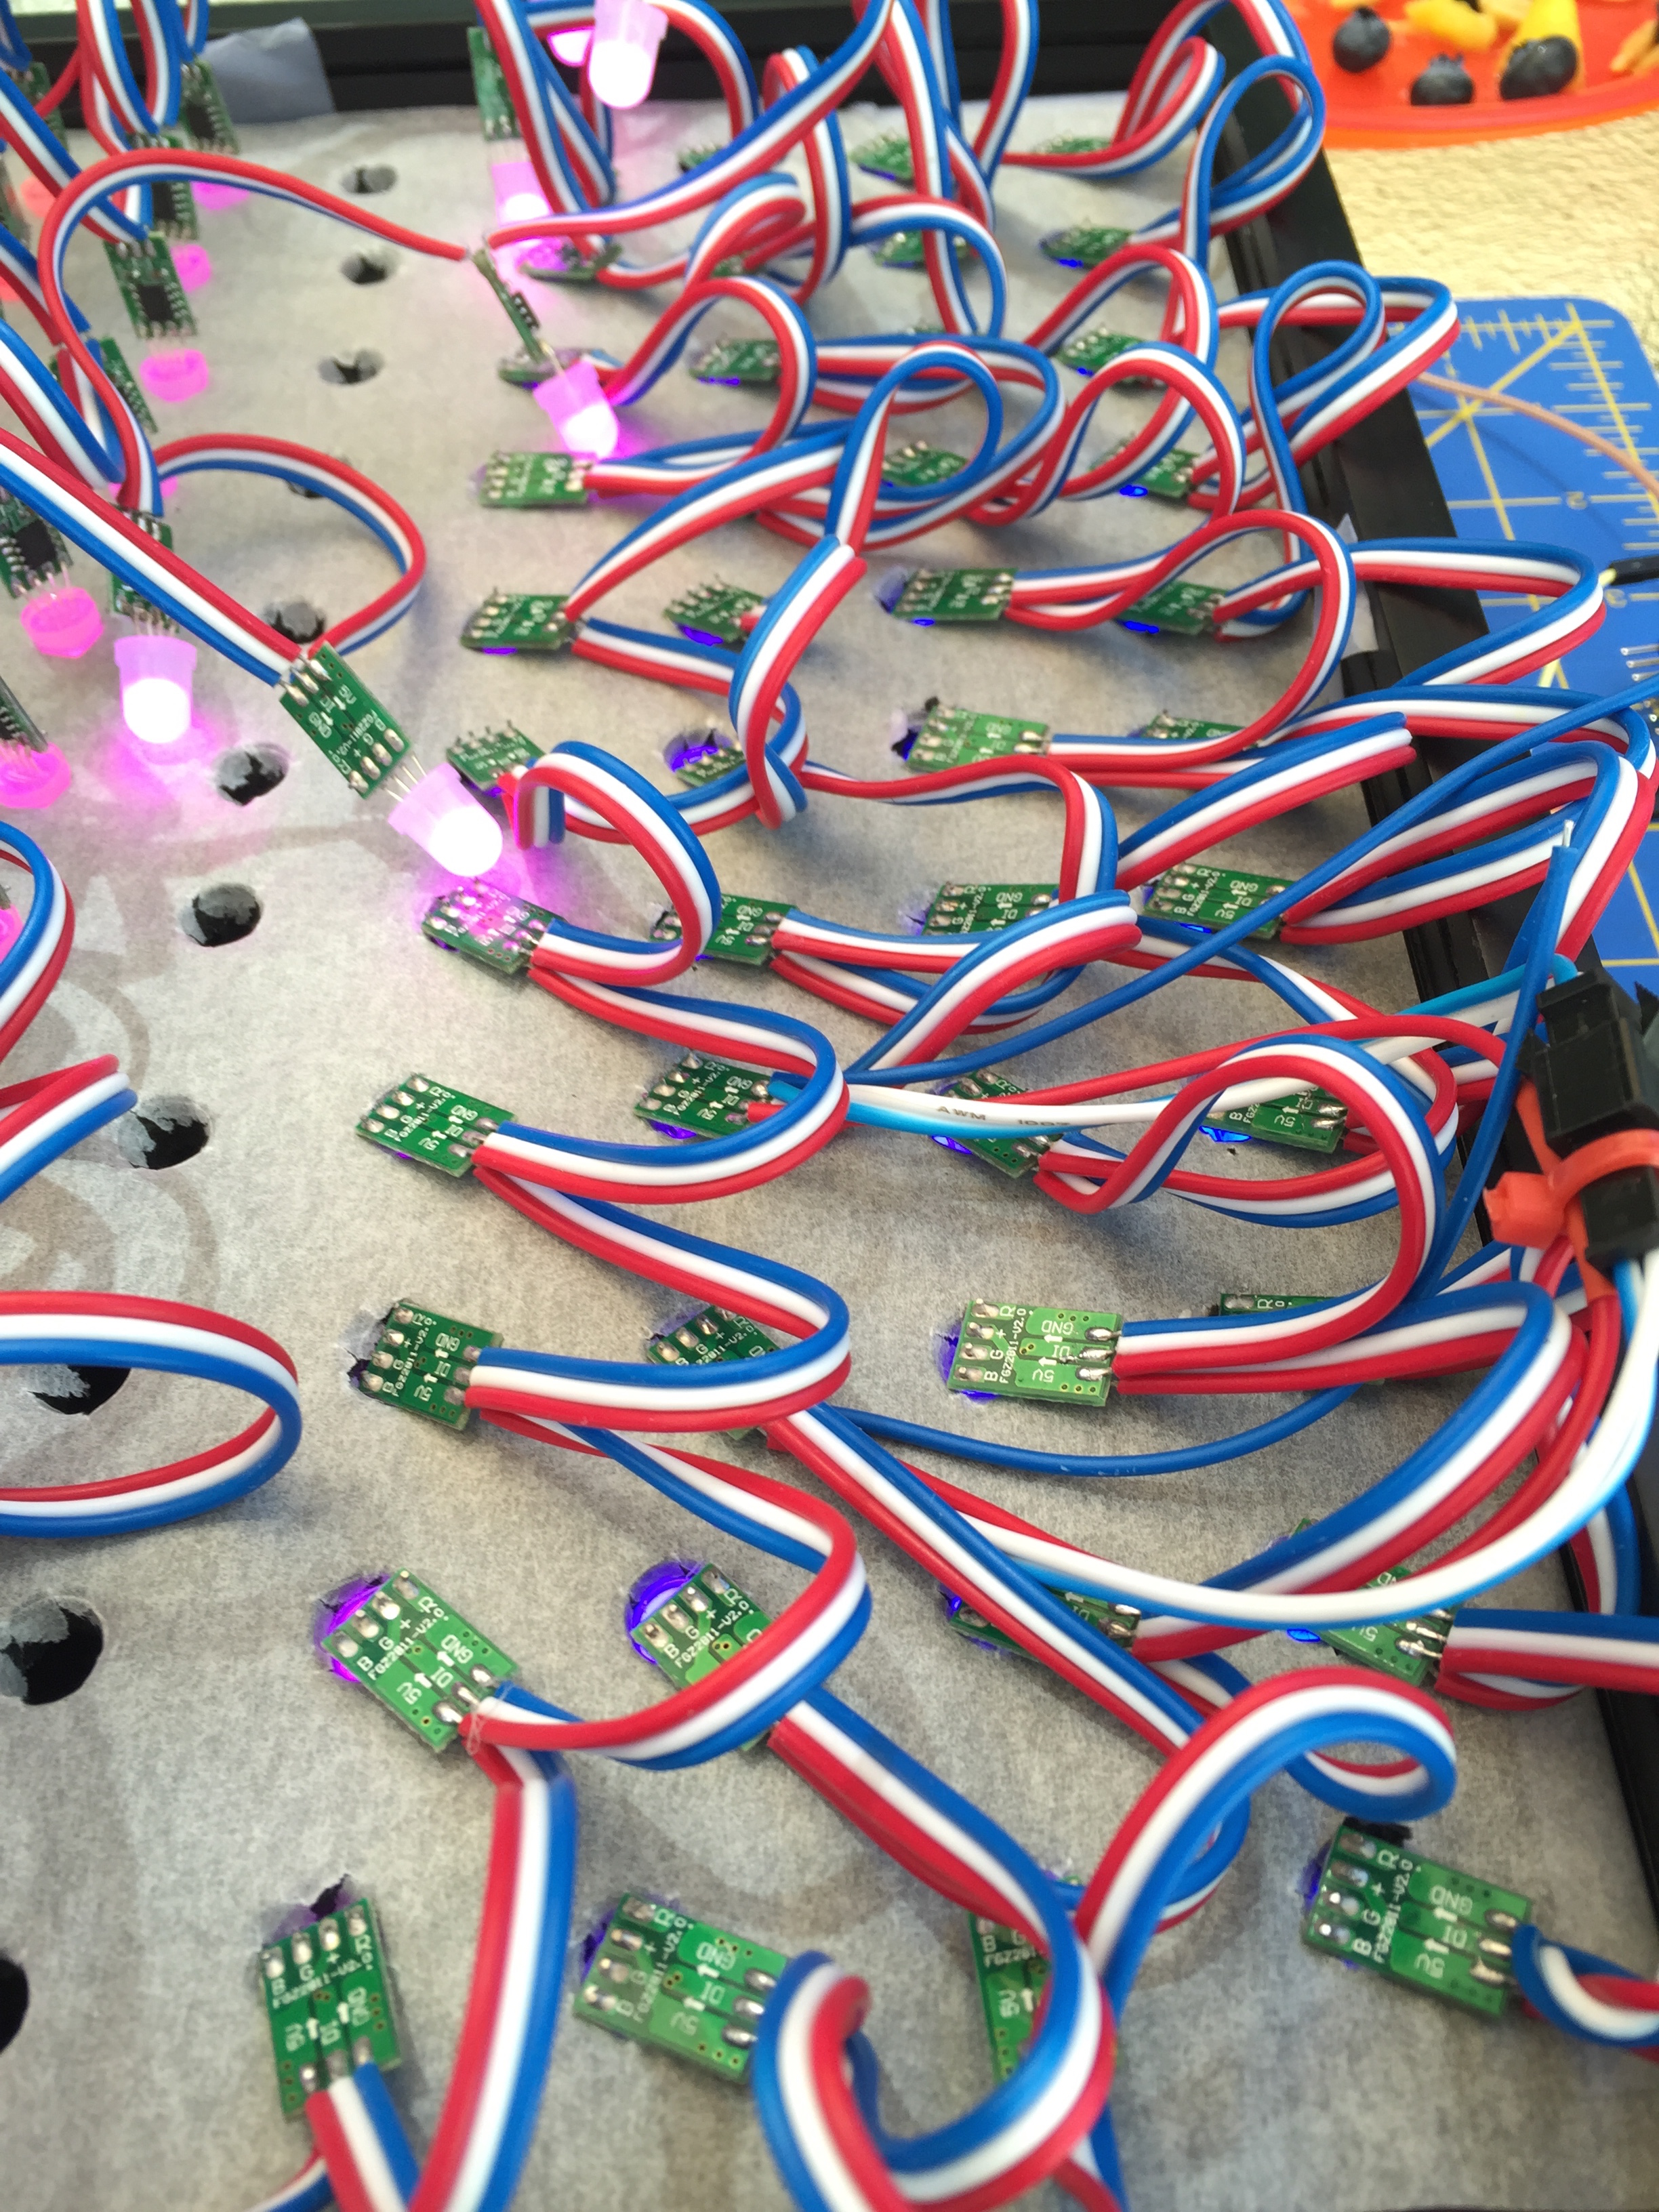
The NeoPixels have changed. Instead of soldering individual pixels or using strips that come on reels, I opted for NeoPixel strings (without the weatherproofing jacket). This made things sooooo much easier, and total assembly can be done in a couple of hours instead of over the course of a weekend!
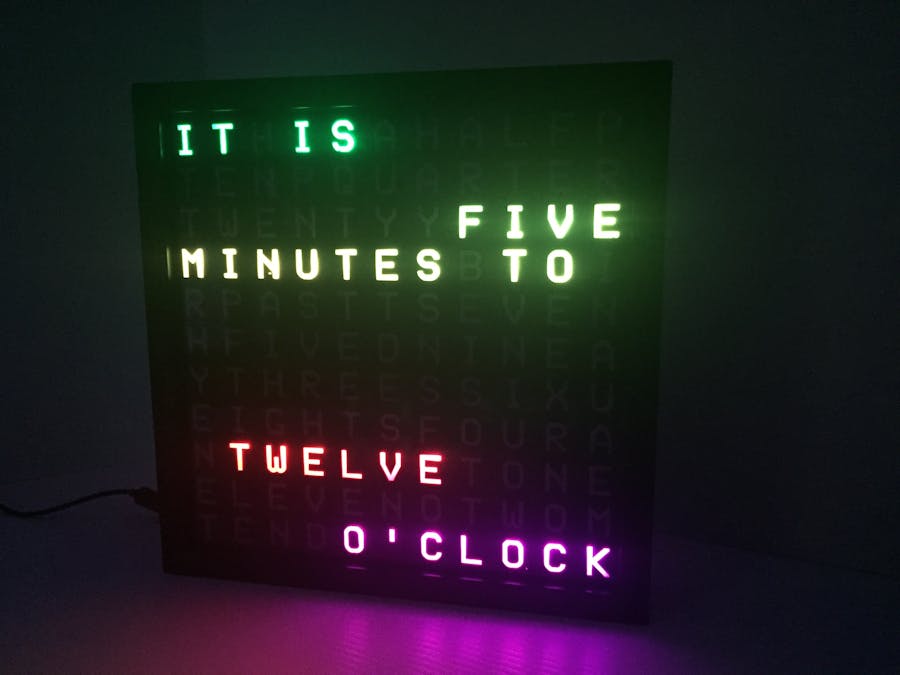
I also opted to get a 12"x12" shadow box frame instead of 12"x16", although you can go bigger if you like. I personally like the 12"x12" frame much better. The letters are the correct aspect ratio (width versus height) and feels more "natural".
Build Instructions
Please defer to the version 1 build instructions for The Lettering and The Foamboard. Unlike the original, cut the foamboard strips to be about 3/4" tall instead of 1".
The LEDs
Once you have your vinyl lettering in the frame and your foamboard grid, you're ready to build out the LED "infrastructure".
- Cut out a piece of tracing paper to fit over the grid in the frame.
- Lay the paper over the grid and mark the center of each cell.
- Remove the tracing paper and cut out a piece of foamboard to fit in the frame over the grid.
- Tape the tracing paper to this new foamboard and start poking holes for the LEDs. I used a screwdriver to start the holes and made them big enough to fit LEDs using a Sharpie (the opposite side of the actual pen).
- Now start pushing LEDs, in order, into the holes. Bend the LEDs at 90-degree angles from their circuit boards so they and their wires will lay down flat(ter).
- Get a couple pieces of tape to tape to the LED foamboard and fold them over to act as tabs (in case you need to remove the grid later).
- Put the foamboard with LEDs into the grid/frame with the LEDs facing the glass.
- Ta-da! You're done with the LEDs!
Finish the Frame
Take the original backing from the shadow box and try to put it in the frame. My initial version of v2 had 1" foamboard strips for the grid, so I couldn't fit the backing back in the frame as-is. If you run into this problem, there is a way to give you about 1/4" more room! If the shadow box backing has styrofoam between the felt and the board, you can peel off the felt, remove the styrofoam (as much as possible) and then glue the felt to the backing directly. Don't worry if it's a messy job with the glue because you won't be able to see it anyways!
The Electronics
The electronics are pretty much identical to v1, so I will defer you once again to that part. The only change you might consider is getting barrel connector mates to solder to the electronics. That will make it much easier to transport the frame since you can unplug the power supply from the word clock. I also mounted the Photon to the back of the frame by cutting Photon-sized slits in the backing and connecting all the wires to the headers in those slits. Make sure you don't make the cuts too wide as you'll want friction to help hold everything in place.
Follow-Up
From here on out, it's up to you as to what you do with your word clock. I highly recommend joining and participating in the Particle forums to get help and learn about the Particle platform for this and many, many other projects and ideas!


Comments
Please log in or sign up to comment.