Please consider backing my campaign here
History with Energy MonitorsI have been fiddling and tinkering with energy monitoring for a while now. I started with the ADS1115 as my analog to digital converter and did all the maths on an ESP8266. Then tried the ADS1015 for faster conversions and the ADE7763 for offloading the maths to a dedicated processor and letting the ESP focus on serving config pages and WiFi.
Designing ATM90E26 BreakoutI started looking around for cheaper and more modern alternatives to ADE7763 Energy monitor after designing an initial breakout for it. I came across the Atmel ATM90E26 Smart Metering IC with dual communication options - UART/SPI and multiple metering modes (tamper proofing with current sensing on live and neutral). However the Evaluation Module (EVM) from Atmel is over-engineered and targeted at an enterprise audience. It is around $800 from Mouser Australia. I guess it needs to be so to comply with creepage/clearance requirements for handling 240V AC signals. This however puts it beyond the reach of a dabbler such as me.
So I set about extracting the low-voltage only components from the Atmel Reference Design and placing them on a PCB. Atmel generously provided me with 3 sample IC's to go with my PCB's from OSHPark, thereby saving me around $750 in testing their IC.
Then I went on the usual hunt for prior art in interfacing this code with a microcontroller and came across this post in /r/diyelectronics which interfaced the ATM90E26 to a Raspberry Pi. Ryzee sent me the code and assisted me in choosing the right SPI mode (mode 3 in this case) which lets a Teensy talk to the ATM90E26. The code is now available as an Arduino sketch.
I built a low-voltage test rig to see if the voltage ADC works okay and all seems to check out. Full blown Energy Measurement tests next. Meanwhile I placed the couple of boards I had on Tindie to gauge interest for a larger batch.
Before I commit a design to a PCB, I usually make a messy jumpers everywhere version on a breadboard. This is not always possible for a full complex design, often sections get committed to PCB and then modules find a home on the overall breadboard prototype.
This has been the fate of my ATM90E26 Breakout. I plan to eventually make it into a single board/accurate WiFi enabled Energy Monitor. For now it is living next to a NodeMCU on a breadboard. The ATM90E26 has the flexibility to be accessed both over SPI and UART. However the SPI mode it supports is only Mode 3 (after some research it seems that mode 2 and 3 are switched on the ESP8266 Arduino port, this will be patched soon), which is an unsupported mode of the ESP8266 Arduino stack. So I ported my ATM90E26 Arduino interface code over to UART mode with CRC check and everything worked okay after a few days of head scratching. You can find it on the UART branch in Github.
I would like to build a self-powered energy monitor, so I pulled out a venerable 7805 and added it to a half-wave rectifier from the 12V AC-AC transformer used for voltage waveform sampling. When I was using a full-wave rectifier in the past the overall DC voltage was too much for the 7805 to regulate without a heat sink, however with the 1/2 wave version, the diode takes care of dropping half of the voltage leaving the 7805 functional without a massive heat sink.
I calibrated the set-up with some magic multipliers found using the datasheet, maths and my 116W calibration lamp and it all works like a charm as shown in the video below.
There seems to be some noise leakage onto the UART when AC signals are applied, I will attempt to rectify this with an opto-isolator. However a simple reboot of the ESP8266 platform seems to quickly fix any software serial communication issues.
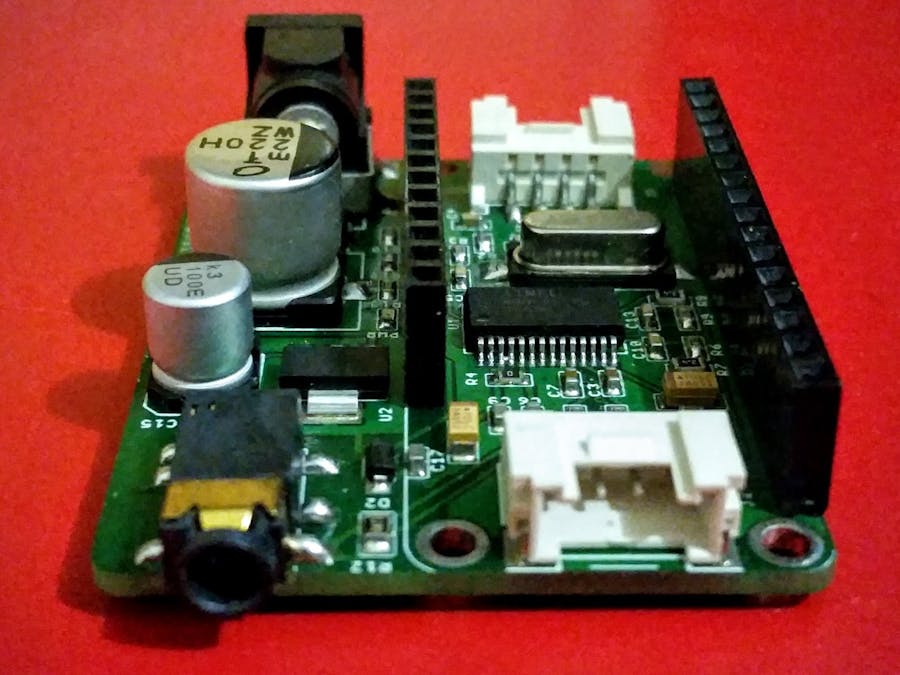
Adafruit Featherwing DemoI managed to put it all together in a Featherwing form factor for Adafruit's feather series of boards since it offers lots of different options in processors and communications (WiFi, Bluetooth and LoRa). I have tested v1.0 of the Featherwing with Huzzah only and made some revisions for v1.2 to be compatible with any SPI or Software serial capable feather.
I demonstrated the featherwing at the Adelaide Maker Faire (biggest Maker Faire in the southern hemisphere) and got Maker of Merit badge. I also gave a short talk on my energy monitoring journey so far. Long road ahead still for a user friendly product.
You can also see my talk on DIY Energy monitoring below:


Comments
Please log in or sign up to comment.