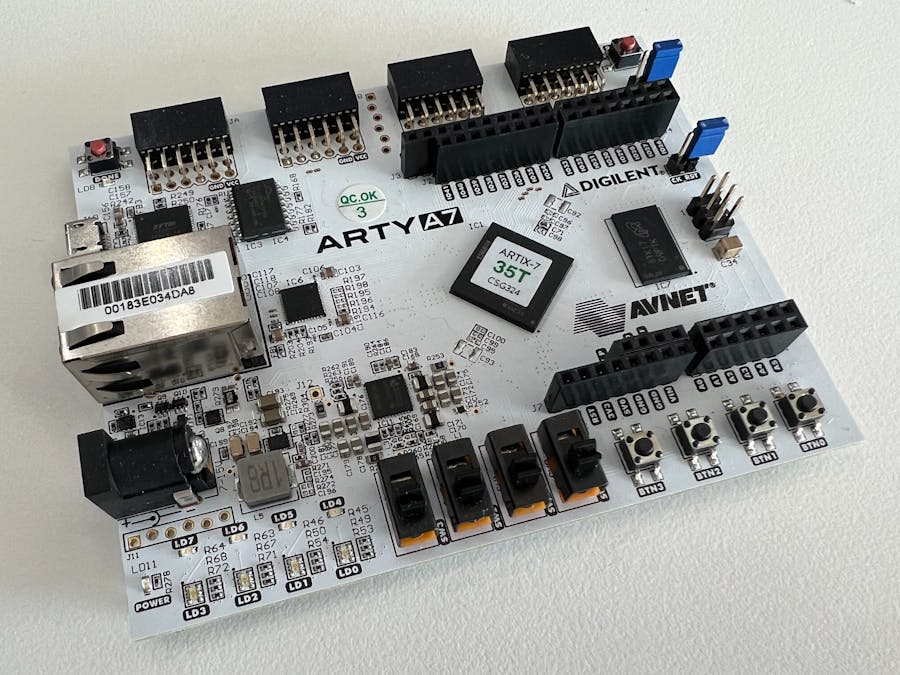
In my previous project post, I went over how to create a basic hardware design for bare-metal application development on the Arty-A7 FPGA development board. This post is a follow up detailing how to build and deploy a bare-metal application on that hardware design on the Arty-A7.
Note: I'm using Vitis 2022.1 in this write-up, but should work in any other 202x.x versions as far as I am aware.
Launch Vitis & Create WorkspaceLaunch Vitis from Vivado (Tools > Launch Vitis IDE) or source the Vitis tools in the environment and launch it from the command line.
~$ source /tools/Xilinx/Vitis/2022.1/settings64.sh
~$ vitis
Select the desired location to for the workspace of the target Vitis project to launch into:
I personally like to create a folder in the top level directory of the corresponding Vivado project hardware design titled vitis_workspace.
Wait for Vitis to launch into a blank workspace:
First things first, a platform project needs to be created. The platform project creates a board support package (BSP) out of a target hardware definition file (.xsa file) exported from Vivado.
Select Create Platform Project from the blank workspace window and point to the exported.xsa file from the corresponding Vivado project. Give the platform project the desired name, leave the Operating system set to standalone (bare-metal) and the Processor set to microblaze_0:
Once the project generates, it will show as out-of-date since it has never been built. Use ctrl+B to build the platform project, which will only take a few moments.
With the hardware imported and the platform created, we can create the application to run on it.
Select New > Application Project...
Vitis has some pre-built platform projects that an application can be built on, but in this case select the platform project just created in the previous step.
Give the application the desired name, and leave the defaults set for the standalone on MicroBlaze for the domain.
Finally, Vitis provides a selection of templates for different types of applications to create. I personally like to choose the Hello World application every time unless I need the specific functionality of the light-weight IP (lwIP), FSBL, etc. The Hello World template fills in a few basics that are missing in the Empty Application template.
Once the application project is generated, the main function can be found in ./app/src/helloworld.c
You can create/import your own main.c file and simply delete helloworld.c or comment out main() in it.
For the sake of demonstration, I just added a loop to print Hello World more than just the one time.
Save all modified source files and build the application. Select <app_name>_system and either use ctrl+B or right-click and select Build Project.
To test the application, launch a debug run which automatically sets a break-point at the first line in the main function and you can step through the application or run it from there.
Right-click on the application's name in the explorer window then select Debug As > Launch Hardware (Single Application Debug):
Once Vitis switches from the Design View to the Debug View and stops at the automatic break-point in the main function, open the Vitis Serial Terminal tab in the bottom window and click the + button.
Connect to the serial port of the Arty A7 with a baud rate of 9600 (set by the UART IP in the block design in Vivado).
Once connected to the serial port of the Arty, run/step through the application to see the "Hello World" printouts:
When I have a project that has low cost and low power constraints, the Artix-7 running a MicroBlaze soft processor or pure RTL design is one of my first choices. The Arty A7 boards are one of the lowest cost development board options for the Artix-7.


Comments
Please log in or sign up to comment.