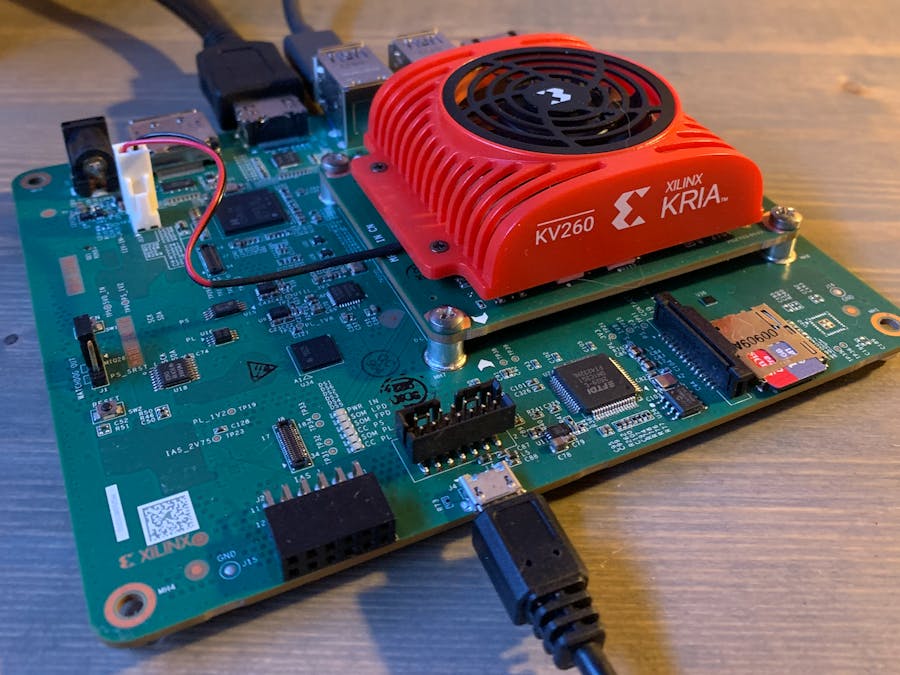
The Kria KV260 Vision AI starter kit is a SoM (System on Module) development board that launch earlier this year and I covered initial back then with a project post demonstrating how straightforward it was to get it up and running for AI accelerated application design without needing complex FPGA design knowledge. Like I said in that project, I normally head straight to Vivado when I get a new Xilinx FPGA board but I didn't need to in order to get the Kria KV260 up and running initially.
However, I was immediately curious about the hardware design in that initial image and how to set it up in Vivado to be able to add to it in the future. So I updated to Vivado 2021.1 and jumped in.
Create Vivado ProjectStart by sourcing the Vivado tools from the command line & launch the Vivado GUI:
~$ source /tools/Xilinx/Vivado/2021.1/settings64.sh
~$ vivado
Select the option to create new project. Give the project the desired name and specify the desired file path. I do recommend not using a network drive, I've never had luck with Vivado handling network drive locations well.
On the next page, leave the default selection of RTL Project and the option for not specifying source files at the moment checked. Also, if you intend to only use the Xilinx pre-built accelerated applications do not check the option to make the project an extensible Vitis platform (thus leaving it what Xilinx refers to it as a fixed platform).
Now this was unintuitive to me at first, because the whole point of an extensible Vitis platform is to provide the hooks in the hardware for the kernel to access it for hardware acceleration in an OS such as Linux. However, this is only when the hardware the kernel needs to access is routed through or located in the programmable logic of the FPGA. When the hardware is directly connected to the Zynq/ZynqMP processing system through something like the MIO, the hardware platform can be a simple fixed platform as the kernel can already directly access the peripherals.
This is something I feel like isn't the most clear when you first start reading about how/why to set up hardware platforms in Vivado for later use in Vitis/PetaLinux, so I thought it was import to point out here.
Another thing worth noting about Vivado 2021.1 in general, is that the why board preset files are installed has drastically changed. Instead of downloading them yourself and manually placing them in the board_files directory in the Vivado installation directory (this folder actually doesn't even exist anymore), Vivado 2021.1 is linked on its backend to Xilinx's Github repository where you can select and download the board preset files you want straight from the start menu GUI as you select the part/board to target the project on.
Block DesignStart the overall design by creating a new block design, selecting Create Block Design from the Flow Navigator window and giving it the desired name.
Add the Zynq MPSoC IP block to the block design and run the resultant block automation to apply the KV260 board presets to it. The ZynqMP processing system IP block is all that is needed for the KV260 PetaLinux BSP, as it appears as though all of the peripherals on the KV260 baseboard are routed directly to the Zynq processing system via MIO/EMIO pins.
After running block automation, connect pl_clk0 to maxihpm0_fpd_aclk and pl_clk1 to maxihpm1_fpd_aclk:
I discovered the hard way that the board presets don't quite cover the entire configuration for the KV260 baseboard. The SD card, DisplayPort, UART, Ethernet, and USB 3.0 peripherals on the KV260 board are not configured into the ZynqMP processing system IP by running the block automation to apply the board presets. It only applies the Kria K26 SoM board configurations such as the DDR4, QSPI, and eMMC.
So to enable the KV260 baseboard peripherals, double-click on the ZynqMP processing system IP block to open it and enable SD card, DisplayPort, UART, Ethernet, and USB 3.0 according to the following:
After updating ZynqMP processing system IP, validate the design to ensure there are no critical errors or warnings.
Save and close the block design and switch to the Hierarchy tab in the Sources window. Right-click on the block design file and select the option to create an HDL top level wrapper to instantiate it in the Vivado project.
Select the option to allow Vivado to manage the HDL wrapper and update it automatically.
Create a new constraints file using the Add Sources option from the Flow Navigator.
Open the newly created and add project constraints. For now the only constraint is for bitstream compression, as there is no pinout needed since nothing is routing through the PL. But that will change when custom hardware is added.
Add following line to the constraints file then save and close it:
set_property BITSTREAM.GENERAL.COMPRESS TRUE [current_design]Run synthesis, implementation, and generate a bitstream for the project using the project flow from the Flow Navigator window.
To use the the hardware design from a Vivado project in either Vitis or PetaLinux, it has to be packaged in a Xilinx proprietary.XSA package as a hardware platform.
Click File > Export > Export Hardware... and be sure to select the option to include the bitstream in the exported hardware platform.
For export location, I personally like to leave it set to the default of in the top level folder of the Vivado project itself.
With the hardware platform packaged up and exported, the next step is to create the software to run on it via Vitis or PetaLinux. The Kria KV260 PetaLinux project is what I'll be covering in my next project port. Hopefully this project is helpful if you're looking for the starting point of how to add your own custom hardware to the base design for the Kria KV260 starter kit.


Comments
Please log in or sign up to comment.