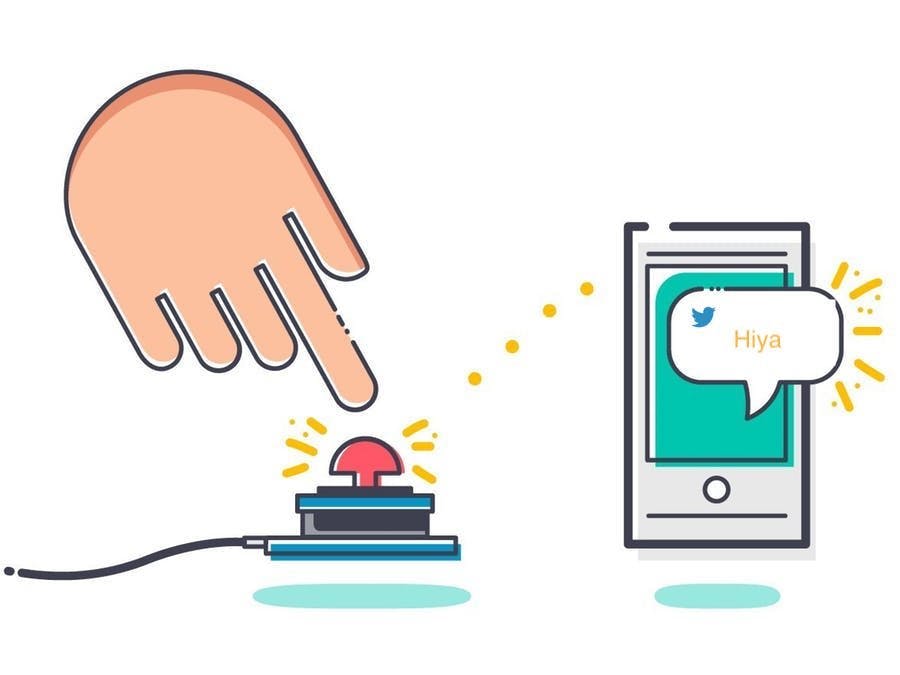
Tutorial : Send Tweet with Dot One Button Click
In this tutorial, we will be making a Dot One send a predefined tweet through a IFTTT webhook on button click.
What you will need :
- Account at Wia - You will need to be logged in and / or registered into an account at (link)
- Wia Button Module - Buy Yours Here
- Wia Dot One - Buy Yours Here
- Micro Usb Cable - Buy Yours Here
- Create an account at Wia if you haven't already - refer to this tutorial to get started with Wia here.
- Sign up to and create a webhook on IFTTT, learn more on how to do this with this tutorial here
Once you have finished the tutorials above and learned all about the Dot One and IFTTT, you are all set to do this simple tutorial below.
Create a Webhook1. Follow the above tutorial to Step 10 and then return to this tutorial to proceed with sending the tweet from a Wiabutton click.
2. Instead of clicking the e-mail service, we will be selecting the twitter service button like image below :
3. Click the twitter button and you will be taken to a screen like this :
4. For this example, we will be clicking on the "Post a Tweet" option and after doing so we will be taken to a screen presenting as such :
-> where we will be preparing the message that our tweet will send, you can choose to input any message here.
You will be presented with a screen like below at the end of the process of setting up the twitter side of IFTTT but we have yet to grab our webhook link to use within our Wia Cloud Platform flow.
5. Navigate to this link hereand we will retrieve our personalized link as mentioned above.
6. Click on the Documentation button as shown below.
You will be greeted with a page similar to this one:
7. In the {{event}} column, input the event name you have used in setting up the webhook in Step 9 above and copy the link below in the curl request starting with "http://".
8. Open up Wia Dashboard: https://dashboard.wia.io/spacesand select your space
9. Create a new code Blocks Project. Give your project a name and press “Create Code Project”. Set up your code to resemble below and deploy the code to your device.
Create a Flow
- Navigate to the flow tab on the Wia platform and set up a new flow.This flow will do all the back end heavy lifting for us from creating an event listener to listen for the event we have created through our button click and upon hearing the event sending a webhook which will enable us to send a tweet on twitter.
This flow comprises of Two nodes:
- First drag the “create event” node in the trigger tab to the editor and configure it’s settings to listen for the event "send-tweet" from the device named Chip.
- To finish, drag the "Webhook" node under the service tab to the editor and edit its configurations so as to resemble below.
This node essentially just makes a http request on behalf of us through IFTTT to post a tweet to our profile (hence the name webhook - acts as intermediary service to hook us up with the service we need without the extra hassle of making http request to them) and the Json Encoded option is just the form we want the request to come back as.
- Lastly, link the two nodes together and away you go, press the button module and hey presto a tweet with the message you composed above goes out to your profile as seen in the example below
Congratulations and Well Done on completing the tutorial, Hope you enjoyed it!!!.
Here's another to keep you entertained - Get the beer of the day to display on your TFT screen
If you are more into building and making your own electronic devices and hooking them up to the cloud, why not out some of these tutorials :
Coffee Counter with TFT Screen and Button
Slack Toggle Presence with Wia Button Module and Dot One
or Build something from one of our Hackster projects


Comments
Please log in or sign up to comment.