


Hardware components | ||||||
 |
| × | 1 | |||
Software apps and online services | ||||||
| ||||||
| ||||||
This is a more detailed and minimalist version of the tutorial I posted last summer. We will be creating a Makefile that will cross compile our code to target the STM32L4xx Cortex-M4 boards. We will then learn a bit about an open source tool called OpenOCD which will allow us to interactively debug our code using the GNU debugger (gdb) as well as flash our code directly onto our board.
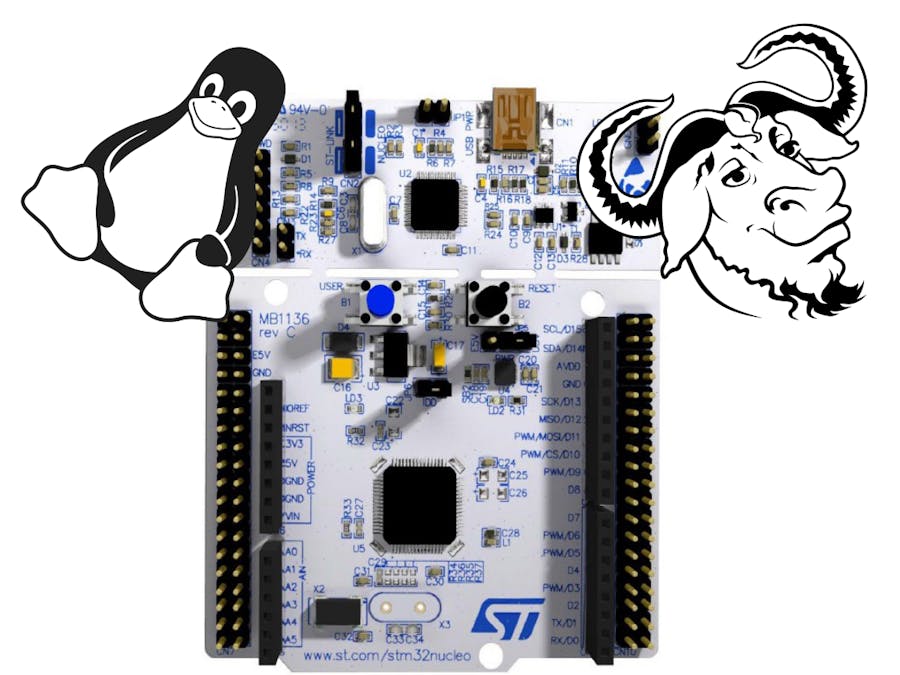
Before we start- In this tutorial I will be using the STM32L476 Nucleo-64 board by STMicroelectronics as the target board. If you are using a different board, this tutorial can still provide all the steps needed to do the same on your board, you will just have to make some small changes to make sure you are targeting your board.
- I am also demonstrating the installation and setup of this software on Arch Linux, again this should not be a problem if you are using a different flavor of Linux, all you have to do is find the packages using your package manager.
- From Linux Repositories
These packages should be available on most distros (Using Arch as an example).
pacman -S gcc make arm-none-eabi-gcc arm-none-eabi-newlib arm-none-eabi-gdb libusb libtool pkg-config autoconf automake git which
- Installing OpenOCD
OpenOCD is available in the AUR (for Arch Linux users) but I will build it from source here, as not everyone is using Arch.
git clone git://git.code.sf.net/p/openocd/code
cd code/
./bootstrap
./configure
make
sudo make install
cd ..
rm -rf code/
Now that we OpenOCD installed, let's allow unprivileged users to run OpenOCD by adding some udev rules in a file called stlink.rules.
sudo touch /etc/udev/rules.d/stlink.rules
Add the following lines into the file /etc/udev/rules.d/stlink.rules which we just created in the line above:
KERNEL=="tty[A-Z]*[0-9]", MODE="0666"
SUBSYSTEM=="usb", ATTRS{idVendor}=="0483", MODE="0666"
The CMSIS libraries STMicroelectronics provides include a bunch of header files and some startup code that is needed to get our board working properly. To get them I downloaded the STM32Cube software found here at the bottom of the page. You will have to give them your email and wait for the download link to get sent. After downloading it, I grabbed the bare minimum and discarded the rest. The files we need are shown in the next section.
Setting up a simple blinky projectI have made a small project to demonstrate the process of using Make and OpenOCD. It enables the on-board button (B1, pin PC13) which is nominally high as a falling edge triggered input. Pressing B1 will toggle Timer 8 (TIM8_CH1N) which is used to blink the on-board LED (LD2, pin PA5) every 500 ms. The source code can be found here. The project directory structure as well as the CMSIS files you need are shown below and are all included with the source code of this project.
make-stm32-blinky/
├── blinky
│   ├── inc
│   │   └── init.h
│   ├── Makefile
│   └── src
│       ├── init.c
│       └── main.c
└── CMSIS
   ├── inc
   │   ├── cmsis_compiler.h
   │   ├── cmsis_gcc.h
   │   ├── cmsis_version.h
   │   ├── core_cm4.h
   │   ├── mpu_armv7.h
   │   ├── stm32l476xx.h
   │   ├── stm32l4xx.h
   │   └── system_stm32l4xx.h
   ├── src
   │   ├── startup_stm32l476xx.s
   │   └── system_stm32l4xx.c
   └── STM32L476RG.ld
You'll notice I have project specific code in the blinky directory and all the CMSIS specific things in its own directory.
To get my project source code, use git:
git clone https://gitlab.com/yusefkarim/make-stm32-blinky.git
cd make-stm32-blinky/
I have included my Makefile below in the Code section. It is very basic but automates many useful things. It specifies arm-none-eabi-gcc as the compiler, links our STM32L476RG.ld linker script, describes the target processor using the CFLAGS option, and finally globs all header/source files from the CMSIS and the current project directory to be used in compilation. I have defined, several commands that you can specify.
- make flash: Compile project code if not already done, then upload the project binary onto the board.
- make erase: Erase all the flash memory from the board
- make disass FUNC=<function_name>: Using the compiled ELF file, disassemble the specified function and output the assembly code.
- make clean: Delete the binaries created by the above commands.
To compile the project you can simply type make in the project directory (blinky in my example). It will then make and output an ELF formatted file for use with gdb as well as a binary file that can be used to flash onto the board using OpenOCD. You can also just type make flash and it will compile the code and upload it onto the board for you.
make
ls
---> blinky.bin  blinky.elf  inc  Makefile  src
Now that we have an ELF and binary file compiled for our processor we can launch OpenOCD and runs commands manually. First, plug your board into a USB port and type:
openocd -f board/stm32l4discovery.cfg
If you are using a Nucleo-64 board the square LED on your board should now be blinking red and green to indicate it is in debugging mode. Now that OpenOCD is attached to our board we need a way to interact with it, our two options are GDB or telnet, let's use GDB as it will allow us to interactively debug the code on our board as well as issue remote commands to OpenOCD.
Without closing the terminal that is running OpenOCD, open a second terminal and go into your project directory, for example
cd ~/make-stm32-blinky/blinky/
then launch gdb (ARM version) with the compiled ELF file your Makefile gave you,
arm-none-eabi-gdb -q ./blinky.elf
Now that we are in gdb I will show how to attach to our OpenOCD session then explain some useful commands, the lines below with (gdb) in front of them specify that I am running these commands within gdb and lines with # are comments.
# Attach to our OpenOCD server (which listens on port 3333 by default)
(gdb) target remote localhost:3333

# Use gdb to disassemble our main() function
# You will see the code pushes the Link Register (lr) onto the stack then starts
# calling the functions defined in init.c, followed by the infinite loop.
(gdb) disass main

# The monitor command means we are running the command on our remote host
# which is OpenOCD in our case

# Run OpenOCD command to halt processor
(gdb) monitor reset init
# Run OpenOCD command to find targets
(gdb) monitor targets
# Run OpenOCD command to clear memory of target
(gdb) monitor stm32l4x mass_erase 0
# Run OpenOCD command to flash binary file onto our board
(gdb) monitor flash write_bank 0 blinky.bin 0
# Run OpenOCD command to run code on target
(gdb) monitor reset run

# After you run monitor reset run, press the LD2 (blue button) and the LED will start blinking!
If you followed the instructions above you got the chance to see the assembly code that our main( ) function got turned into and flash code directly onto your board using OpenOCD as a server and gdb as the client. The LED should now toggle blinking every 500 ms when you press the blue button (LD2). To exit gdb click on the gdb terminal and press CTRL+d, to exit OpenOCD click on the OpenOCD terminal and press CTRL+c. Finally, type
make clean
to remove the outputted files of the Make process.
Thank youI hope you found this useful. I would love to hear any tips you have that could help simplify this process, get rid of unnecessary code, or just improvements in general.


Comments
Please log in or sign up to comment.