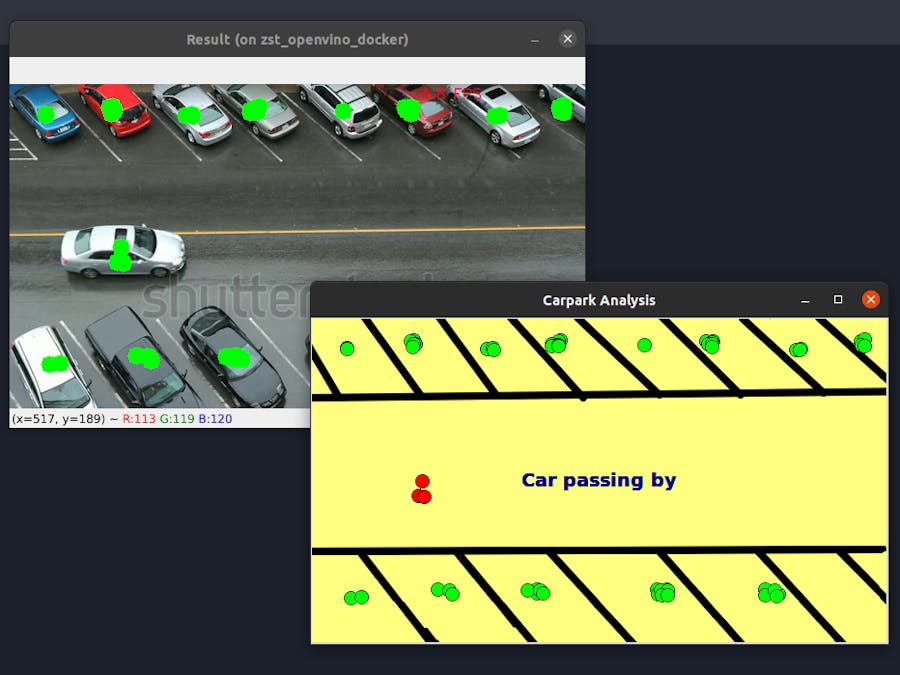
Carpark systems have been around for ages. Often times, it consists of simple counters which keep track of car entering or exiting the gantry. In more advanced systems, a sensor is placed on every space to keep track of availability for each area.
Now, with the advent of accurate image recognition, an even smarter solution is available. The system can tap into existing security camera footage to account for vehicles. This saves on resources as a single camera can serve a whole lot instead of having individual sensors per carpark space. In addition, it is can also be low power and cheap with the optimisations from OpenVINO.
This project show how to easily deploy such a system using Docker for containerisation and OpenVINO for efficiency.
BackgroundFor me, this is my first time using a deep learning framework in a project. I have used OpenCV before but never to such extent. I am amazed now that technology has progressed. We can now do real-time video with image recognition.
VideoThis is the demo video of my project in action. I am running this on a Thinkpad 13 laptop. Everything is running on the Intel i7-6500U CPU as there is no dedicated GPU on this laptop.
Build ProcessI will share how I created this project.
Step 1: download Intel OpenVINO toolkit
I first downloaded Intel OpenVINO toolkit. These are the details of my download for the Deep Learning Superhero challenge.
- email: (my Hackster.io account email address)
- timestamp: 23 Aug 2020, 13:16 (GMT+8)
Step 2: installIntel OpenVINO toolkit
Sadly, OpenVINO does not officially support Ubuntu 20.04, as of writing.Hence, I decided to install it on a Docker container to keep things tidy.
Here is my Dockerfile which I posted on my Github repo:
The dockerfile will extract the installation files and install dependencies like OpenCV and the Python bindings, etc.
After installing I can launch a terminal which looks like this:
Step 3: downloadYoloV3models
I cloned this repo which contains the pre-trained models for YOLO V3. It is one of the more popular models due to its accuracy.
When I tried to run it there were also some more dependencies and I also added them to my dockerfile.
Once I solved all the issues, I could run the example code which uses my webcam.
Step 4: createmy own application
While any overhead security camera will work, I will use pre-recorded videos to make it simple for demonstration.
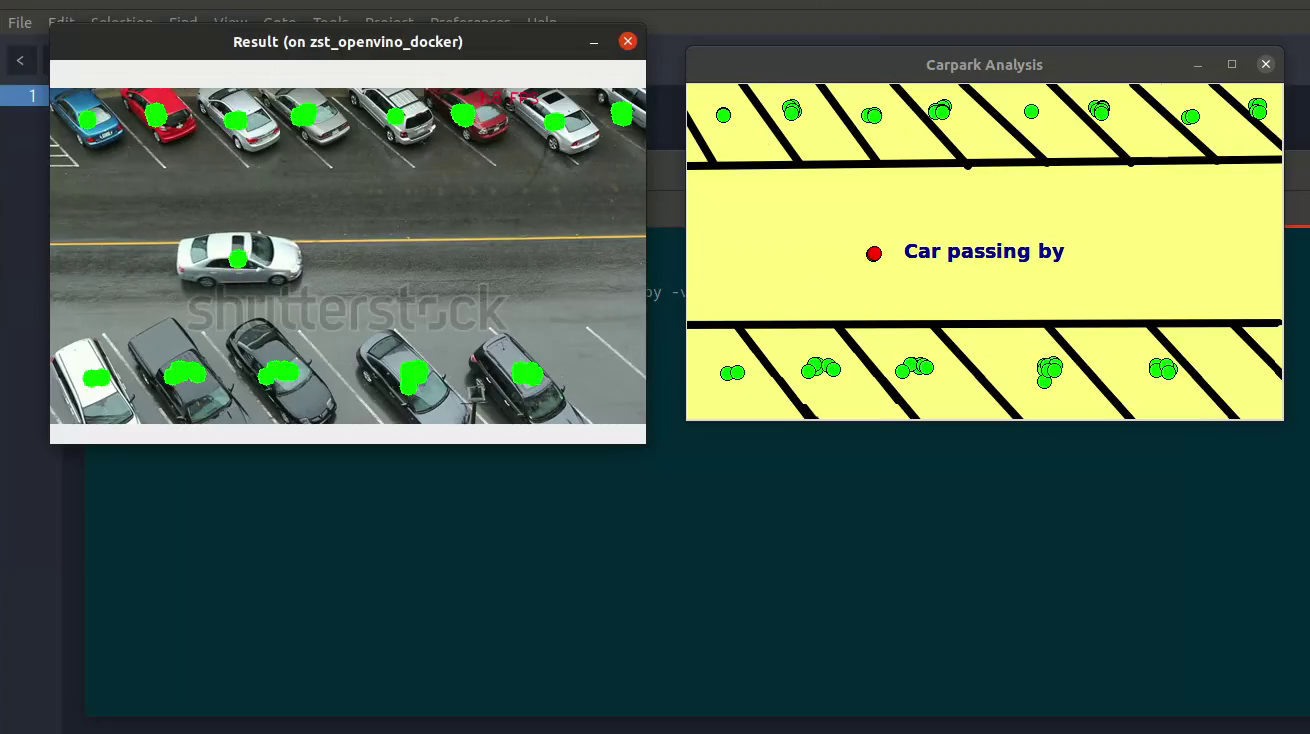
From here on, I did up the code to allow input from a video file. Here is how it looks like.
In code, I filtered out for car entries and made it easier to see the car points.
I made a simple dashboard in Python Tkinter for the car park lot
The code for this section is available here. Run the code in the directory of the cloned OpenVINO-YoloV3 repo.
And the videos I used are stock videos from here.
ConclusionThrough this challenge, I have been amazed by the capabilities of deep learning. This is my first time making such a large project relating to computer vision too.
Intel OpenVINO has allowed me to make a very efficient program and it is amazing that everything runs on the CPU with little overhead in a Docker instance too!
I hope to further learn how deep learning works and perhaps next time I can train my own models instead of relying on a pre-trained one.
Do let me know your comments and if you have any advice!


Comments
Please log in or sign up to comment.