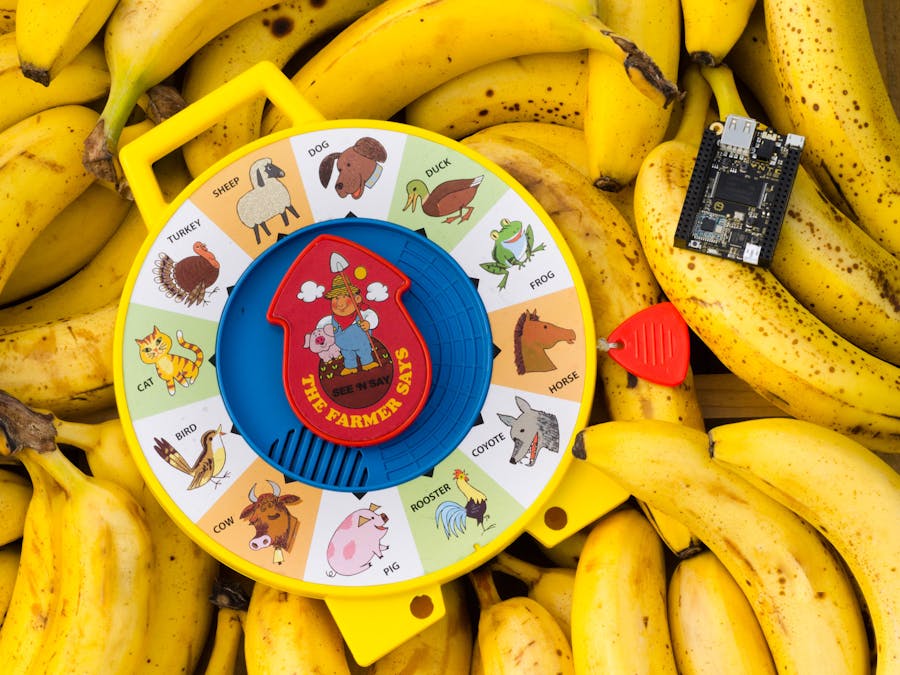
"The cow says, 'moooo'"
It sure does, See ‘n Say. It sure does.
When it came time to make a quick project to show off the capabilities of C.H.I.P., I decided to crack open a See 'n Say we had lying around at the office and see if I could play any audio of my choosing.
Materials Required:
- One $9 C.H.I.P. (includes 4gb of storage, audio output, wifi, battery charging capabilities, and all sorts of good stuff)
- One Mattel See ‘n Say (2013 model for this specific tutorial)
- One 3.7v lipo battery
- One 5v audio amplifier (for example, the TPA2005D1 from SparkFun)
- Twelve 10k resistors
- And lots of wire and solder
The See ‘n Say opens into two halves. The arrow and pull cord mechanism are on the top half while the circuit board, speaker, and battery compartment are on the bottom. We’re going to discard the two AA batteries entirely and use our own 3.7v lipo battery instead.
This picture of the bottom half of the See ‘n Say shows the circuit board in depth. Each grey nub is a simple button that connects to a positive voltage. While we’re not going to use the audio capabilities of this original board, we will be repurposing its buttons.
Pictured here is the mechanism for the top half of the See ‘n Say. There is a nub on the main gear. When the cord is pulled, the nub lowers and presses the grey button underneath. When the user releases the cord, the mechanism lifts up and releases the button from its pressed state, which tells the circuit board to play the audio.
There are 12 buttons in total, one for each animal on the surface of the See ‘n Say. By soldering individual wires to all 12 of these pads and connecting them to CHIP’s IO pins, we can write code that will detect when a button is pressed and released. We can then play whatever audio file we wish.
We’ll also need to connect the positive voltage lead on the circuit board to C.H.I.P.’s BAT pin.
Step 3: Connect to C.H.I.P.!
We've got the wires connected to the See 'n' Say. Let's get them into C.H.I.P.!
The first thing we need to connect is the BAT pin on C.H.I.P. to the VCC pin on the See ‘n Say’s original circuit board to provide power. While we’re at it, we’ll also want to plug in our 3.7v LiPo battery either through the battery plug on C.H.I.P. itself or by connecting the positive connection to the same BAT pin and the ground to any GND pin.
Now the tricky part. We must connect all twelve wires coming from the See ‘n Say’s buttons directly into C.H.I.P.. The tedious aspect involves connecting pull-down resistors to each wire. For more information on what this means, check out http://playground.arduino.cc/CommonTopics/PullUpDownResistor. It basically requires adding a 10k resistor to each button wire and connecting the other side of the resistor to ground.
FUN FACT: Did you know that you can use C.H.I.P.’s LCD pins as general purpose digital IO? This can be a great way to give your projects more inputs if you aren’t going to be hooking up a LCD screen. Here, we’re going to use these LCD pins to read the button values from the See ‘n Say.
Finally, we’re going to connect a 5v audio amplifier to give our speaker a little extra oomph. You can use whatever 5v amplifier you choose. Just connect the positive voltage on the amp to C.H.I.P.’s VCC-5V pin and the ground connection on the amplifier to one of C.H.I.P.'s GND pin. For the audio amplifier’s input, connect either HPL or HPR (this stands for “headphone left” and “headphone right”) and connect HPCOM on C.H.I.P. into the amplifier’s negative audio input. Then connect the audio output pins on your amplifier directly to the speaker from the See ‘n Say.
The last step will be to download the code to make the project work. Plug C.H.I.P. into your nearest monitor and hook up a mouse and keyboard.
Let’s make sure you have Git and PyGame installed. On your C.H.I.P., open a terminal and enter these commands:
sudo apt-get update


sudo apt-get install git

sudo apt-get install python-pygame
Now download and run the code:
git clone https://github.com/telarium/chipNSay.git

cd chipNSay


sudo python chipNSay.py
If you want to change the audio files that play, simply go into the directory where you downloaded the code and replace the wav files that are already there.
This is only scratching the surface of what you can do. With C.H.I.P.’s built-in wifi, you can have it read Tweets or Facebook posts with text-to-speech functionality. Or you can have it download random audio files from the internet.
In other words, the cow can now say a lot more than just “moooo.”


_3u05Tpwasz.png?auto=compress%2Cformat&w=40&h=40&fit=fillmax&bg=fff&dpr=2)
Comments
Please log in or sign up to comment.