

_Owo51ooXAa.png?auto=compress%2Cformat&w=40&h=40&fit=min&dpr=2)
Hardware components | ||||||
 |
| × | 1 | |||
 |
| × | 1 | |||
 |
| × | 1 | |||
Software apps and online services | ||||||
 |
| |||||
 |
| |||||
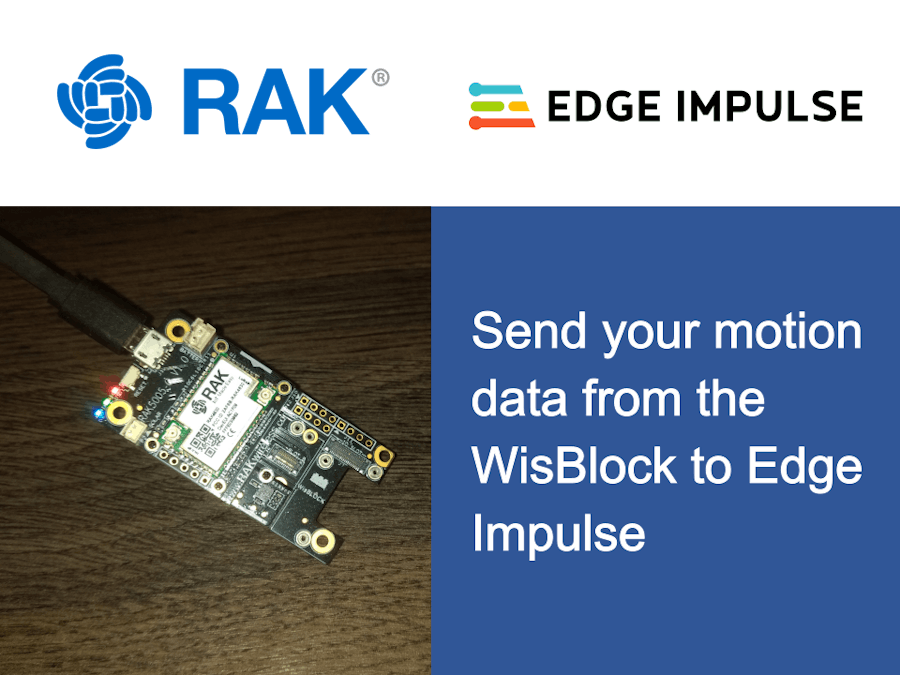
In this tutorial, I'm going to show you how you can collect data from an accelerometer and send it to Edge Impulse using the WisBlock an IoT Modular Hardware Development Platform, and an open-source project by RAKwireless.
WisBlock is a modular system that can be used from prototyping to mass production without the need to create new hardware for each step of the developing process.
Edge impulse is a platform for developing Machine Learning on Edge Devices, a field well-known as TinyML.
The WisBlock is not fully supported by Edge Impulse yet, but they allow us to relay our readings over a serial port using their data forwarder – which collects the device’s data, signs the data and sends it to the ingestion Edge Impulse service.
This enables us to use our data to explore the other cool tools of Edge Impulse for extracting features, training, and deploying our TinyML projects.
Let's get started!
Hardware SetupFirst, we need to identify the modules required for the projected and click them all together.
Plug the WisCore and the RAK1904 Acceleration Sensor in the WisBase.
To ensure a proper function we highlight recommend to fix these modules with the screws.
Go to “Files > Preferences”, and add the following URL in the additional Boards Manager URLs field to point to the JSON index to install the RAK boards on the ArduinoIDE. To save the changes click on the “OK” button.
https://raw.githubusercontent.com/RAKWireless/RAK-nRF52-Arduino/master/package_raknrf_index.jsonRefer to “Tools > Boards > Boards Manager”. Then, in the search bar write “RAK” and install "RAKwireless nRF Boards" by clicking the install button.
Then, go to “Tools > Boards > RAKwireless nRF Modules > WisBlock Core RAK4631 Board” to select your WisBlock module and update the system configuration.
To finish with the board setup, connect the board to any of the USB port of your computer. Then, refer to “Tools > Port” and select the assigned COM port to the WisBlock Core.
Loading the Accelerometer ExampleSince we're going to send accelerometer motion data to Edge Impulse, a good starting point is to load the example for reading the accelerometer. So, let's load the RAK1904_Accelerate_LIS3DH example.
After this example is loaded, you'll find in the libraries required for the example at the beginning of the code.To install the required library for our accelerometer reference, just click on the link placed next to the library.
To install the library just click on the “Install” button.
Compile the sketch and upload it to the board by clicking the respective button. When the compiling process ends, open the serial monitor. Then, you should see something like below.
Verify that the values change accordingly when you move the WisBlock.
At this point, we're reading the accelerometer data from the WisBlock successfully!
Create the Edge Impulse ProjectWe're going to create a new project in Edge Impulse now. Login to your account and click on the “Create a new project” button.
Open the project and go to the devices section. As you can observe there are several alternatives to connect new devices. The first one allows us to connect a fully supported board, but as I mentioned before, the WisBlock isn't on this list yet. We're going to use the third alternative, the data forwarder.
Let's install the Edge Impulse CLI by running the command below:
$ npm install -g edge-impulse-cliThe documentation specifies that we need to split every value with a comma (“, ”), or a TAB, and for every measure add a new line. For a better understanding, refer to the data structure below:
0.12,-6.20,7.90
-0.13,-6.19,7.91
-0.14,-6.20,7.92
To achieve the previous data structure, return to the Arduino IDE. Before starting the modification of the RAK1904_Accelerate_LIS3DH example make a copy of the file. Go to “File > Save As” and select the preferred on your computer.
Add these new constants in the includes section.
#define CONVERT_G_TO_MS2    9.80665f
#define FREQUENCY_HZ        50
#define INTERVAL_MS         (1000 / (FREQUENCY_HZ + 1))
Since we are already measuring with a baud rate of 115200 we don't need to change it. Our original example project has a delay to read the sensor's data using 1000 ms intervals, we need to modify the delay time to achieve the 50 Hz frequency, we specified that value with the INTERVAL_MS constant.
Our “void loop” function should be like the following one:
void loop()
{
    lis3dh_get();
    delay(INTERVAL_MS);
}
Our readings are in g-unit, we can convert it to meters per second squared, the unit used to express acceleration in the International System of Units, when we multiply it for the CONVERT_G_TO_MS2 constant. Send over the serial port with splitting the readings and for the last axis add a new line.
void lis3dh_get()
{
  // read the sensor value
  float x, y, z;
  x = SensorTwo.readFloatAccelX() * CONVERT_G_TO_MS2;
  y = SensorTwo.readFloatAccelY() * CONVERT_G_TO_MS2;
  z = SensorTwo.readFloatAccelZ() * CONVERT_G_TO_MS2;

  Serial.print(x);
  Serial.print(',');
  Serial.print(y);
  Serial.print(',');
  Serial.println(z);
}
Compile and run the sketch once again, then check the format in the serial monitor. If you noticed that the format is the correct one, we're ready to forward our data to Edge Impulse.
IMPORTANT NOTE: Don't forget to close the serial monitor to release the serial port for the next steps.
Data Forwarder SetupOpen the command line again and run the following command.
$ edge-impulse-data-forwarderEnter your login credentials, select the port, and the project. It detects our 50 Hz frequency automatically, then give a name to the axis values.
Assign a device name, or just leave the device address by default.
Great! We can start collecting the data.
Edge Impulse Data AcquisitionLet's return to Edge Impulse. If we go to the Devices sections, we can notice our WisBlock connected on the platform.
At this point, we can start the data acquisition process.
Assign a label name, our first movement could be the up-down, set the sample length, and start sampling.
Move your WisBlock while the time counter runs to start detecting movement data and look at the graphic when it finishes.
Now it’s time to collect more samples as you desire for more labels and according to your needs.
We already achieved the goal of this tutorial! Feel free to keep exploring this amazing platform with WisBlock's simplicity and power.

_Owo51ooXAa.png?auto=compress%2Cformat&w=60&h=60&fit=min&dpr=2)


_M6kErcYJ84.png?auto=compress%2Cformat&w=40&h=40&fit=fillmax&bg=fff&dpr=2)
Comments