


Hardware components | ||||||
_ztBMuBhMHo.jpg?auto=compress%2Cformat&w=48&h=48&fit=fill&bg=ffffff) |
| × | 1 | |||
 |
| × | 1 | |||
 |
| × | 1 | |||
 |
| × | 1 | |||
| × | 1 | ||||
| × | 1 | ||||
 |
| × | 1 | |||
 |
| × | 1 | |||
Software apps and online services | ||||||
 |
| |||||
 |
| |||||
 |
| |||||
This idea came to us by observing the long queues at the drinks stands during large events, for example during festivals. The main goal would be to unclog these long queues. Customers will then have a rechargeable badge that they can recharge at the checkout. When the badge is recharged, customers can use the distributor who will debit each transaction. Organizers will be able to observe customer transactions through an app.
First, we will present all the technical details for the realization of this project by presenting the components, the electronic circuit, the 3d printing, the Arduino program, the LoRa communication and the application. In a second and last step, we will discuss the difficulties encountered and we will end with a conclusion.
The HX711 weighing machineThe scale is used to measure the weight of the glass in order to control its filling.
The RFID reader is used by customers to authenticate and use the machine.
We use the Sodaq Explorer card to transmit badge data on The Things Network
The Arduino Uno board is the heart of the system, it connects the RFID reader, the scale and the pump to each other.
The relay is a programmable electrical switch, which can be controlled by Arduino.we are going to use it to power up our pump since it needs high voltage in order to work the relay will also help us control the pump.
Once powered, the pump is able to fill the containers.
#include "SPI.h" // SPI library
#include "MFRC522.h"
#include "HX711.h"
#include <LiquidCrystal_I2C.h>
#include <SoftwareSerial.h>

SoftwareSerial Serial1(7, 6); // RX, TX//on informe le microcontrôleur que l'on utilise ses broches pour une connexion série
String myString;

int Pompe = 8;

int i;

LiquidCrystal_I2C lcd(0x27,16,2); // set the LCD address to 0x27 for a 16 chars and 2 line display

// HX711 circuit wiring
const int broche_DT = 2;
const int broche_SCK = 3;

HX711 balance;
const int pinRST = 9;
const int pinSDA = 10;

MFRC522 mfrc522(pinSDA, pinRST); // Set up mfrc522 on the Arduino

int Clear=0;

//char badge 1 = [B7, 29, AB, 16]

void setup() {

  lcd.init(); // initialize the lcd
  lcd.init();

  pinMode(Pompe, OUTPUT);
  digitalWrite(Pompe, LOW);

  Serial1.begin(9600);
  Serial.begin (57600);

  SPI.begin(); // open SPI connection
  mfrc522.PCD_Init(); // Initialize Proximity Coupling Device (PCD)
  Serial.begin(9600); // open serial connection

  Serial.begin(9600);
  Serial.println("Initialisation de la balance...");
  balance.begin(broche_DT, broche_SCK);

  while (!balance.is_ready()) {
    ;
  }

  balance.set_scale(382); //calibration: le paramètre dépend de votre cellule de charge.
  balance.tare(); //ajustement du zéro
  Serial.println("La balance est prete!");
  Serial1==false;
}
void loop() {

    lcd.backlight();
    lcd.setCursor(0,0);
    lcd.print("Passer votre    ");
    lcd.setCursor(0,1);
    lcd.print("badge   ");

    digitalWrite(Pompe, LOW);


  if (mfrc522.PICC_IsNewCardPresent()) { // (true, if RFID tag/card is present ) PICC = Proximity Integrated Circuit Card
        digitalWrite(Pompe, HIGH);


    if(mfrc522.PICC_ReadCardSerial()) { // true, if RFID tag/card was read
      Serial.print("RFID TAG ID:");
      for (byte i = 0; i < mfrc522.uid.size; ++i) { // read id (in parts)
        Serial.print(mfrc522.uid.uidByte[i], HEX);
        Serial1==true;
        Serial1.print(mfrc522.uid.uidByte[i], HEX);
        Serial.print(" "); // add space between hex blocks to increase readabilit
      }
      Serial.print("\n");

      for(i = 0;balance.get_units(10)<450; i++){
       lcd.setCursor(0,0);
       lcd.print("En cours ...    ");
       lcd.setCursor(0,1);
       lcd.print("       ");
       Serial.print(balance.get_units(10));
       Serial.println(" grammes");
       delay(50);
      }

       if (balance.get_units(10)>500){
        digitalWrite(Pompe, LOW);
        lcd.setCursor(0,0);
        lcd.print("Prenez votre    ");
        lcd.setCursor(0,1);
        lcd.print("verre   ");
        delay(8000);
  }


      Serial.println(); // Print out of id is complete.

        lcd.setCursor(0,0);
        lcd.print("En cours ...  ");
        lcd.setCursor(0,1);
        lcd.print("         ");

        }

        delay(100);
  }

}We have chosen to use the TTN community network because it is compatible with the LoraWan protocol.
For this, we have created an application. In this application, we have registered a device in ABP mode. This generates authentication keys (NwkSkey and AppSkey).
We then had to reset the frame counts and remove the adaptive data rate.
In order for the data received to be correctly interpreted, we have configured a payload-formatters. here is the code:
function decodeUplink(input) {
  return {
    data: {
      badge: input.bytes[0],
    },
    warnings: [],
    errors: []
  };
}
We then configured an MQTT application with login credentials.
We use a nodeRed server to retrieve the ID of the RFID badge detected by the distributor. A database system comes next, recording the number of passages of the badge in order to edit an bill.
The 3D printing:This is the first 3d plan of our project :
This is the second and last 3d plan of our project :
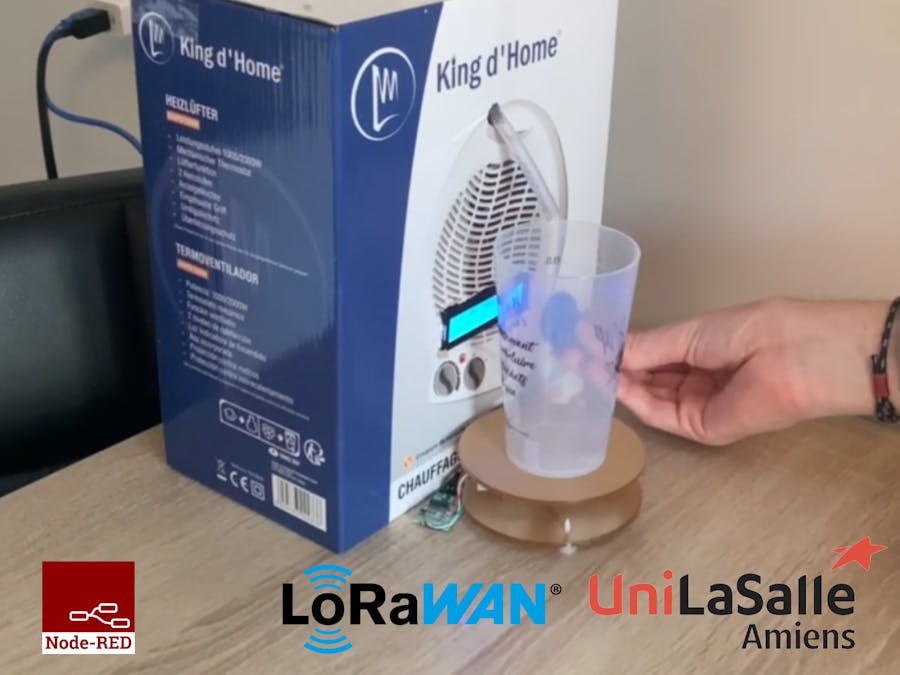
The operation of the connected distributor is as follows. At the entrance to the site, a badge is given to each user. This badge contains a unique identifier. Each time the badge passes in front of the reader, the badge counter increases and a 50cl glass is filled. It is the balance that tells the system to stop. The filling is carried out via a pump controlled by a relay.
On the NodeRed interface, it is possible to consult the number of passages of a badge at the distributor. It is from there that the invoice is established. The operation of the connected distributor is as follows. At the entrance to the site, a badge is given to each user. This badge contains a unique identifier. Each time the badge passes in front of the reader, the badge counter increases and a 50cl glass is filled. It is the balance that tells the system to stop. The filling is carried out via a pump controlled by a relay.
On the NodeRed interface, it is possible to consult the number of passages of a badge at the distributor. It is from there that the invoice is established.
Conclusion:This project is not totally finalized, but with what we have described above, it allows to create a drink dispenser system connected with data reception.
Our video:


_3u05Tpwasz.png?auto=compress%2Cformat&w=40&h=40&fit=fillmax&bg=fff&dpr=2)
Comments
Please log in or sign up to comment.