


Hardware components | ||||||
_zhWsCcSEcl.jpg?auto=compress%2Cformat&w=48&h=48&fit=fill&bg=ffffff) |
| × | 3 | |||
 |
| × | 1 | |||
Software apps and online services | ||||||
 |
| |||||
 |
| |||||
 |
| |||||
This is a risk/reward game with two active players but three potential winners. Players one and two must pick a number between 1 and 4; whoever has the highest number wins. But there's a catch: if both players pick the same number, player three will get the win. So what do you say, ready to take the chance?
This project explores argon connections in an unique way using a centralized Particle Argon to relay bidirectional information to two partner Argons. These partner Argons are responsible for the inputs and outputs that make this game reactive and engaging.
Hardware:This game uses a variety of sensor in order to attain a high level of ergonomics with relatively little user training. The sensors can be grouped into two types: input and output. They are listed below:
Input Sensors:
- Elegoo joystick module
- Elegoo membrane module (the keypad)
- Elegoo button module
Output Sensors:
- Elegoo LCD 1602 Module
- Elegoo 7 color flash LED
- Elegoo 2 color LED
Note: an Elegoo 37 sensor kit containing all of these sensors and others can be purchased directly from the company for approximately $33.
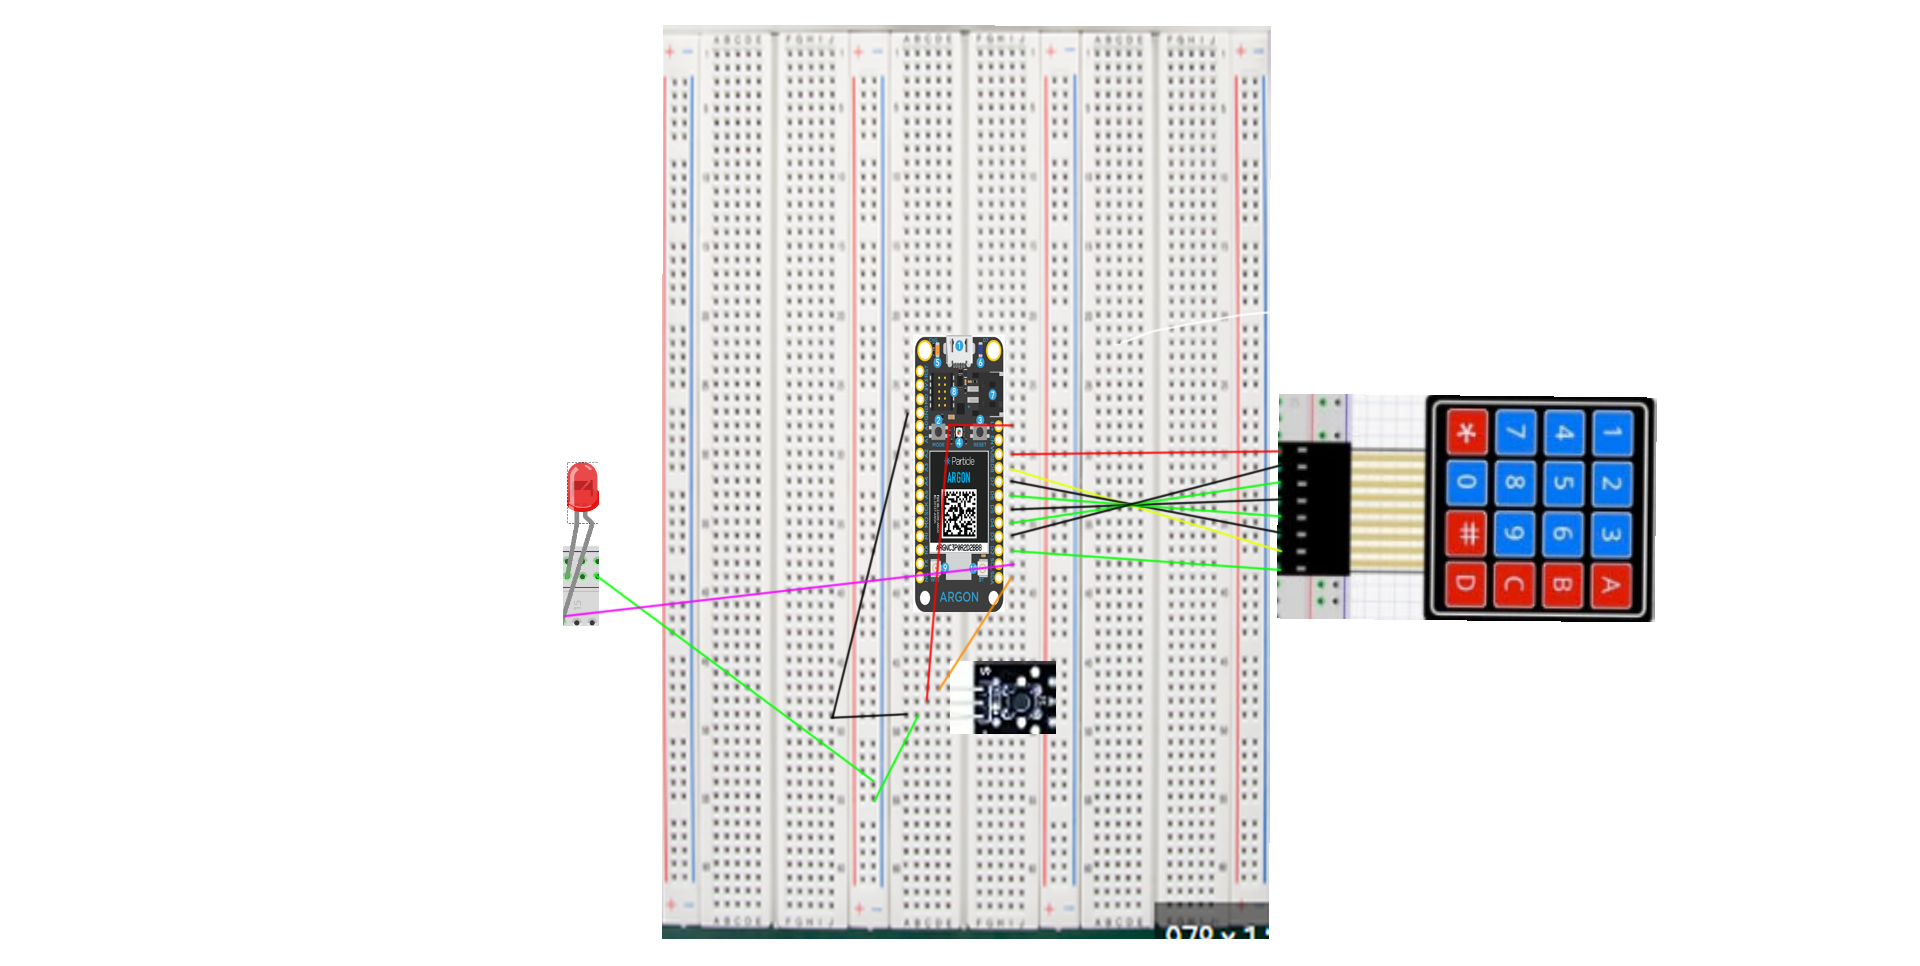
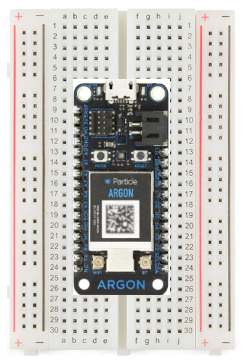
The builds for Particle Argons of Ryan and Thomas can be found pictured respectively below:
This code used for this program allows for two graphing systems; one which tracks keypad presses (from Ryan's Argon) and one which tracks joystick toggles (from Thomas's Argon).
Note: The code works in such a way that no webhooks were necessary for this project.
This ThingSpeak page allows players to analyze each others numeric previous numeric choices in order to strategize about how to outplay both the active and passive opponent.
Video:Thomas's Schematic
_NUOvAR2cd3.png)
Ryan's Schematic


_NUOvAR2cd3.png)
Comments