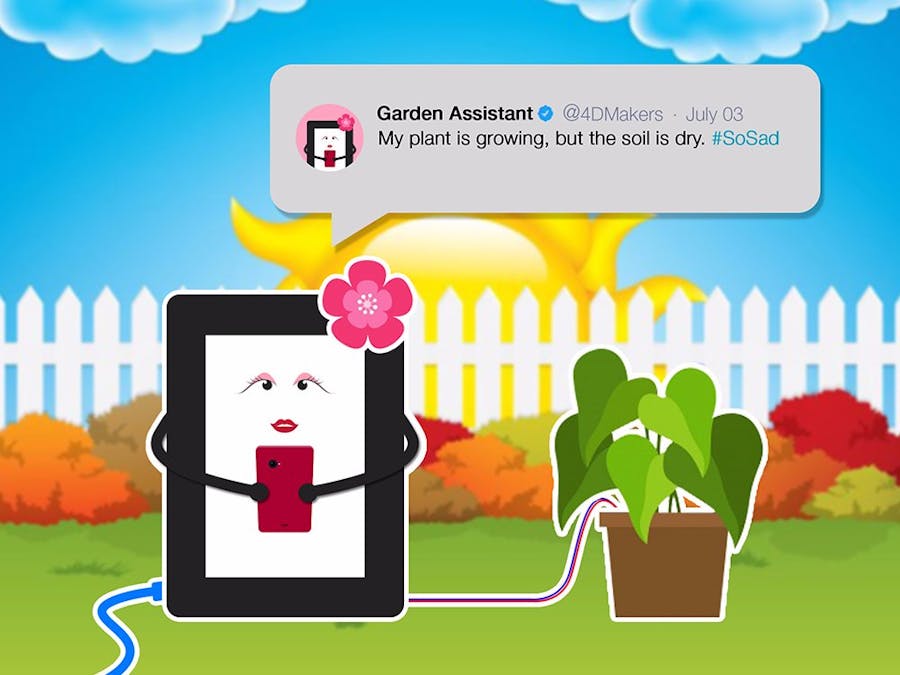
This project entitled, Tweeting Garden Assistant aims to help its users monitor their beloved plants. The project will read and sample values from the DHT11 Temperature and Humidity Sensor and Soil Moisture Sensor and display it to the LCD Screen, automatically, if the TPA project reads dry soil, high temperature and heat index, it will automatically open the water pipe solenoid valve to hydrate the plant. Simultaneously, it will post a tweet regarding the humidity, temperature and soil moisture data before hydrating the plant.
How it Works
Components- DHT11 Temperature and Humidity Sensor
- YL-38 Soil Moisture Sensor Board
- YL-69 Soil Moisture Probe
ImplementationStep 1: BuildBuild the circuit as shown in the diagram.
- If you are using Gen4-PA board, connect the display to the PC like the image below.
Step 2: ProgramDownload the project file here.
Open this file using Workshop 4.
Step 3: CompileClick on the “Compile” button.
Note: This step could be skipped. However, compiling is essential for debugging purposes.
Step 4: Comms PortConnect the display to the PC using uUSB-PA5 and a micro USB cable. Make sure that you are connected to the right port. Red Button indicates that the device is not connected, Blue Button indicates that the device is connected to the right port.
- Now click on the “(Build) Copy/Load” button.
- Workshop 4 will prompt you to select a drive to copy the image files to a uSD Card. After selecting the correct drive, click OK.
Step 5: Program the Arduino- Open the project using the Arduino IDE.
- Change and configure the settings on the “Tools”
- Select the correct Communication Port.
Step 7: Compile- Click on the “Upload” Button to compile, debug and load the code to the Arduino UNO.
- If uploading is successful, you will see this message:


_ztBMuBhMHo.jpg?auto=compress%2Cformat&w=48&h=48&fit=fill&bg=ffffff)


Comments
Please log in or sign up to comment.