Hello world!
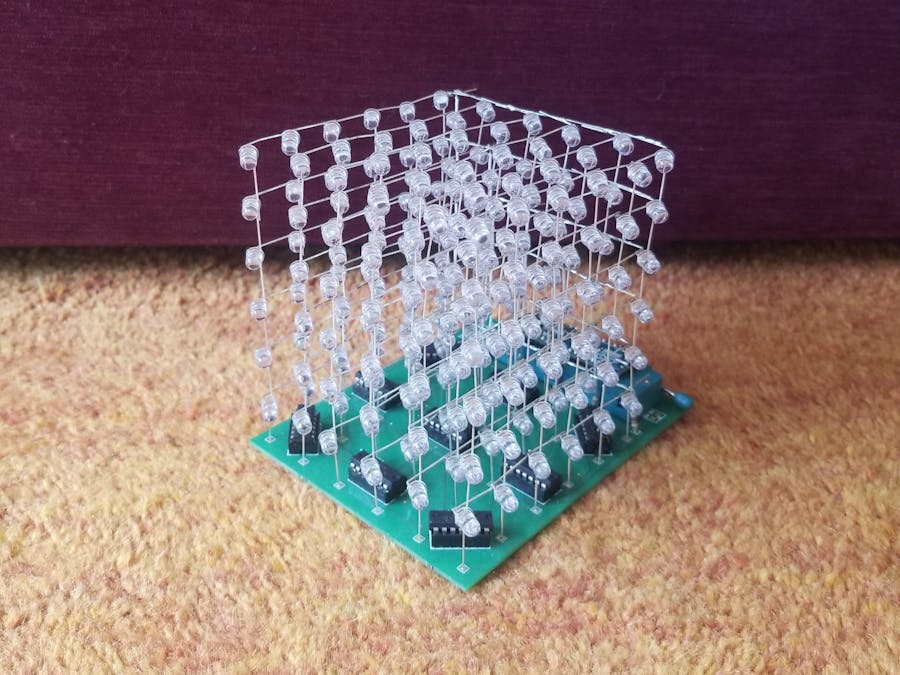
I have searched for a LED cube I can build, but they all had this annoying base attached to it, so I decided to design one myself:
From the idea...First of all, it should be easy to control, so I decided to make a xyz-System, instead of something more complicated. To get this working, I needed some AND-Gates, I choose these, because they where the fastest I could find, but probably you could use every AND-Gate.
Secondly it shouldn't have a big base, so I decided to design a PCB to hide all the wiring (I have some spare ones left, ordered from FritzingLab, so please contact me!)
And, last but definitely not least it should look cool, I think the angle and color of the LEDs helps a lot here, of course you could try different things here, I would recommend setting the LEDs slightly upwards, so you see them better from above ;)
... through the making...- First I bent the LEDs, anode 135, cathode 90 degrees(by accident, I bent them in the wrong direction, they sort of point backwards on my cube, if you account for the Logo).
- Then I used a piece of wood with holes to hold the LEDs in place, while I soldered them (I did first rows of two, then put always three of them together, but I wouldn't recommend this, it took me 20 min/plate).
- As I had my six plates ready, and had got my PCB, I started soldering: First the sockets of the ICs, put the ICs in, and then soldered the LEDs. Next I bent the pins of the LEDs sticking out of the back and bridged them with a wire. Afterwards I connected always a cable and a resistor, and soldered them into place. Lastly came the Arduino socket, whom I had to remove some pins from (you can open the case, so there's no need to cut ;).
Last step left is to upload the code, lean back and enjoy!


_PnKPri8a6q.jpg?auto=compress%2Cformat&w=48&h=48&fit=fill&bg=ffffff)


Comments
Please log in or sign up to comment.