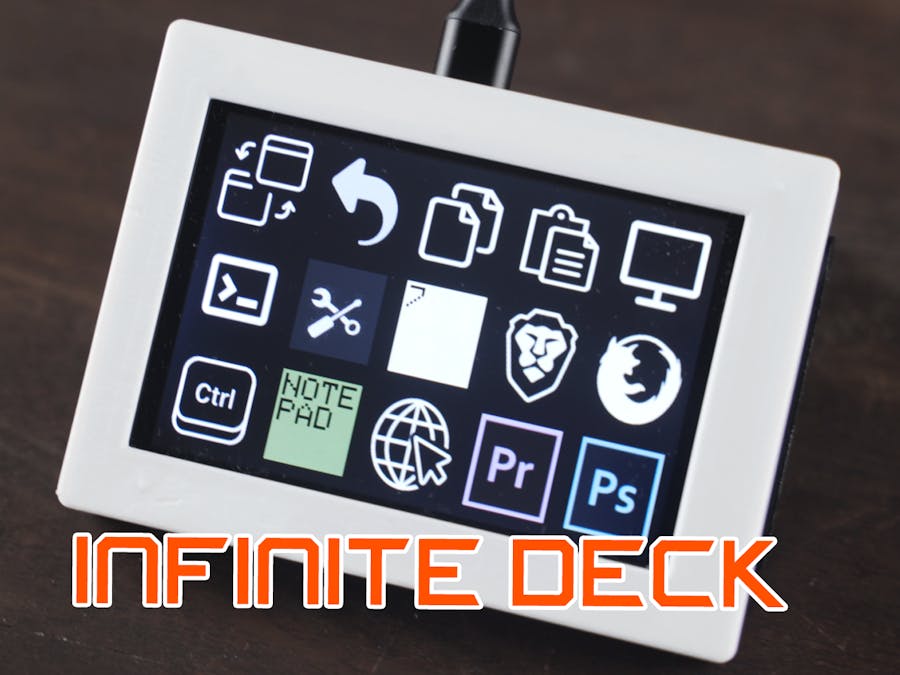
I always wanted a pretty customizable keyboard, and there are a lot of alternatives lately, but some of them are expensive (like the stream deck, that is around 150USD or the LoupeDeck Live 260USD) and other are cheap macropads that are not easy to customize, like cheap macro keypads that runs QMK using an limited Arduino (you have to program it every time you need new buttons or actions). And some other alternatives require to install special software to run on every PC/MAC you use (Like Touch Portal or Autohotkeys).
So I decided to create an alternative! it is budget friendly, doesn't need soldering and complex wiring, and it is open source (that means that there will be upgrades without the need of buying a new device).
You can follow all the steps in the following video to make your own.
Note: Select the capacitive version of the board if you will order the board.
You can find all the files you need in the next link:
https://www.buymeacoffee.com/dslrdiy/extras
Steps.
- Install Arduino IDE.
- Download the files and extra libraries (esp32 arduino core, Lovyangfx and Makerfabs libraries)
- Install the libraries in the arduino core and on the same folder of the project.
- Compile using the Arduino IDE.
- Program the board.
- Copy the example profiles to test the board.
- It's done!.
- Create your own profiles using Ducky Script and increase your productivity.
Note: not all the instructions of Ducky Script are supported but the code will be upgraded in the future.


Comments