


Hardware components | ||||||
 |
| × | 1 | |||
Software apps and online services | ||||||
| ||||||
| ||||||
Hand tools and fabrication machines | ||||||
 |
| |||||
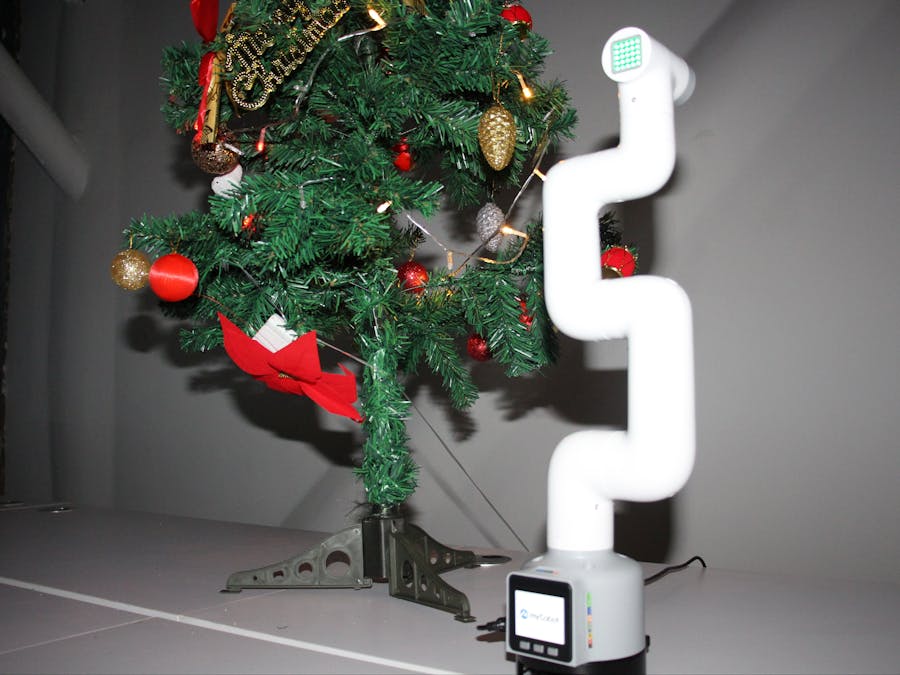
myCobot is the world's smallest 6 DOF robotic arm, which is commonly used by students and geeks in the robotics field. As Christmas is coming, we shot a video that myCobot was dancing under a Christmas tree.
Usually, myCobot has a built-in program "drag and teach", people can easily use this function to let myCobot repeat the movements that you've dragged and moved it. (Watch the video tutorial on our YouTube.)
This essay will introduce that we "drag and teach" myCobot through Python and give a demo. Following this tutorial, you can achieve "drag and teach" with myCobot raspberry Pi version which has no built-in programmed "drag and teach" function.
- Flashing basic and ATOM of myCobot
First, download myStudio from main website and install it on your PC.
Burn basic: Connect myCobot basic with PC through Type-C cable and open myStudio.
After entering the myStudio, click "Application"➡“Basic serial port driver” to download the basic flashing package.
Open the download package and choose the compatible system version to download.
After installing the package, go back to the myStudio and it will show as follows on the"basic" page. Choose the latest version v1.0 and click "download" to flash the basic. The burning basic part is done.
While flashing the basic, please remember the port number and replace it in the python script given.
Likewise, exit the myStudio and connect Type-C cable on ATOM of myCobot.
Open myStudio again, and flash ATOM as follows.
Now, the basic and atom are flashed and we can communicate with this myCobot.
Let's share how to achieve "drag and teach" by Python. If you have myCobot raspberry pi version which has no built-in programmed "drag and teach" function, this essay will be helpful for you.
Python download and install- Python 3.10 download
Open the page https://www.python.org/downloads/release/python-3100/ to download, choose the compatible version and install Python on your computer.
- Python installing
While installing, you need to tick the second box in the first scene.
Before running the Python, you need to make sure the myCobot is in the status of "transponder" so that it can communicate.
We prepare Python file "dance.py" and "move1.py" in advance to make this demo. The location of them is at the "Desktop/Python".
To start: "Win+R"➡input"cmd". Then you can run these python scripts.
The coding content:
C:\Users\User>cd desktop
C:\Users\User\Desktop>cd python
C:\Users\User\Desktop\Python>python dance.py
C:\Users\User\Desktop\Python>python move1.pyDrag and Teach
We save some points during the myCobot movements and make them into Python coding, which is "drage and teach". Run the saved codings, myCobot will move as saved.
Now, we will introduce how to drag myCobot to a specific point and read their points out.
Run the coding "read_point.py", it will read the current point of myCobot.
from pymycobot import MyCobot
import time
mc = MyCobot("COM6")
print(mc.get_angles())
After you run the last codings, it will show the current points information.
Each time you drag the myCobot to a point, read its point out by "read_point.py", and document these points.
Once you have enough points or finish your "drag", copy them and alternative the point in "dance.py". Run the new "dance.py", the myCobot will move as you dragged!
myCobot achieves "drag and teach" through python, which extends the potential and imagination of this robot arm. People can implement Python training with myCobot and create some amazing scenes.
Not only the Python, but there are other ways to achieve "drag and teach" such as Blockly, C++, and so on. If you have an interest in exploring these new ways, welcome to share your experience with myCobot.
"Drag and teach" application: myCobot picks gifts from the Christmas tree
Follow us on Facebook/Twitter/Instagram/YouTube.


Comments
Please log in or sign up to comment.