OverviewHello everyone!
Sitting at this computer desk, I remembered from a book I have on Arduino that many programmers have used a built in function, random, for a plethora of projects that need to follow a unpredictable course, action or movement. By using this function in a simple random number-generating sketch, I modified the code into a fun little project that acts like rolling dice. I had never used random and quickly found it to be very useful for adding some more "life" into your project.
This project is great for beginners learning to use homemade functions. The sketches you have already run are made out of functions already there for you to use, like pinMode, digitalWrite,delay and more. There are multiple homemade functions in this code like "one"-"six " etc.
Imagine I'm sending a chocolate chip cookie recipe to a relative. I write every ingredient down with instructions on the order of mixing and baking. I stop, deciding that I want these cookies to be more than amazing. I decide to make handcrafted chocolate chips first before mixing them in. This little "recipe" for chocolate chips corresponds like a homemade function in Arduino. The Uno will read the "recipe" from top to bottom, but will also read a small "recipe" separate from the loop. That "recipe" is a homemade function. In the simple code I wrote, the homemade function, "one" will turn on one LED when the random number is 1. Likewise, when the random number is six, five or another number, the function connected to the random number will turn on the correct number of LEDs. Homemade functions save you lots of time, and help to organize your sketch much more.
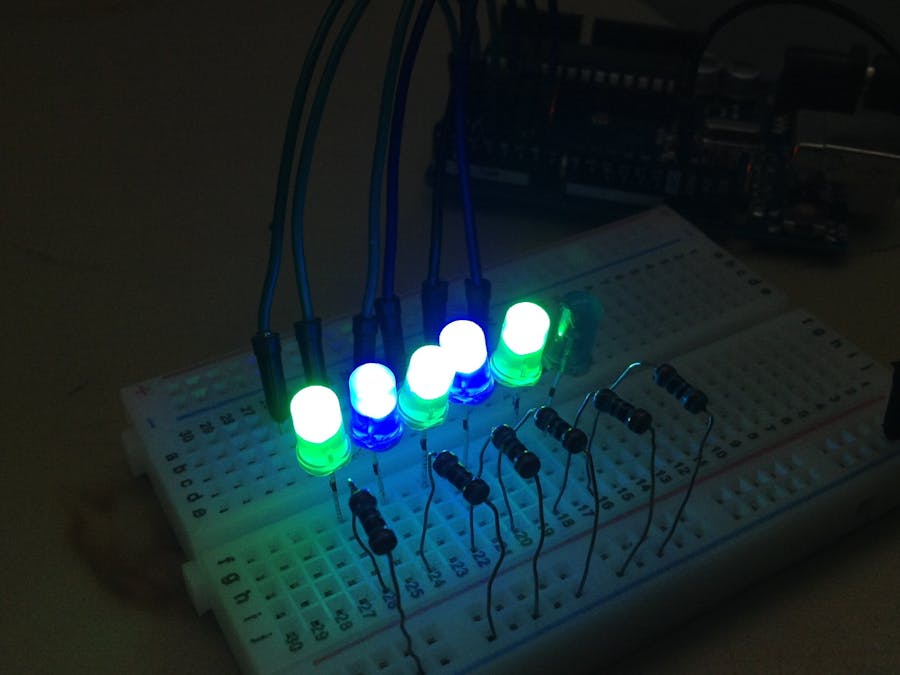
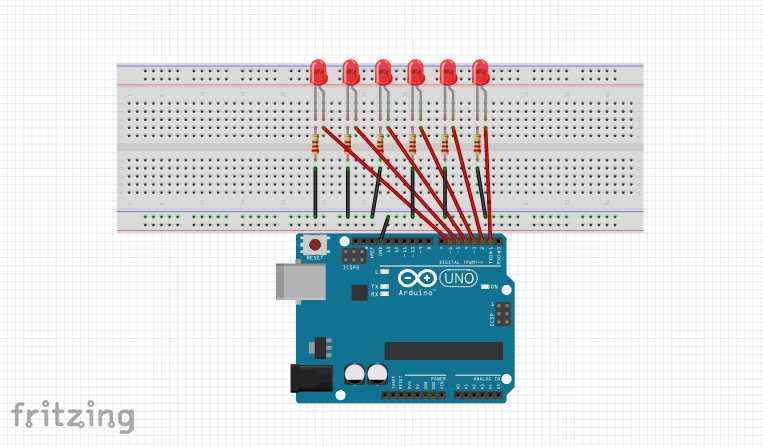
Setting up the circuit Alright, let's set up the circuit. Take the LEDs and line them up in the breadboard with the long end pointed to the right. (This leg will be connected to the pins ). To connect the LEDs, we will be using pins 1-6 for simplicity. Using the diagram, the LED on the left side will be connected to pin 6, the next LED to pin 5, continuing to the right the last LED will be connected to pin 1. Each short leg of the LEDs will be connected to a 220 Ohm resistor. The other leg of the resistor will be connected to the ground line. Take a wire and connect the ground to your Uno. We are done! The circuit should look something like this.
Now upload the code and enjoy!


_ztBMuBhMHo.jpg?auto=compress%2Cformat&w=48&h=48&fit=fill&bg=ffffff)


Comments