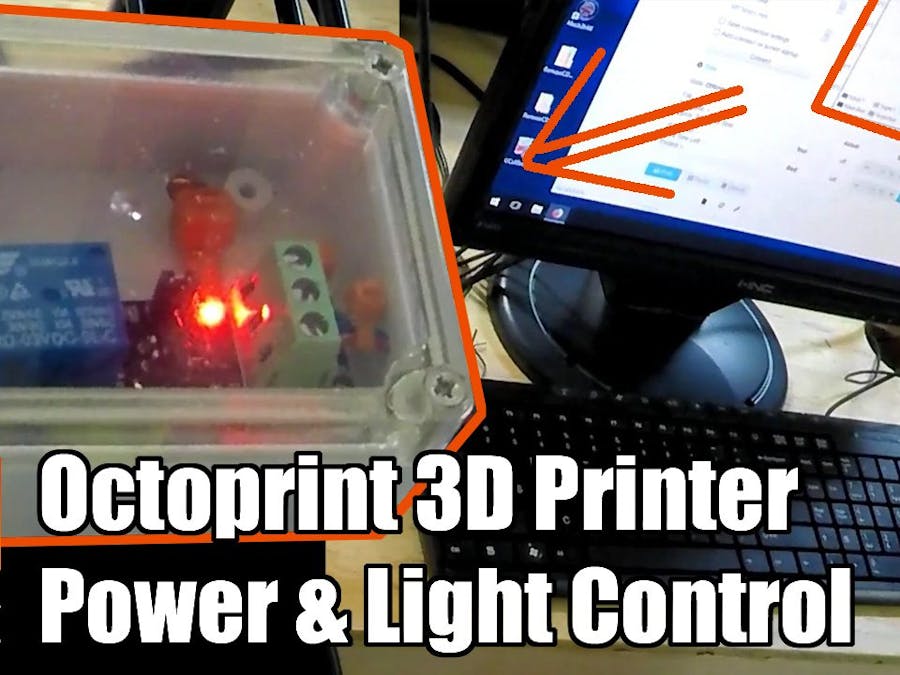
If you ever wanted to turn your 3D printer on and off remotely with OctoPrint, this will show you how to do that. Additionally, a light is added; extremely helpful if you want to take time lapses and for monitoring at night.
Software used:
- OctoLapse Plugin (time lapse at end)
Note that if you choose to copy anything here it's at your own risk. I'm not an electrician.
Step 1: SchematicWiring is laid out as seen here. Optionally, you could omit the light and lever nuts to simplify things significantly, but consider whether you're switching line or neutral when the input is cut.
Electronics Used:
- Lever Nuts (Amazon)
- Power Cable (eBay)
- Electronics Enclosure (eBay)
- 3.3V Relay (eBay)
Other Useful Stuff:
- Hanging RPi Mount (Printed)
- Shelving Unit (Amazon)
- MonoPrice Select Mini 3D Printer (Amazon)
- Ziro "Marble" Filament (Amazon)
Note: Amazon links are affiliate.
Step 2: Zip Ties!Attach to the hanging Pi Mount linked earlier with zip ties, and clean everything up with these wondrous attachment devices.
Step 3: Control Your 3D Printer!With all that laid out, you'll be able to control and light your 3D prints remotely. I used a Monoprice Select Mini V2, but this type of setup should work for nearly any printer.
As seen, this deals with the hardware and electronics for the build; there's a lot of info on actually installing OctoPrint out there elsewhere.
Thanks for reading. If you'd like to see some of my other projects, be sure to check out my YouTube page here.


Comments
Please log in or sign up to comment.