Introduction
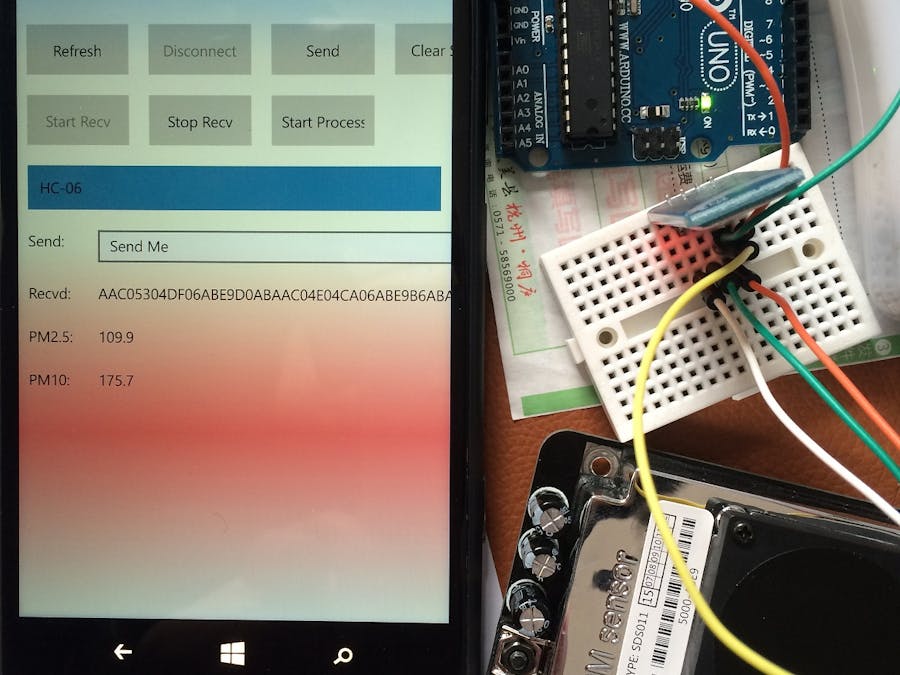
Air pollution is a great challenge that cannot be neglected for all countries all over the world. PM (Particulate Matter) 2.5 and PM 10 are main pollutants that pose threats to human health. In this project, a PM 2.5 and PM 10 detector is designed for Windows 10 Universal Platform, including Windows 10 for PC, Windows 10 for Mobile and Windows 10 IoT Core. The application running on Windows 10 platform is established on UWP temple. Firstly, an SDS011 PM2.5 & PM10 sensor with Bluetooth module HC-06 is designed to get the real-time data and transmit by Bluetooth module. Secondly, a Windows 10 device with Bluetooth module can receive the data and present them on the connected screen.
Prerequisites
In this project, SDS011 is used as PM 2.5 and PM 10 sensor. It uses the principle of laser scattering in the air, can be obtained from 0.3 to 10 microns suspended particulate matter concentration, and the data is stable and reliable. the Bluetooth communication is achieved by HC-06, which is a cheap, small packaged module. For windows 10 device, if you use Surface Pro and Lumia 1520, you will not need Bluetooth module. However, if you use Raspberry Pi or MBM as Windows 10 IoT Devices, you will need Bluetooth dongle. Refer to our MVP David Jones’s Generic Serial Bluetooth with Win 10 IoT-Core RPI2 to setup the environment.
Note: It will take 2-3 hours to complete the prerequisites if you don’t have Windows 10 and Visual Studio 2015 already setup but most of that time is unattended.
What You'll Need
Parts:
2. HC-06 Bluetooth module
3. Male-male and male-female jumper wires
5. Lumia 1520 or other Windows Phone 10 compatible device
6. ORICO Bluetooth module
7. Arduino Uno R3
8. Raspberry Pi 2
Project Instructions
Step 1: Connect the HC-06 module to the SDS011 sensor
Time: 5 minutes
Parts: 5v power supply, HC-06, SDS011, jumper wires, mini-breadboard
Tools: N/A
The original output of SDS011 is TTL-USB, which is not suitable for wireless connection. We use HC-06 as Bluetooth module for data transmission. It is much cheaper than BlueSMiRF Silver module from SparkFun. Furthermore, we use 5V DC power to provide energy for the detector.
First of all, plug the Bluetooth module into the breadboard to make connections easier. To power the module, run a jumper from the Arduino’s 5V power rail to the module's Vcc pin(Of course, you can use other 5v power supply). And run a male-male jumper from the module's GND pin to any of the GND pins on the Arduino. To establish the serial communications, connect a male-male jumper from the Bluetooth module's TX pin to the SDS011’s RX pin and another from the module's RX pin to the SDS011’s TX pin.
Step 2: Pairing Bluetooth module with Windows 10 Device
Time: 5 minutes
Parts: Bluetooth module, Windows 10 device, ORICO Bluetooth module(Optional)
Tools: N/A
The Bluetooth module runs the SPP (Serial Protocol over Bluetooth) protocol. So any device supporting SPP can connect to it. On a Windows 10 device, this looks like a virtual COM port. Before connecting, make sure the module is powered and ready to pair. The red LED on the module indicates the status: blinking means “ready to pair”, while steady on means “paired”.
On Windows 10 for PC, just navigate to Settings->Devices->Bluetooth, make Bluetooth open, and then “HC-06” module will be shown on the screen. Tap to pair the device, and enter the device’s paring code. Please do remember that the default pairing code is 1234, and the default serial port speed is 9600 Baud. Then, the Bluetooth page is shown like this:
For Windows 10 for Mobile, navigate to Settings->Devices->Bluetooth, and do the same steps described in the above section. And the paired device page is shown like this:
For Windows 10 IoT Core device, for example Raspberry Pi 2, MBM and Dragon Board 410c, the pairing process is much different. Firstly, for Raspberry Pi 2 and MBM who don’t have on-board Bluetooth module, we should buy a Bluetooth USB dongle and plug in. Just refer to the Hardware Compatibility List and choose a verified Bluetooth USB dongle.
In this project, we choose a ORICO BTA-403 module.
If you try this project on Dragon Board 410c, then you don’t need a Bluetooth dongle because Dragon Board 410c has an on-board Bluetooth module.
Plug the ORICO BTA-403 Bluetooth USB dongle in the USB interface of Raspberry Pi 2 as follows.
Once the ORICO BTA-403 Bluetooth USB dongle is plugged in, it will show messages on the default app screen of Windows 10 IoT Core device.
For Bluetooth pairing on Windows 10 IoT Core device, refer to the Pairing a BLE Device and GATT Attribute Table Dump Tool page and follow the “Step 1 – Step 6” described in the “Pairing the Sensortag” Section. Here we should use SSH to connect to the Windows IoT Core and run the command line tool to configure the device.
Note: do remember that the BR mode should be chosen on the Main Menu. And the default pairing code is 1234.
After successful pairing, the Bluetooth Page of the device is shown like this:
Step 3: Download and Deploy the Code
Time: 10 minutes
Parts: N/A
Tools: N/A
First of all, plug the 5v DC power and make the PM 2.5 and PM 10 with HC-06 work. You will get the data every 1 second.
Secondly, download the “GenericBluetoothSerialUWApp” project from github. Use Visual Studio 2015 with Update 1 to load “GenericBluetoothSerialUWApp”. This app is designed with the help of our MVP David Jones’s Generic Serial Bluetooth with Win 10 IoT-Core RPI2. If you want this UWP app running on PC, choose x86 or x64 with local device debugging. If you want this UWP app running on Windows 10 Mobile, choose ARM with Device debugging. If you want this UWP app running on Windows 10 IoT device, for example, Raspberry Pi 2, make sure you set the “Remote Debugging” point to your device.
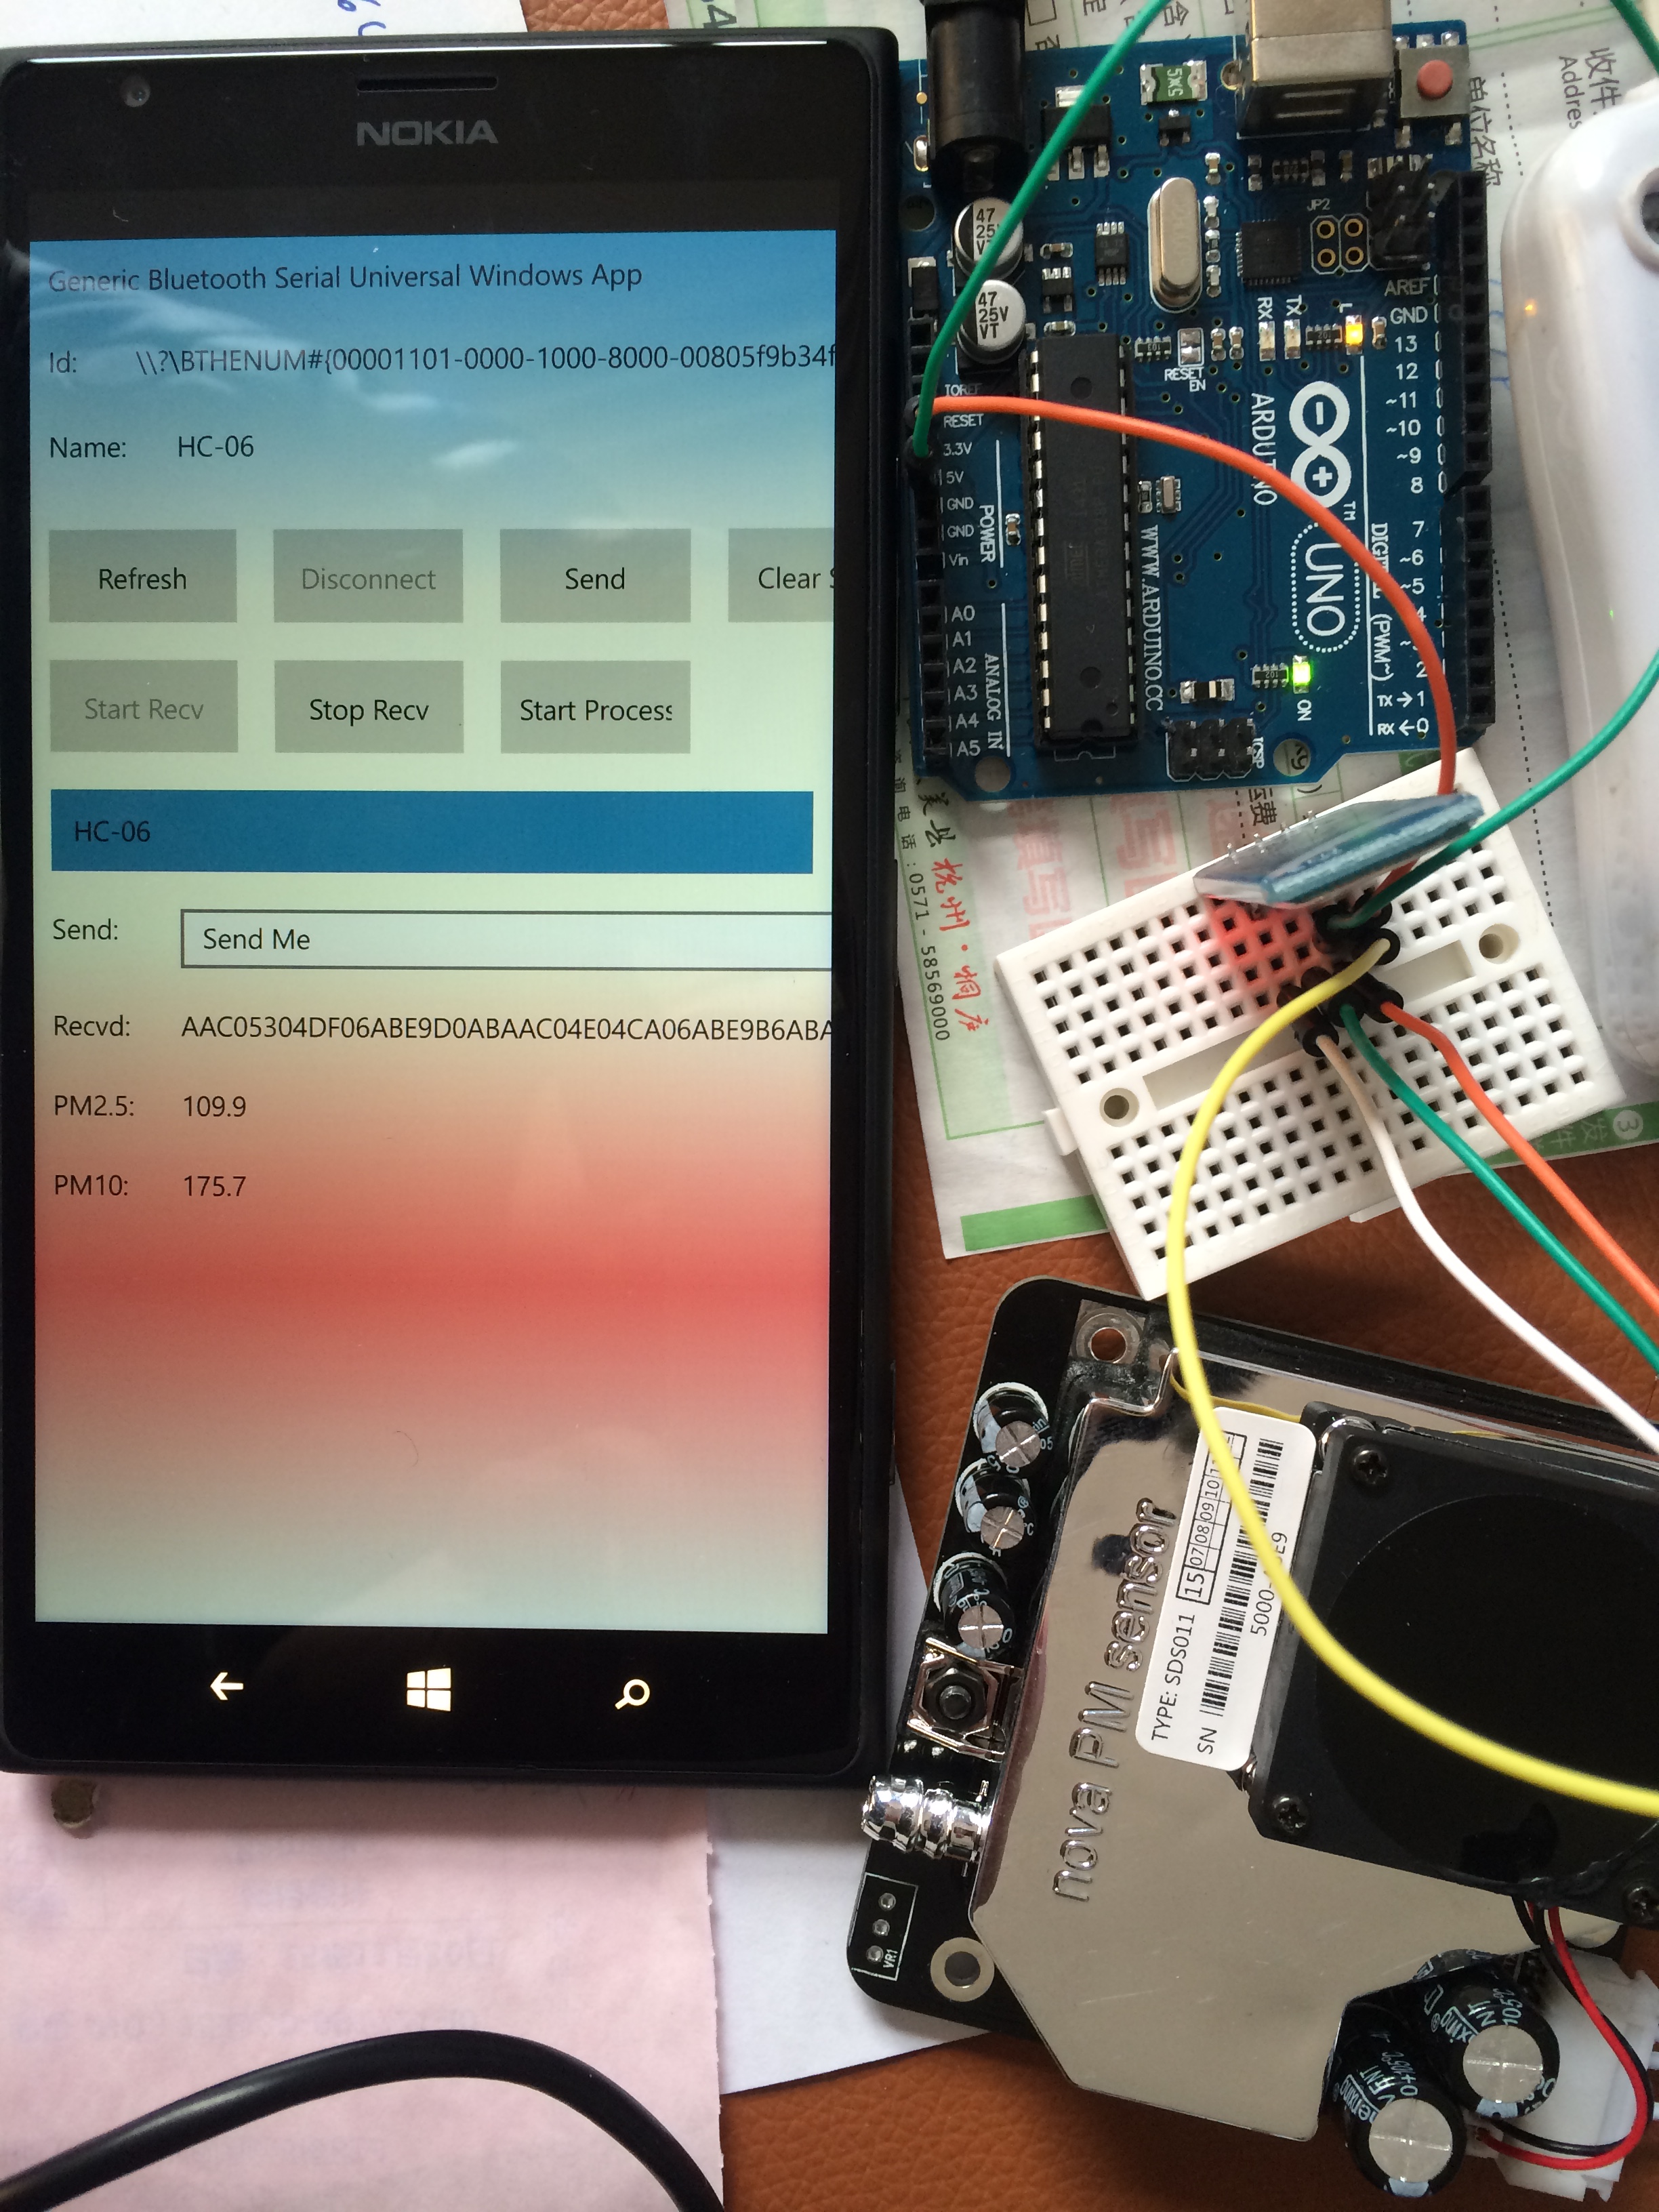
After pairing the HC-06 with your Windows 10 device, press F5 from Visual Studio to launch the Universal Windows Platform app. Double tap the “HC-06” Symbol, you will find the Id and Name display on the very top of the application. Soon, you can see that the state of the LED on HC-06 will change from blinky to steady. And the “Start Rev” button is enabled as soon as the communication channel of Bluetooth module is established. Click Start Recv to enable data receive. Then you will see the Stop Recv and Start Process buttons are enabled. Just click Start Process button to run the Data Process algorithm.
You will see the data on PM2.5 and PM10 TextBlocks.


_ztBMuBhMHo.jpg?auto=compress%2Cformat&w=48&h=48&fit=fill&bg=ffffff)


Comments
Please log in or sign up to comment.