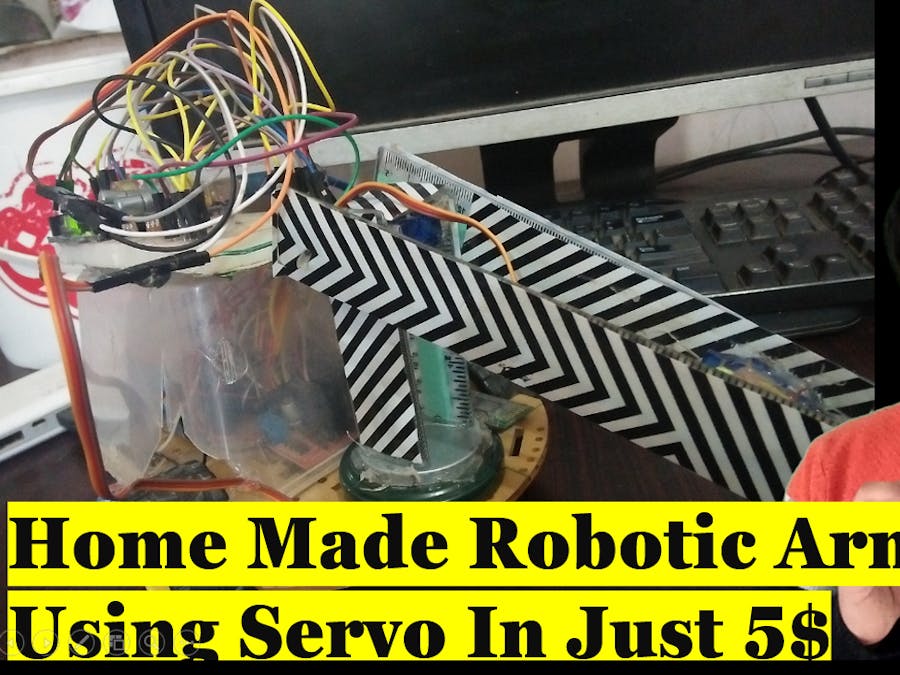
In this blog we will learn how to make a homemade robotic arm in just 5 dollar using arduino uno. Our home made robotic arm can be controlled through potentiometer of 10K by varying the variable resistance of our potentiate. we can easily control our robotic arm. Which can pick and place objects according to our potentiometer movements.by adding bluetooth module in our project we can also control of robotic arm using smartphone.Our main aim of this project is to provide cheap robotic arm that can help user iv the various industries just as paint industry, drilling purposes and in various kinds of assembling industries. In future in is expected by various scientific generals and paper that robots will help farmers to grow their crops, businessman's to expand their businesses and moreover there will be a wide roll of robots in defense industries.
3D Model Robotic ArmMoreover if you don't have time the you can purchase your own robotic arm. which I have added in the tools menu. This is made using 3d Modeling for the first 3 axis, the waist, the shoulder and the elbow, which uses MG996R servos, and for the other 2 axis, the wrist roll and wrist pitch, as well as the gripper it uses the smaller SG90 micro servos.Industrial robotic arms are a versatile platform used in most manufacturing industries. Flexibility in their functions is what allows them to be utilized in so many different applications including welding, painting, assembly, pick and place, product inspection, testing, and many more. The industrial robotic arm has a freedom in movement based on the number of serial links that have been connected. The main advantage of industrial robotic arms is their flexible kinematics (high degrees of freedom). Because of this, the end effector of a robotic arm has a greater level of freedom in its interaction with the work environment than that of a gantry machine conventionally used in 3D printers.There are many important factors which need to be considered in the development of a robot arm platform for rapid prototyping. The parameters can be categorized in two distinct group: process parameters, and process planning parameters.A process parameter is a parameter that can affect the dimensional accuracy and building time of the 3D printed part. They are dependent on the 3D printing platform used. The three parameters we are looking at are:
Homemade robotic arm is self made robotic arm at home using three servo motors of small size. You can use bigger servo motors for more powerful arm.I used three Servo motors for the directions of horizontal, vertical and for the grabber.I also uses some scales for the structure of our robotic arm. Moreover this robotic arm can pick up to 9g of wait. If you want to make powerful robotic arm then uses big servo motors.
A small servo motors can pick 9g of weight if you want to make more powerful robotic arm then you need to purchase bigger servo motors. A servo motors can rotate up to 180 degree and one of the main advantage of servo motor is that it can lock when we cammad it. That is the reason why I am using servo motors. Servo motors has three pins named yellow, brown and red. Red pin require 5V power supply. While brown is PWM pin. which need to be connect with analog pins of arduino.
Its is basically a microcontroller that will send and receive data and process it according to our code uploaded in it. It has digital output and analog inputs. In this project we are using both of these pins of arduino uno. Moreover we make a uses of its 5V pins and ground pins for over servo motors
Circuit DiagramHere is the link to my website for sheep casing :https://aquabcasing.com/


Comments
Please log in or sign up to comment.