Many people lack access to immersive cultural experiences due to physical distance, travel limitations, or lack of cultural resources in their local area. Traditional methods of cultural exploration, such as museums and guided tours, may not always be accessible or engaging for everyone. This gap in accessibility can lead to a diminished understanding and appreciation of diverse cultures, which is crucial in our increasingly globalized world.
I have built a virtual reality (VR) application that leverages AMD GPUs to provide immersive and interactive cultural exploration experiences. Users can virtually visit historical sites, landmarks, museums, and cultural events from anywhere in the world, enhancing their understanding and appreciation of diverse cultures. This application aims to democratize access to cultural education, making it available to anyone with a compatible device.
By leveraging AMD GPUs, the VR application can deliver high-quality, immersive visuals with smooth rendering and realistic effects. AMD’s advanced graphics technology ensures that users experience minimal latency and high frame rates, which are essential for creating a seamless and engaging VR experience. This makes it unique from other VR apps that may struggle with performance issues or lack the visual fidelity necessary to create truly immersive experiences.
Virtual Visits: It allows users to virtually visit historical sites, landmarks, museums, and cultural events from anywhere in the world. This feature can be particularly beneficial for educational institutions, enabling students to explore global cultures without leaving their classrooms.
Educational Content: The application serves as an educational tool by providing informative content about the history, significance, and cultural context of each location. This content can be curated by historians and cultural experts to ensure accuracy and depth. Interactive Elements: The interactive elements of my application, such as virtual exhibits and informative overlays, will enhance user engagement and immersion. Users can actively explore and interact with virtual content, making the learning experience more dynamic and engaging. For example, users might be able to examine a 3D model of an ancient artifact, read detailed descriptions, and watch related videos. Users will access the VR app on their VR headsets, powered by AMD GPUs, to explore virtual replicas of cultural landmarks and historical sites. AMD GPUs will accelerate real-time rendering of high-quality 3D models and immersive VR environments. The app offers guided tours led by virtual guides or narrators, providing informative and entertaining commentary throughout the exploration journey. Users can choose from a variety of thematic tours based on their interests, such as art history, architecture, or cultural festivals. Additionally, the app could feature live virtual events, allowing users to participate in cultural celebrations and ceremonies in real-time.
By integrating these features, the VR application not only provides a platform for cultural exploration but also fosters a deeper connection and understanding between users and the diverse cultures they explore.
AMD GPU for ML applicationAs machine learning (ML) models increasingly surpass the capabilities of standard hardware not optimized for such tasks, ML engineers are seeking cost-effective solutions for developing and training their ML-driven applications. A local PC or workstation equipped with AMD Radeon GPUs offers an efficient and affordable option to tackle these growing workload demands, thanks to GPU memory capacities of up to 24GB and even 48GB.
AMD is committed to enhancing the accessibility of AI for developers and researchers by supporting a diverse ecosystem of systems, frameworks, and accelerators. This effort is particularly focused on facilitating local client-based ML development with AMD RDNA™ 3 architecture-based desktop GPUs.
The Radeon 7900 series GPUs, built on the RDNA 3 architecture, are equipped with up to 96 Compute Units and include new AI instructions. They deliver more than twice the AI performance per Compute Unit compared to the previous generation[1]. Additionally, the second-generation ray tracing technology in these GPUs provides significantly improved performance over earlier models[2]. With 48GB of GDDR6 VRAM, these GPUs enable professionals and creators to handle extensive neural network models and datasets for both training and inference.
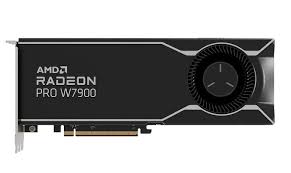
For researchers and developers using PyTorch, the AMD ROCm™ 5.7 software on Ubuntu® Linux® allows them to leverage the parallel computing capabilities of Radeon PRO W7900 graphics card
VR Ready AMDWith AMD's announcement of the new AMD Radeon™ Software Adrenalin driver, which includes AMD Radeon™ with wireless VR support. Initially, this was a research project undertaken by AMD's Immersive Technology Team aimed at addressing a common challenge: the cumbersome cables connecting VR headsets to PCs. It became clear that removing these wires could significantly enhance the VR experience.
Previously, there were two main approaches to achieving wireless VR. The first method involved using dedicated hardware dongles. While this approach could make head-mounted displays (HMDs) somewhat wireless, it still required numerous wires, resulting in a complex and unwieldy setup. Additionally, the tracking area for the HMD was quite limited.
The second method involved streaming game frames directly to a standalone VR headset. Although several products of this kind were available, many faced issues such as increased latency, jitter, and black borders, which detracted from the overall experience.
After years of development and testing, AMD is now introducing its new wireless VR game streaming technology as part of AMD Video and Streaming in the AMD Radeon™ Adrenalin Software, combined with the updated AMD Link mobile application and dedicated VR store applications
AMD GPUs now support streaming PC-based VR games to standalone VR headsets, such as the HTC Vive Focus and Google Daydream, over a home Wi-Fi network. This new software enables low-latency, PC-quality experiences on standalone VR headsets, offering advanced graphics and vibrant colors.
This breakthrough technology is both revolutionary and evolutionary. It combines the powerful rendering capabilities of AMD Radeon™ GPUs with the mobility of a standalone headset—an experience neither technology could achieve on its own. By integrating AMD Radeon GPUs with AMD Radeon Software drivers, developers gain direct access to hardware and data assets, resulting in a solution that is naturally more efficient and provides lower latency.
Developers can now stream PC-based VR content to Android-based headsets, mobile phones, and tablets without modifying the game code. Gamers benefit from accessing VR titles via Steam and their PCs, now playable on mobile platforms. All this is achievable with standard, off-the-shelf hardware: a PC with a compatible AMD Radeon™ GPU running SteamVR, a standalone VR headset, and a wireless AC (5GHz) router.
Several key factors had to align for this technology to come to fruition. AMD addressed engineering challenges to minimize network latency, find a standalone headset with an open API, and demonstrate the technology's viability.
While wireless VR is not without its challenges—such as potential network congestion leading to occasional frame delays or losses and the limited support for six degrees of freedom (DoF) motion controls on some headsets—the ecosystem is improving. Multiple vendors are set to release dual 6DoF controllers for standalone headsets, promising a richer gaming experience comparable to dedicated PC VR setups.
Hardware Requirements for AMD Radeon Pro W7900 GPUTo ensure optimal performance and stability for the AMD Radeon Pro W7900 GPU, here are the hardware requirements based on the provided specifications:
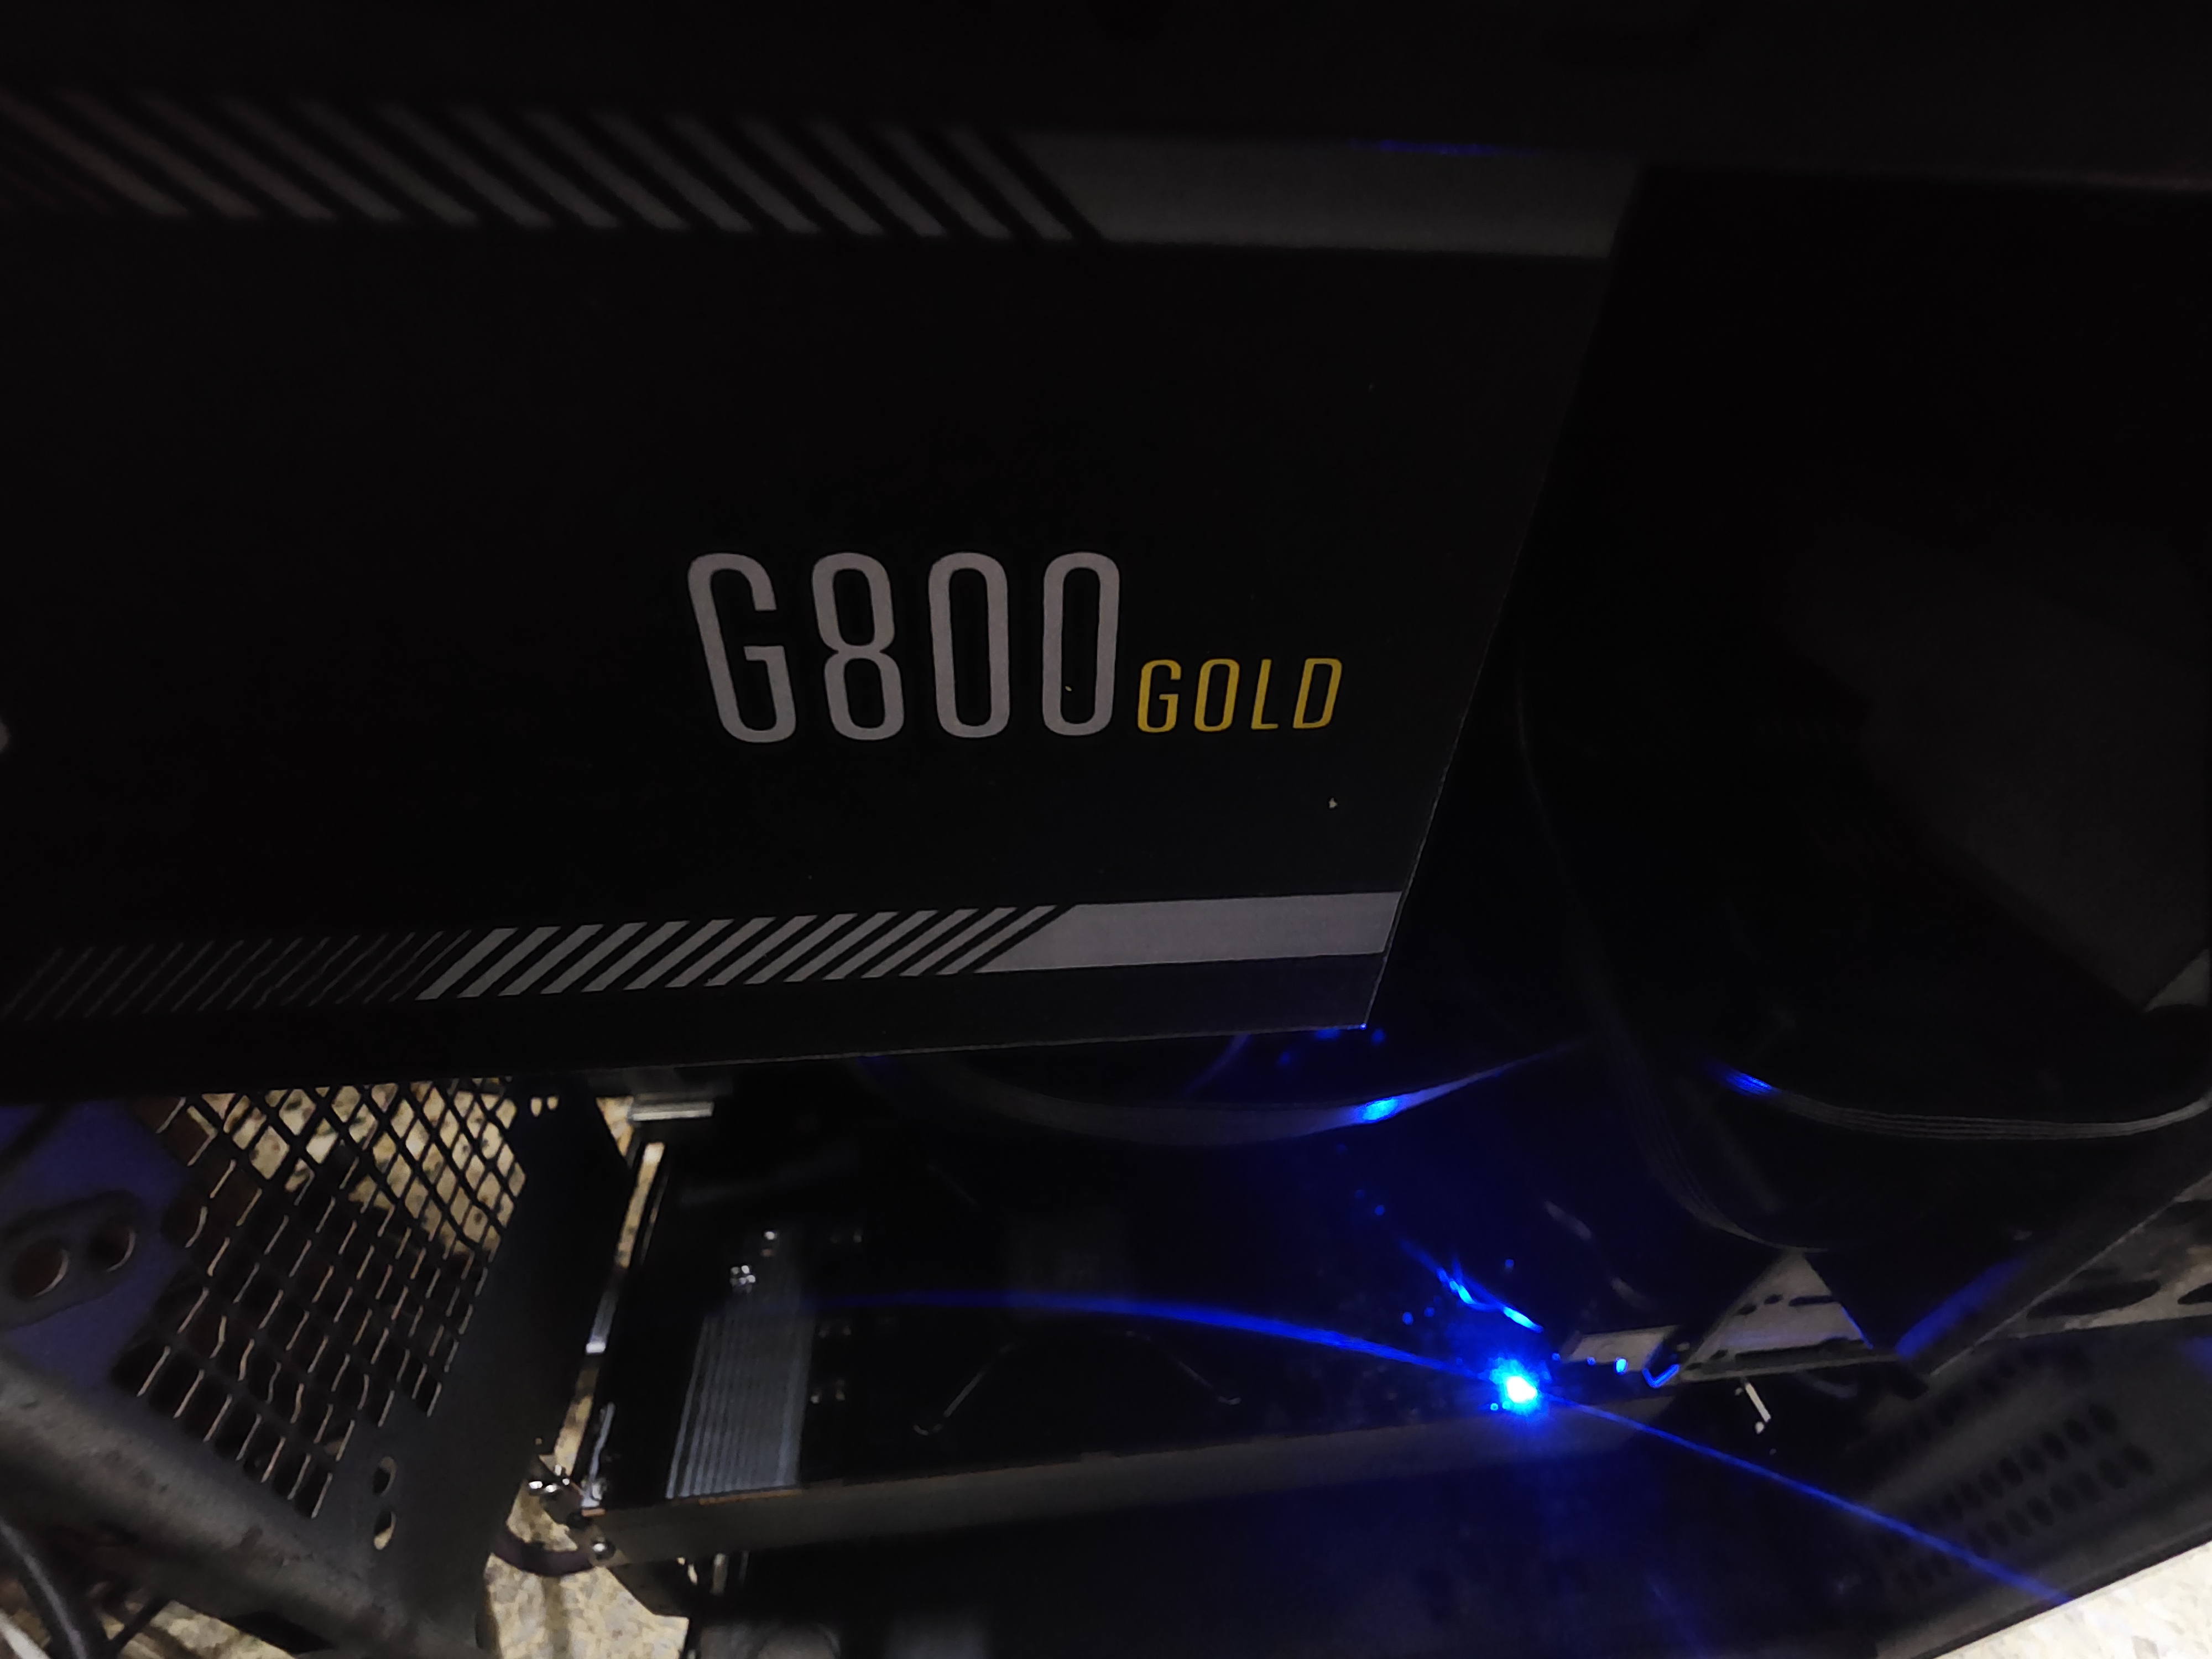
Power Supply Unit (PSU):- Minimum PSU Recommendation: 750 Watts
- Required Power Connectors:
- 2 x 8-pin (6+2) PCIe power connectors
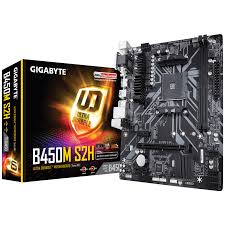
- Motherboard PCIe Slot: One available PCIe 4.0 x16 slot (recommended for maximum performance), PCIe 3.0x16 slot works fine too
- Choose a motherboard that supports AMD CPU socket AM4 or AM5
- Space Requirements: Ensure sufficient clearance in your case for the GPU. The Radeon Pro W7900 is a high-performance card and may require ample space for proper installation and cooling.
- Casing must have more than 11" (280 mm) clearance for GPU placement. Tower Pro Full casings are recommended
- Needs to have Triple Slots space available below the PCIe interface area through the back side of the Casing
- Adequate airflow is crucial. Ensure your case has proper ventilation and cooling solutions to handle the heat generated by the GPU during heavy workloads.
- Although the GPU got a cooling fan, another 3-4 cooling fans on the CPU can help a lot to manage removal of generated heat
- Compatible with Windows 10, Windows 11, and most major Linux distributions. Ensure that your operating system supports the Radeon Pro drivers for optimal performance.
- Updated motherboard's BIOS/UEFI to the latest version to ensure compatibility with PCIe 4.0 and to avoid potential issues.
- Minimum of 16/32 GB of system RAM to complement the high-performance GPU and ensure smooth multitasking and application performance.
- While DDR 5 RAMs with 5000 MHz+ clock speed are recommended, even DDR 4 RAMs with lower clock speed will work with this GPU
- While the W7900 GPU has 48 GB VRAM, for overall performance more system RAM is always a better idea
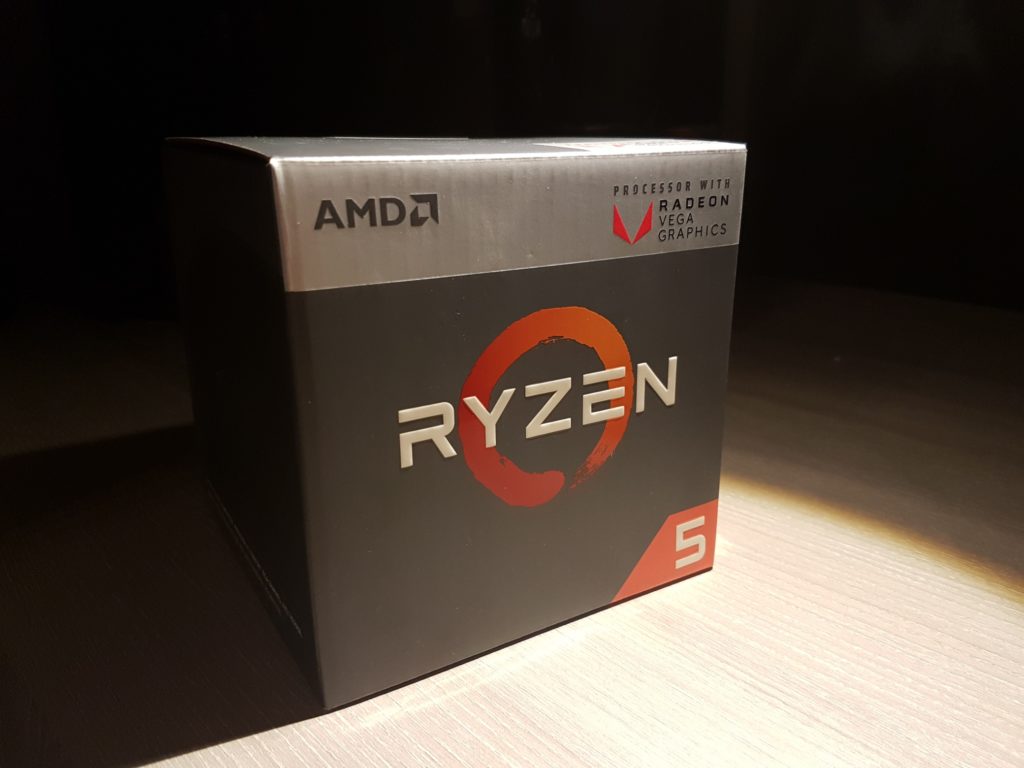
- Compatibility: Pair with a high-performance CPU to avoid bottlenecks, AMD Ryzen 5/7/9 processor is recommended for optimal performance.
- CPU with lots of cache memory and multiple threads are always welcome
- A CPU with matching AM4/AM5 sockets for the proper motherboard is recommended
- Ensure installing the latest AMD Radeon Pro drivers from the AMD website to fully utilize the GPU’s features and capabilities.
- Some VR/3D/AI programs need CUDA Core which is not available on AMD Ryzen GPUs (it's an Nvidia thingy). There are some workarounds to overcome these problem by talking with AMD technical staffs on AMD GPU forums.
- W7900 Pro GPU had Display ports as output. If you are going to use monitors with HDMI/VGA ports, make sure to get a Display Port to VGA or Display Port to HDMI Converter.
- Pick monitors with higher frame rates, good RGB accuracies if possible
I used Meta quest 3 for this project using SIMLAB viewer which support all the VR headset out their in the market such as, HTC vive pro, Playstation VR etc.
These headsets will take full advantage of the AMD Radeon Pro W7900 GPU’s capabilities.
VR experience on AMD GPU=======================
Transforming Videos into Interactive VR Experiences
Our innovative VR cultural exploration app enables users to create immersive virtual reality (VR) experiences of cultural and historical sites. By leveraging cutting-edge technology, the app seamlessly transforms drone and ground-level videos into detailed 3D models, which are then enhanced with interactive VR features for a rich, educational experience. The app pipeline involves the following stages:
Video Upload:- Users will upload drone footage and ground-level videos of cultural or historical sites through the app interface.
- The uploaded videos will be processed using RealityCapture to generate accurate 3D models from the visual data. RealityCapture will first create a Cloud mesh.
- This Cloud mesh will be updated into base 3D model using the information captured from the drone video and other ground video shots.
- The 3D models are imported into Autodesk Maya for refinement.
- This includes adding textures, remeshing, and incorporating intricate details to enhance the visual quality.
Below is an outline of the coding steps involved in creating the app pipeline. This example assumes the use of Python for automation :
import
os
from
realitycapture
import
RealityCaptureAPI
from
autodesk
import
MayaAPI
from
simlab
import
SimLabAPI
import
tensorflow
as
tf
import
cv2
import
numpy
as
np
import
time
# Step 1: Video Upload
def
upload_videos
(
drone_video_path, ground_video_path
):     uploaded_videos = {
"drone"
: drone_video_path,
"ground"
: ground_video_path     }
return
uploaded_videos
# Step 2: Generate 3D Model with RealityCapture
def
generate_3d_model
(
videos, api_key
):     rc_api = RealityCaptureAPI(api_key=api_key)
try
:         model_path = rc_api.create_3d_model(videos[
"drone"
], videos[
"ground"
])
return
model_path
except
Exception
as
e:
print
(
f"Error generating 3D model: {e}"
)
return
None
# Step 3: Polish Model in Autodesk Maya
def
polish_model
(
model_path, api_key
):     maya_api = MayaAPI(api_key=api_key)
try
:         polished_model_path = maya_api.remesh_model(model_path)         polished_model_path = maya_api.add_textures(polished_model_path)         polished_model_path = maya_api.add_details(polished_model_path)
return
polished_model_path
except
Exception
as
e:
print
(
f"Error polishing model: {e}"
)
return
None
# Step 4: Integrate VR Features in SimLab Composer
def
integrate_vr_features
(
model_path, api_key
):     simlab_api = SimLabAPI(api_key=api_key)
try
:         simlab_project_path = simlab_api.create_project(model_path)         simlab_api.add_vr_interactions(simlab_project_path)         simlab_api.add_gemini_pro_vision(simlab_project_path)
return
simlab_project_path
except
Exception
as
e:
print
(
f"Error integrating VR features: {e}"
)
return
None
# Step 5: Generate Final VR Experience
def
generate_vr_experience
(
simlab_project_path, api_key
):     simlab_api = SimLabAPI(api_key=api_key)
try
:         vr_viewer_link = simlab_api.publish_to_vr_viewer(simlab_project_path)
return
vr_viewer_link
except
Exception
as
e:
print
(
f"Error generating VR experience: {e}"
)
return
None
# Main function to run the pipeline
def
run_pipeline
(
drone_video_path, ground_video_path, api_keys
):     api_key_rc = api_keys[
"realitycapture"
]     api_key_maya = api_keys[
"maya"
]     api_key_simlab = api_keys[
"simlab"
]      uploaded_videos = upload_videos(drone_video_path, ground_video_path)     model_path = generate_3d_model(uploaded_videos, api_key_rc)
if
not
model_path:
return
None
polished_model_path = polish_model(model_path, api_key_maya)
if
not
polished_model_path:
return
None
simlab_project_path = integrate_vr_features(polished_model_path, api_key_simlab)
if
not
simlab_project_path:
return
None
vr_viewer_link = generate_vr_experience(simlab_project_path, api_key_simlab)
return
vr_viewer_link
# Example usage
api_keys = {
"realitycapture"
:
"YOUR_REALITYCAPTURE_API_KEY"
,
"maya"
:
"YOUR_MAYA_API_KEY"
,
"simlab"
:
"YOUR_SIMLAB_API_KEY"
} drone_video =
"path/to/drone/video.mp4"
ground_video =
"path/to/ground/video.mp4"
final_vr_link = run_pipeline(drone_video, ground_video, api_keys)
if
final_vr_link:
print
(
f"Final VR experience available at: {final_vr_link}"
)
else
:
print
(
"Pipeline failed"
)
# CNNs Image Detection Integration
def
capture_screenshot
():
# SimLab specific code to capture screenshot (replace with actual implementation)
screenshot = cv2.imread(
'screenshot.png'
)
# Placeholder
return
screenshot
def
preprocess_image
(
image
):
# Resize image to match model input shape (assuming 224x224)
image = cv2.resize(image, (
224
,
224
))
# Normalize pixel values (adjust as needed)
image = image /
255.0
# Add batch dimension
image = np.expand_dims(image, axis=
0
)
return
image
def
predict_image
(
image
):     prediction = model.predict(image)
# Convert prediction to text (replace with your logic)
predicted_text =
"Predicted text based on prediction"
return
predicted_text
def
display_text
(
text
):
# SimLab specific code to display text on screen (replace with actual implementation)
print
(text)
# Placeholder
# Load your CNN model (replace with your actual model path)
model_path =
'path/to/your/model'
model = tf.keras.models.load_model(model_path)
while
True
:
if
controller_input ==
'X'
:
# Replace with SimLab's input handling
screenshot = capture_screenshot()         preprocessed_image = preprocess_image(screenshot)         predicted_text = predict_image(preprocessed_image)         display_text(predicted_text)         time.sleep(
1
)- The polished 3D models are transferred to SimLab Composer, where VR functionalities and interaction features will be integrated
- Using controller of the VR headset, the app allows users to capture and interact with specific objects within the VR environment. The app will have function to capture on screenshot which will transfer to CNNs AI image identification model. It will provide real time detailed information of the historic site or specific object.
Script to integrate CNNs AI model in SimLab composer:
import cv2
import numpy as np
import tensorflow as tf

# Import your VR SDK
# Assuming vr_controller is an object from your VR SDK

def capture_screenshot(vr_controller):
    # Logic to capture a screenshot using VR controller input
    # Replace with your VR SDK specific code
    screenshot = vr_controller.capture_image()  # Placeholder function
    return screenshot

def preprocess_image(image):
    # Preprocess image for CNN input
    processed_image = cv2.resize(image, (224, 224))  # Example resizing
    processed_image = processed_image / 255.0  # Normalize pixel values
    processed_image = np.expand_dims(processed_image, axis=0)  # Add batch dimension
    return processed_image

def load_model(model_path):
    # Load your CNN model
    model = tf.keras.models.load_model(model_path)
    return model

def interpret_prediction(prediction):
    # Post-process prediction to get desired output
    # Replace with your logic to interpret the CNN output
    result = "Predicted text based on prediction"  # Placeholder
    return result

def display_result(result):
    # Display the result to the user in the VR environment
    # Replace with your VR SDK specific code to display text or overlay
    print(result)  # Placeholder for displaying result

def main():
    # Load the model once during initialization
    model_path = 'your_cnn_model.h5'  # Replace with your model path
    model = load_model(model_path)

    while True:
        # Assuming vr_controller is an object from your VR SDK
        if vr_controller.button_x_pressed:  # Placeholder for VR controller input check
            screenshot = capture_screenshot(vr_controller)
            processed_image = preprocess_image(screenshot)
            prediction = model.predict(processed_image)
            result = interpret_prediction(prediction)
            display_result(result)

if __name__ == '__main__':
main()- The final VR project is accessible via SimLab VR Viewer, compatible with various VR headsets including MetaQuest, HTC Vive, and PlayStation VR, ensuring a broad reach and user accessibility.
References:
ConclusionThe proposed VR application, leveraging the advanced capabilities of AMD GPUs, offers a groundbreaking solution to the barriers many face in accessing immersive cultural experiences. By virtually visiting historical sites, landmarks, museums, and cultural events from anywhere in the world, users can deepen their understanding and appreciation of diverse cultures, regardless of their physical location or travel limitations. This application democratizes cultural education, making it more accessible and engaging through high-quality, interactive experiences. The integration of AMD’s advanced graphics technology ensures that users benefit from minimal latency and high frame rates, crucial for a seamless and engaging VR experience. This sets the application apart from other VR apps that may struggle with performance issues. The app’s features, including virtual visits, educational content, and interactive elements, provide a dynamic and enriching user experience. Additionally, the application utilizes a comprehensive pipeline involving RealityCapture for 3D model generation, Autodesk Maya for model polishing, and SimLab Composer for integrating VR functionalities. The inclusion of CNN-based image detection further enhances interactivity, allowing users to receive detailed information about specific objects within the VR environment in real-time.
Overall, this VR application is poised to revolutionize cultural exploration and education, providing users with a rich, immersive, and interactive experience that fosters a deeper connection to and understanding of global cultures. The utilization of AMD GPUs and advanced VR technologies ensures that this platform not only meets but exceeds the expectations for quality and performance in virtual reality applications.


_t9PF3orMPd.png?auto=compress%2Cformat&w=40&h=40&fit=fillmax&bg=fff&dpr=2)


Comments
Please log in or sign up to comment.