ESP 8266 works on 3.3v and not on 5v. So, we will try to talk to ESP8266 with the help of Arduino Uno.
Circuit Description:
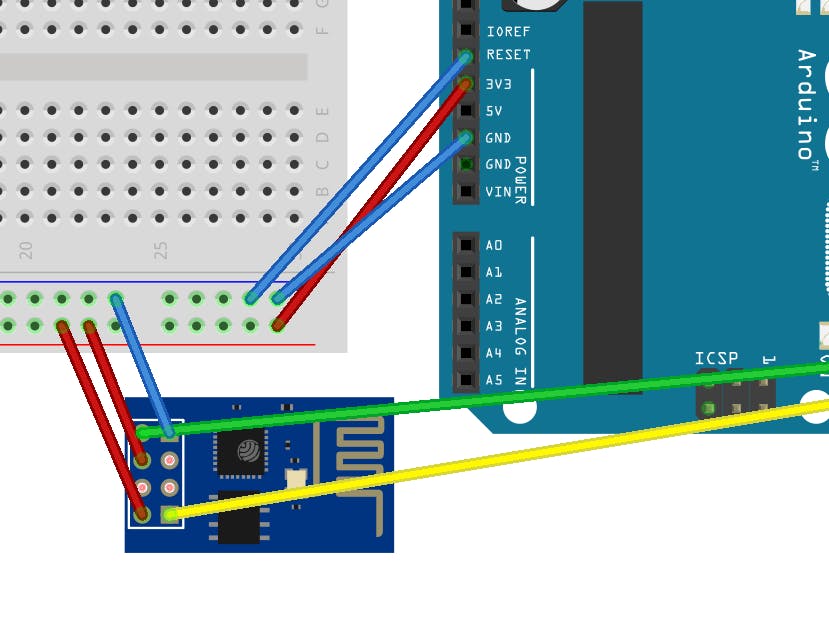
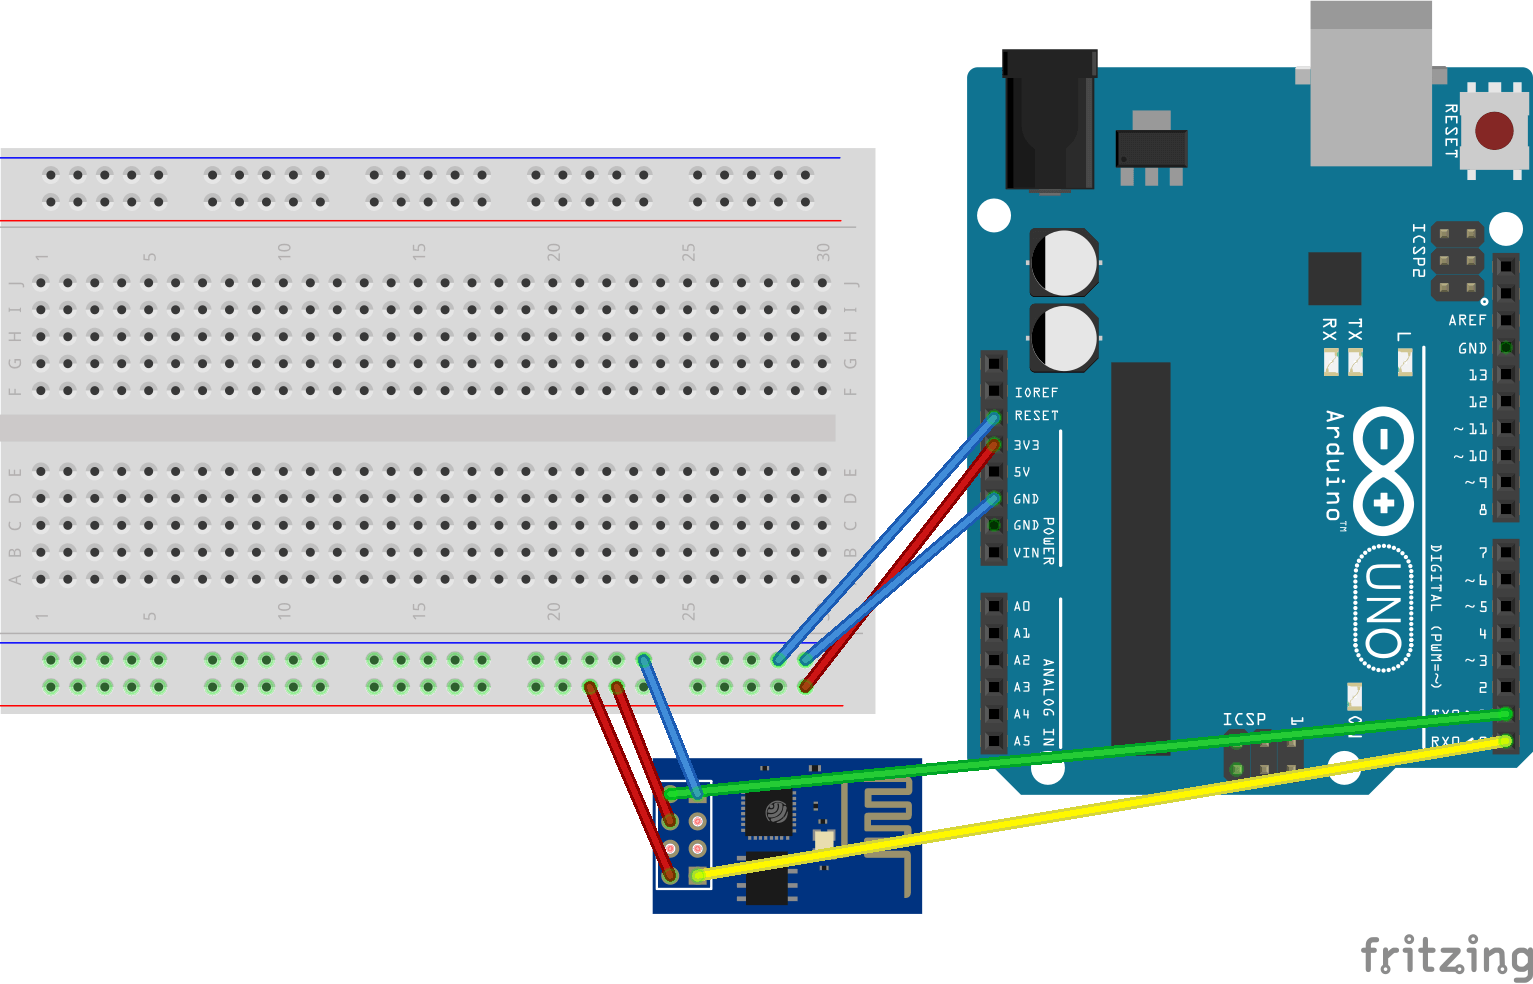
Connect the Arduino’s 3v3 (3.3V) output to ESP8266. The ESP8266 works with 3.3V and not 5V, so this is necessary.
Connect the RES or RESET pin, When you ground the reset pin, the Arduino works as a dumb USB to serial connector, which is what we want to talk to the ESP8266.
Connect the RXD pin of the Arduino to the RX pin of the ESP8266.
Connect the TXD pin of the Arduino to the TX pin of the ESP. When we want two things to talk to each other over serial, we connect the TX pin of one to the RX of the other (send goes to receive and the opposite). Here we do not have the Arduino talk to the ESP8266 though, our computer is talking to it viathe Arduino.
Connect GND and VCC.
Finally CH_PD connects.
Software:
In the Arduino IDE, you don’t need to choose a board, as we’re not uploading anything to the ESP8266. Just choose the right port in the Tools menu and go to Tools → Serial Monitor. Then simply set your baud rate to 115200 (the default ESP8266 firmware uses it) and your line endings to Both NL & CR.
And since we talked about the CH_PD pin, remember that if you want to flash the ESP8266 you should connect the GPIO0 pin.


_ztBMuBhMHo.jpg?auto=compress%2Cformat&w=48&h=48&fit=fill&bg=ffffff)


Comments
Please log in or sign up to comment.