Here, I will provide a solution for accurate odometer readings on small vehicles. The Infineon sensor is great for this application because IoT and RC vehicles have a relatively large power consumption, especially if they are fully electric. Because of this, the sensor's low power consumption is ideal.
Essentially, the magnetic sensor checks the amount of times a wheel has rotated and calculates distance traveled on board to save the main board's computational power for other tasks. It sends the current distance traveled through I2C to be as flexible and adoptable as possible. The unit is simple to attach to any wheel or RC vehicle.
Currently, I'm working on a way to improve the accuracy of readings and figuring out a way to calculate wheel slip for areas of low friction. Oh and making a repo for it :P.
Setting Up Development ToolsFirst off, you're going to need these links:
Sensors 2Go Main Page: Download the Evalkit GUI and User Manual
XMC Arduino Library: Full guide for XMC development in Arduino
I2C Anything Library: To learn more about I2C
The links above are very thorough, so I will leave them as references and summarize below.
Download and install J-Link and the Evalkit GUI. Read the user manual to gain more familiarity with the board itself. Honestly, I just skimmed through it, but it taught me more about the board and its potential applications. After that, plug in your board and follow the Evalkit instructions provided on setup. This is to verify that your sensor is complete and functioning.
If you want to develop in Eclipse, download the Dave IDE from Infineon. If you want to use Arduino IDE like me, download the XMC board manager and install it in the Arduino IDE. Now you can download the XMC Library and plug in your sensor. In the board selection dropdown menu, you should now see "XMC1100 XMC2GO". Select it and you're in business.
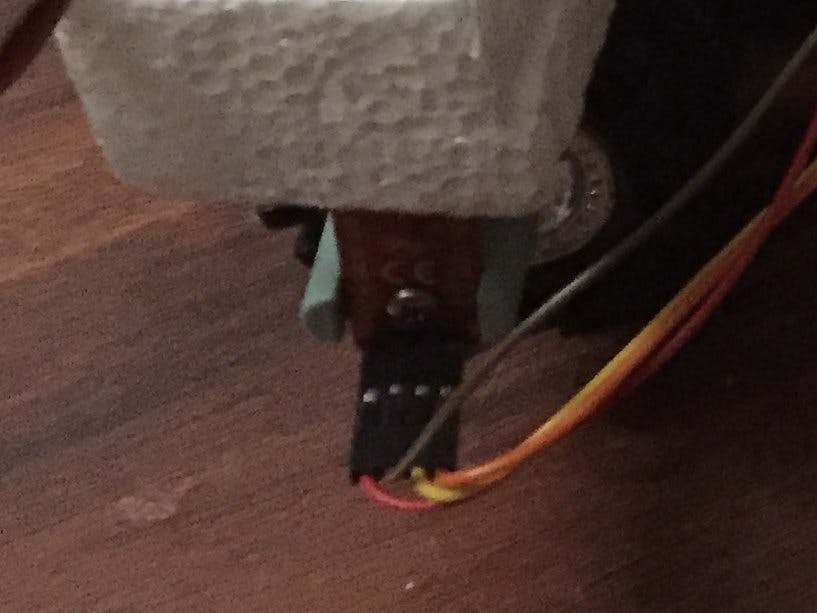
HardwareThe hardware setup for this was pretty easy. Just solder some pins onto the I2C pins at the end and screw the rotation knob onto the sensor.
SoftwareThe program is ready to work as is with a minor modification. The current WHEEL_DIAMETER is 1, so you will get results in Pi. Change this to whatever measurement your wheel is and whatever units. Don't forget to change int to float if you are doing fractions of larger measurements (.2 feet). The variable "disTrav" is output as a float, though the video shows labels for ease of understanding. Since this is my first time using Wire and I2C, I used I2CAnything by Nick Gammon. It was super easy to use and gave me a good experience learning to use I2C. Connect the I2C ports into your board and connect to channel 21. Like I said, the main project is done, but I'll be working on improving accuracy until the contest is over. Let me know in the comments if you have any suggestions or questions.


Comments
Please log in or sign up to comment.