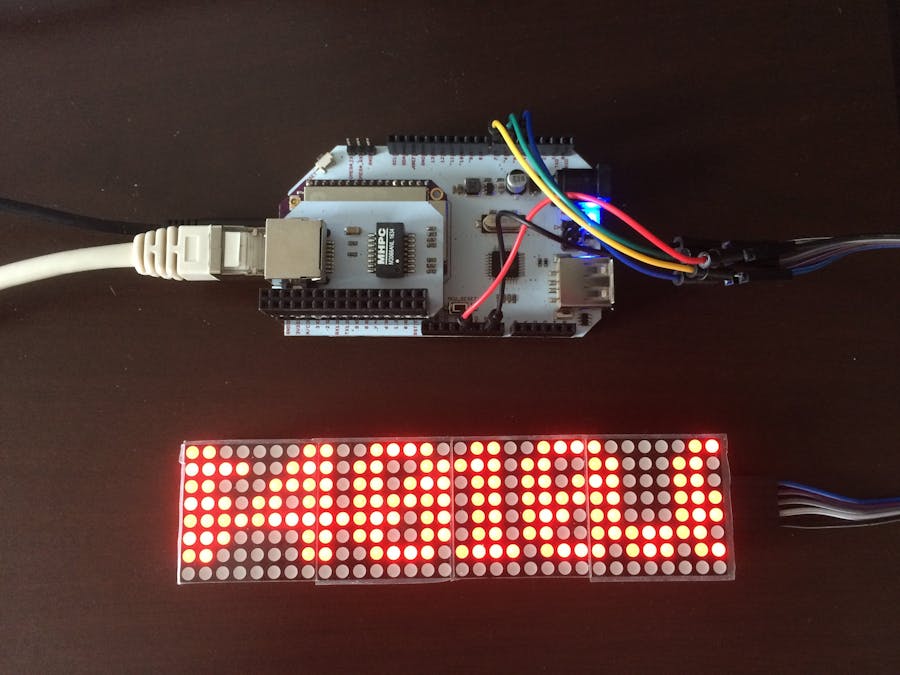
Something that I have always wanted to have in my room is a scrolling display like you might find on Times Square. These types of displays have always captivated me, and I had been considering if it was possible for me to have one of my own. I had purchased an Onion Omega2+ to use as a Wi-Fi hotspot and file storage solution for my dorm room. I soon purchased a LED matrix display to toy around with using the Omega as a controller. I found this to be too difficult to make work smoothly because my skill level in coding was not high enough to create a control library for the display. However, I then learned of the Arduino dock for the Omega. The biggest advantage of using an Arduino dock with your Onion Omega is the availability of software libraries that have been already written. For the matrix that I had purchased, the MD_Parola library made programming easy because of the built-in text functions.
For the Arduino side of the programming, I based my code on the Parola_Scrolling example from the library. There were several small things that I had to change to get the display to function how I wanted. The first thing that needed to change was the GPIO that were set as the output pins for the display. I could not use the hardware SPI pins because those were already occupied by one of the connections to the Omega. The second change that I made was to customize the scrolling speed and effect to my liking. I set the scroll speed to a value of 30 and I turned the scroll pause off. The biggest change that I had to make was to change the size of the message buffer so that all the text sent through the UART connection would not be cut off. I have the buffer size set to 500, but that may need to be expanded.
On the Omega side of things, I decided to use a python script that could be called by cron on a schedule. This was my first time working with web requests, so this was the biggest challenge for me. I found that the python language makes this very easy. All that I needed to do was import the urllib python module. Once you open the URL that leads you to the JSON file containing the data which you want to display you can simply use the json python module to parse the file. Once the object is created it is easy to access the data inside by simply using square brackets. The next step is to send the data formatted as you wish it to be displayed over the Omega's UART connection with the Arduino dock. This connection can be found on /dev/ttyS1. This can be easily accessed using the serial python module. The only thing you should be careful of is to not use any special unicode characters in your data, as these will not be read correctly by the MD_Parola library. Only ASCII characters should be used unless you were to create your own font for the matrix.
The next piece of work I did was deciding what data to pull down for my display. I decided that a good portion of my summer so far has been worrying about the status of bitcoin and the activation of SegWit. This prompted me to pull down the information from https://blockchain.info/stats. I used this information and my knowledge that SegWit is supposed to activate at block 481824 to calculate the number of blocks and the predicted time until SegWit activation. I found the predicted time by simply multiplying the blocks remaining by the minutes between blocks data provided by blockchain.info. I removed this feature after the activation. The other piece of data that I thought would be important to display is the weather forecast. api.weather.gov provides great text based descriptions of the day's weather forecast in json format. This is the same description you might hear on weather radio. You pass the coordinates of your current location in the URL to the forecast data. The piece that I struggled with here was how to parse the different time periods that the API provides. I found that it was most effective to use the dateutil.parser python module and compare each of the individual time windows to the current time in order to find the correct information to display.
The next problem I found was that I wanted to keep the computer running all the time, but I didn't want the display to light up the room at night. The way that I achieved this was by changing the code on the arduino side to look for the first three characters of the string it is sent to be "OFF". The arduino would then turn off the display. It took me a couple trys to get the python code right. The source code shows how I did this. I now use the Onion Omega as both an access point and an information display. I will probably add more information in the future.
It should be easy to include whatever information that would be relevant to you by writing your own script to create the text for the display. Not everybody is interested in the same information in the same format, and that is why flexible DIY projects are so great.


Comments
Please log in or sign up to comment.