

Hardware components | ||||||
 |
| × | 1 | |||
| × | 1 | ||||
| × | 1 | ||||
Software apps and online services | ||||||
 |
| |||||
| ||||||
Say Hi to Surilli Cloud! A ready-made cloud service with device and project management console for Surilli hardware.
Hello and welcome back with yet another tutorial on surilli.io IOT product development platform. Today we will be getting hands on experience with Surilli Cloud, a generic cloud service for all Surilli hardware devices to communicate with their software applications.
About:In this tutorial we will get started with Surilli Cloud, make a project, add a device into our project and start sending Hello messages to our cloud and visualize it in our cloud console.
We will be discussing other things in detail later in the tutorial. So for now let's get started.
STEP 1: Setting-Up Surilli CloudJust follow all the picture steps below.
We need to register an account with our Surilli Cloud first.
1. Register
Start following this link: Surilli Cloud Link
2. Account verification:
Now we need to verify our account. An email will be sent to your email id from which you have created the account. Click on the link that has been sent to you and it will redirect you to a web-page. Now your account has been verified.
NOTE: You can not login if your account has not been verified.
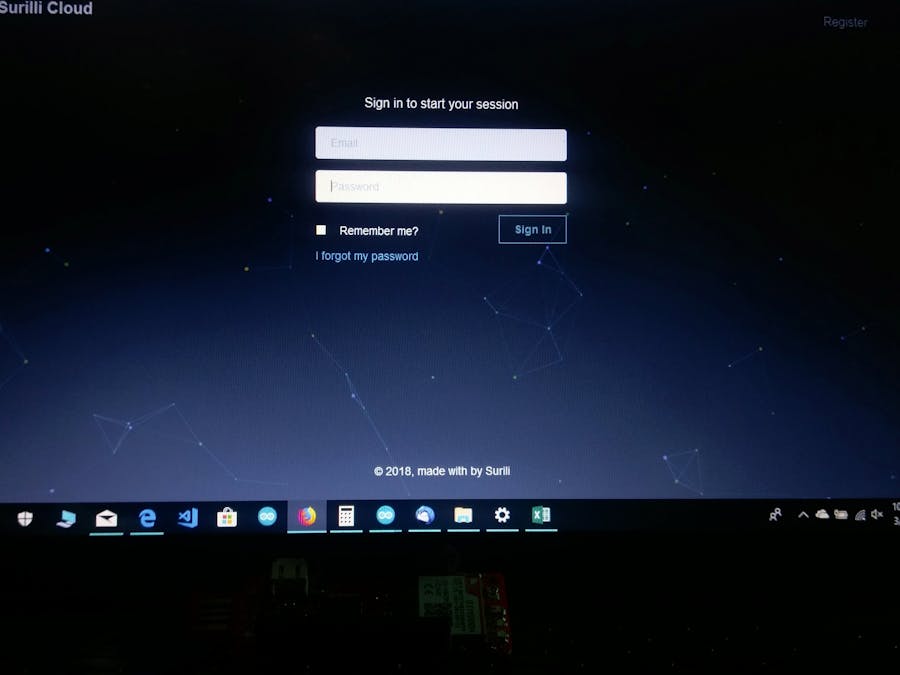
3. Login to Surilli Cloud:
Now log in to the Surilli cloud and keep following the steps:
Now you have to add devices into your project. This is where the magic begins:
The step below is important. You have to give permission to the webpage to access your webcam. Webcam will be used to read the QR code given on the back of your device box.
Hit "Create" once all the fields are filled.
Note: If your webcam doesn't turn on in the dialog box, this is because you haven't given permissions to webcam.
Setup your Surilli Device (Connect the battery and Antenna in order to use Surilli GSM).
Make sure you have selected the right Port and Board.
Now that the cloud is ready and can show data being sent from our Surilli device, we will program our Surilli through Arduino IDE as shown in the Figure Steps below.
Launch Arduino IDE and open Surilli Cloud GSM example.
For GSM: File > Examples > SurilliCloudGSM > SurilliCloudGSMSend
FOR GSM:
After all this is done, Just hit upload sketch.
STEP 3: Last Steps:Its all done. Hello messages will start to appear on your Cloud Console as shown in the picture below:
Similarly, you can add as many devices as you want into a single project. Just scan the QR code and then use our cloud library to publish data on to our Surilli cloud console!
That's it. If you have any queries, feel free to contact us :)


Comments
Please log in or sign up to comment.