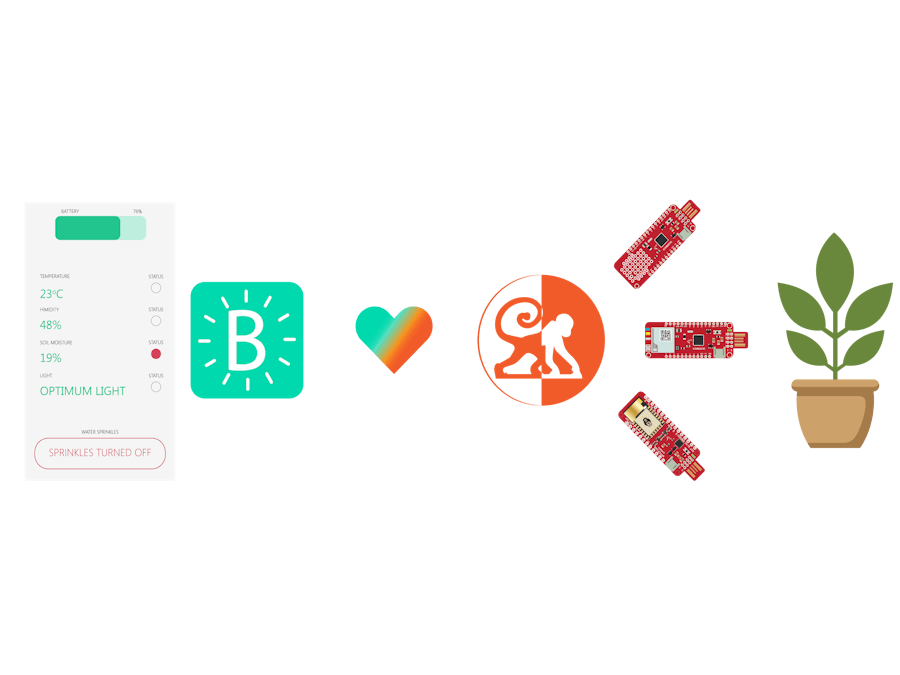
Hello Guys, welcome back to Surilli playground. Today we are here with something very new and interesting. BLYNK!
Blynk is the world's largest smartphone application development tool for IoT and it is now fully compatible across all Surilli devices.With Blynk, you can make an Android or iOS application for your IoT product in under 10 minutes! Yes, you read it right.10 MINUTES!
So lets jump in and start building.
STEP 1: Setting Up HardwareMake sure you have all the hardware readily available. The sensors used in this project are as follows:
- Light sensor (LDR module)
- Soil moisture sensor
- DHT11 (Temperature & Humidity sensor)
NOTE: You can also do it without using a breadboard.
Complete the wiring of your circuit as shown in the figure below.
First of all, you need to have a smartphone (iOS or Android). Download Blynk from the application store.
Sign-in or sign-up if you don't have an account. The easy way is to simply log in from Facebook. Once you are done signing-in follow the pictorial steps below.
After you get the application, move on to the next step.
STEP 3: Arduino IDE SketchOpen the Arduino IDE sketch BlynkPlant (Download link given at the end), and follow the steps given below:
Reach the Authentication token page from you Blynk application and hit email.
Open your mailbox with which you have signed in to your Blynk application. Copy the Auth Token from the mail you received and paste it into the Arduino sketch as shown in the picture below.
Now add SSID & Password (on line 18 & 19 in your Arduino sketch) of the WiFi network you want your Surilli WiFi to access internet from.
STEP 4:Upload & Burn Arduinosketch Onto Surilli
- Download the DHT11 Library from the link given below:
https://github.com/surilli-io/DHT11-Library
- Unzip it and paste in into This PC > Documents > Arduino > libraries.
- Now you have completed setting up your hardware and Arduino IDE. Make sure you have selected the right port and board. If Surilli WiFi doesn't show up in the boards menu, follow the Surilli WiFi setting up guide here and then come back
- After it is uploaded, start the smartphone application as shown in the picture below:
- Observe the changing value on your smartphone application.
NOTE: The Sprinkle button at the end of Blynk application is used to turn ON/OFF PIN 0 of Surilli WiFi. You will see the red LED switching as you hit the sprinkle button. You can attach it with any appliance of your choice i.e. electric motor, light bulb, exhaust fan etc.
Play with the sensors to see how its values change. This will develop your understanding about how Blynk application works and make your own application in the future.
If you make something fun and interesting do share it with our community :)
That’s all for now. If you have any queries, visit surilli.io or contact our support. Stay connected with Surilli family for more amazing stuff :)
CODE:#include <dht.h>
#define BLYNK_PRINT Serial
#include <ESP8266WiFi.h>
#include <BlynkSimpleEsp8266.h>
#define dht_apin 13 // Analog Pin sensor is connected to
dht DHT;
// You should get Auth Token in the Blynk App.
// Go to the Project Settings (nut icon).
char auth[] = "********************************";
// Your WiFi credentials.
// Set password to "" for open networks.
char ssid[] = "SSID";
char pass[] = "PASSWORD";
void setup()
{
// Debug console
Serial.begin(9600);
Blynk.begin(auth, ssid, pass);
Serial.begin(9600);
pinMode (0, OUTPUT);
pinMode (12, INPUT);
// You can also specify server:
//Blynk.begin(auth, ssid, pass, "blynk-cloud.com", 8442);
//Blynk.begin(auth, ssid, pass, IPAddress(192,168,1,100), 8442);
}
void loop()
{
Blynk.run();
Blynk.syncAll();
}
BLYNK_WRITE(V0) // button attached to Virtual Pin 0 in SWITCH mode
{
int i = param.asInt();
Serial.println(i);
if (i == 1) {
digitalWrite(0, LOW);
}
else {
digitalWrite(0, HIGH);
}
}
BLYNK_READ(V2)
{
WidgetLED led1(V6);
WidgetLED led2(V7);
WidgetLED led3(V8);
WidgetLED led4(V9);
led1.off();
led2.off();
// TEMP AND HUMIDITY
DHT.read11(dht_apin);
char H = (char(DHT.humidity));
char T = (char(DHT.temperature));
// MOISTURE SENSOR READINGS
int sensorValue = 0;
sensorValue = analogRead(A0);
int soilMoisture = 100 - ((sensorValue * 100) / 1024);
// LIGHT INTENSITY
char* lightCondition;
int ldrValue = digitalRead(12);
if (ldrValue == 0) {
lightCondition = "OPTIMUM LIGHT";
led4.off();
}
else {
lightCondition = "LOW LIGHT";
led4.setValue(255);
led4.on();
}
if (soilMoisture < 30 )
{
led3.setValue(255);
led3.on();
}
else if (soilMoisture > 30) {
led3.off();
}
Blynk.virtualWrite(V2, T);
Blynk.virtualWrite(V3, H);
Blynk.virtualWrite(V4, lightCondition);
Blynk.virtualWrite(V5, soilMoisture);
Blynk.virtualWrite(V1, 76);
// Blynk.virtualWrite(V6, 100);
}


_3u05Tpwasz.png?auto=compress%2Cformat&w=40&h=40&fit=fillmax&bg=fff&dpr=2)

Comments
Please log in or sign up to comment.