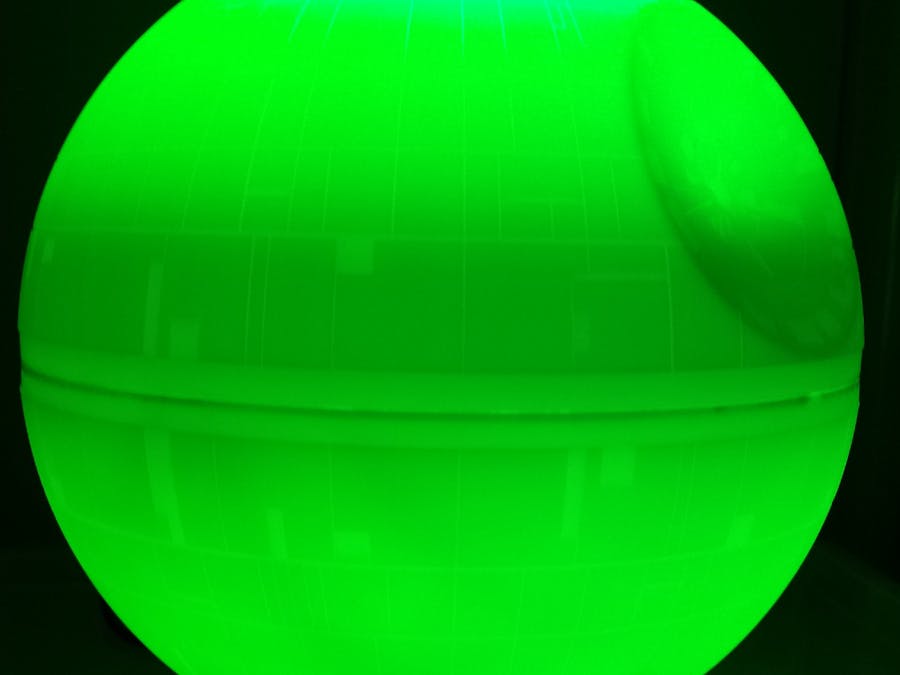
As every Death Star operator knows all too well, knowing the status of your Death Star is critical, this simple indicator uses a Particle Photon to internet enable a Death Star Mood Lamp fitted with NeoPixels to give a colourful indication of the current status*
HardwareConstruction is relatively simple, pick up a Star Wars Death Star Mood Light from Staples or any place that sells them and start by taking it apart :-)
Out of the box the lap is not very interesting glowing white only.:
Remove the PCB for the original LEDs and dispose of properly.
Print the inner support that holds the Photon PCB and two 16 LED NeoPixel rings. You may need to adjust the size of the NeoPixel supports as it's designed to be a tight fit, alternatively sandpaper and/or hot melt glue can be used to get a good fit.
I used a NeoPixel driver board I'd made as part of a series of "Things on sticks" which is now named ThingySticks (the more observant of you may notice the PCB shown below has the old name on it).
The PCB design files can be downloaded from
http://thingysticks.com/Neopixels/ or https://github.com/ThingySticks/NeoPixels
The main thing this board does is provide level shifting from the 3v3 of the Photon to the 5V required for the NeoPixels, this is done via a FET. It should be noted that the resistor R3 on the 5V side of the FET needs to be low enough (e.g. 1k) otherwise the rise time of the signal is too slow for the NeoPixels. Ideally a proper level shifter should be used (this will be done on the next rev of the PCB).
The power leads from the USB socket on the Death Star Mood Light need extending, this is just a case of soldering 2 new wires on:
The NeoPixels are connected in series as per normal NeoPixel wiring. The bottom NeoPixel ring is first with Data Out going to Data In on the top NeoPixel ring, Ground and +5V are connected in parallel between the two boards, helpfully the rings have 2 holes for each power allowing an in and out cable.
The various parts are then assembled onto the internal support. The NeoPixel rings could do with some hot melt glue to hold them in place but they are a fairly tight fit around the support so may not be needed (esp. if you use single core cable to link the two rings as this can be twisted to hold them tight together).
The power from the USB socket on the Death Star goes to the 5V External connector at the top of the NeoPixel ThingyStick and the NeoPixels are connected to the 3 pin molex connector on the stick.
A Small 3D printed washer is used to give a nice fit for a M3 screw in the base to the inner support.
Then it's just a case of putting the insert into the plastic shell and programming the Photon.
The firmware exposes 4 Particle.function() functions:
- setAlert()
- setClear()
- rainbow()
- setLedsOff()
Both setAlert and setClear support taking "Top" or "Bottom" as parameters to specify if the top of the bottom should be set to alert or clear. If neither is specified then both hemispheres are set.
Calling setAlert sets the colour to red and setClear sets the colour to green. The rainbow function produces a nice rainbow effect on the lamp and setLedsOff switches it off.
As these functions are exposed to the internet via the Particle API they can be called via any client application you wish, or 3rd party services such as IFTTT or Tinamous.
Conclusion
With that we have a status indicator that can be controlled via the internet as you desire. I'm still waiting for IFTTT to support data collection from the various Death Star systems so you may need to find something else to indicate on until then, or just use it as a nice colourful lamp.
* May also be used to indicate the status of other things, like your build, under/over temperature, if it's raining or sunny or anything you like really.


Comments
Please log in or sign up to comment.