Hackster is hosting Hackster Holidays, Ep. 7: Livestream & Giveaway Drawing. Watch previous episodes or stream live on Friday!Stream Hackster Holidays, Ep. 7 on Friday!
Atul Yadav
Published © GPL3+

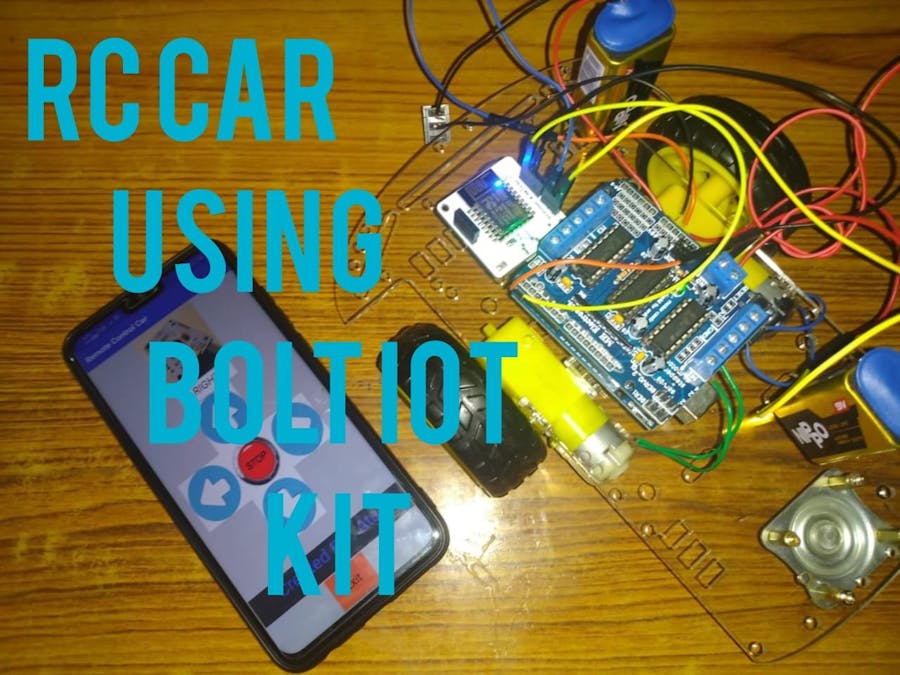
Remote Control Car Using Bolt IoT Kit

This project uses Bolt's API calls to give commands to the Arduino and control robot car accordingly.

IntermediateProtip2 hours2,600
Remote Control Car Using Bolt IoT Kit

Things used in this project

Story

Read more

Schematics

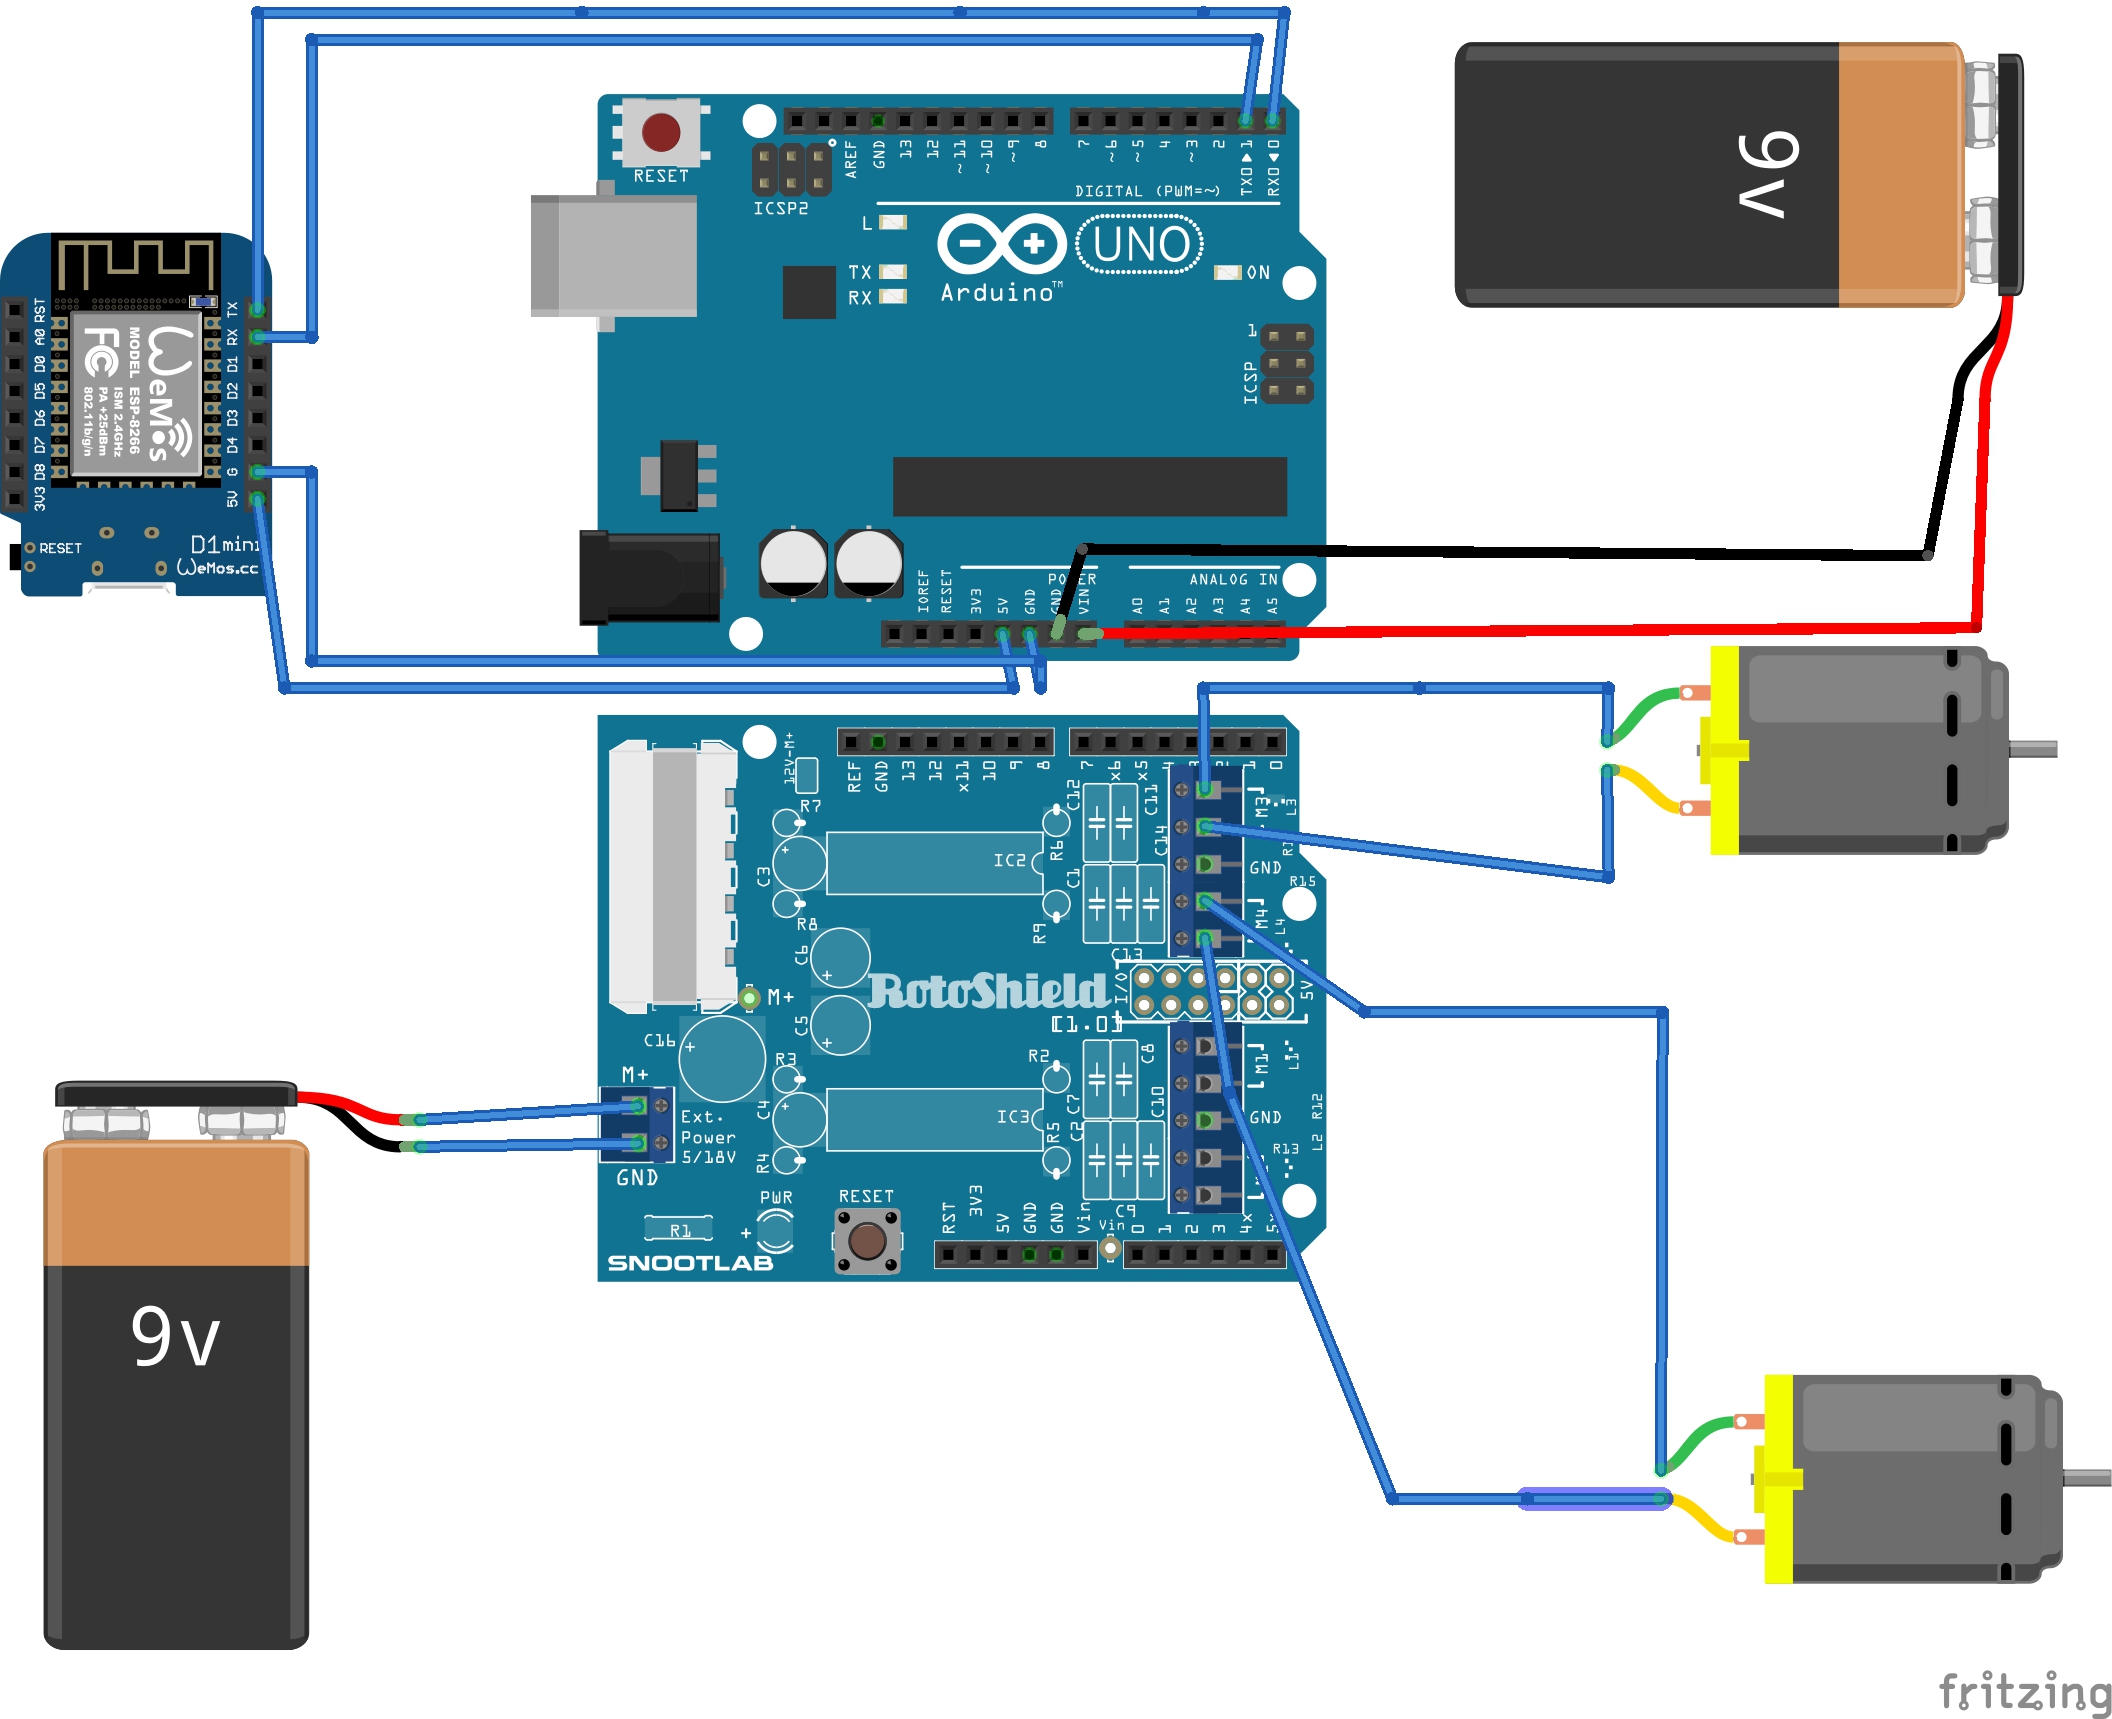
Schematics for the connection.

It is my first Schematic drawing and hence i was not able to draw it, as i had planned it or at-least thought to making it.
The few things to be noted are:
NOTE: The shield would sit on the ardunio.
The bolt Iot kit was used instead of the wifi module shown in the diagram.
Thank You.

Code

Arduino Code

Arduino
BoltIoT-Arduino-Helper.h ,, AFMotor.h> Library files have i=to be included
#include <BoltIoT-Arduino-Helper.h> //Include the bolt library file for easy access to the bolt commands.

#include <AFMotor.h>   //library file included to control the motors with L293D morto driver shiled.

AF_DCMotor motor1(1, MOTOR12_64KHZ);
AF_DCMotor motor2(2, MOTOR12_64KHZ);  //Setting the frequency of the motors to operate on.

void forward() { //function created to move the car forward.
   motor1.run(FORWARD);
    motor2.run(FORWARD);
}

void backward() {  //function created to move the car backward.
   motor1.run(BACKWARD);
      motor2.run(BACKWARD);
}

void right() {   //function created to move the car in Right direction.
   motor1.run(FORWARD);
      motor2.run(BACKWARD);
}

void left() {   //function created to move the car in left direction.
   motor1.run(BACKWARD);
      motor2.run(FORWARD);
}

void stopcar() {  //function created to stop the car.
    motor1.run(RELEASE);
         motor2.run(RELEASE);
}

void setup() {
  // setup code, to run once:
  motor1.setSpeed(200);
  motor2.setSpeed(200);
  boltiot.begin(Serial);
  Serial.begin(9600);
}

void loop() {
  // main code here, to run repeatedly:
  boltiot.handleCommand();
String val="";
if(Serial.available()>0){  //to read inputs sent from the bolt Cloud server.
  val=Serial.readString();
  Serial.print(val);
//perfrom or call the functions as per the command received from the bolt.
  if(val=="F")   
  forward();
  if(val=="D")
  backward();
  if(val=="L")
  left();
  if(val=="R")
  right();
  if(val=="S")
  stopcar();
}
}

Credits

Atul Yadav
1 project • 0 followers

Comments