


Hardware components | ||||||
 |
| × | 1 | |||
 |
| × | 1 | |||
| × | 1 | ||||
 |
| × | 1 | |||
Software apps and online services | ||||||
| ||||||
Hey, what's up guys? Akarsh here from CETech.
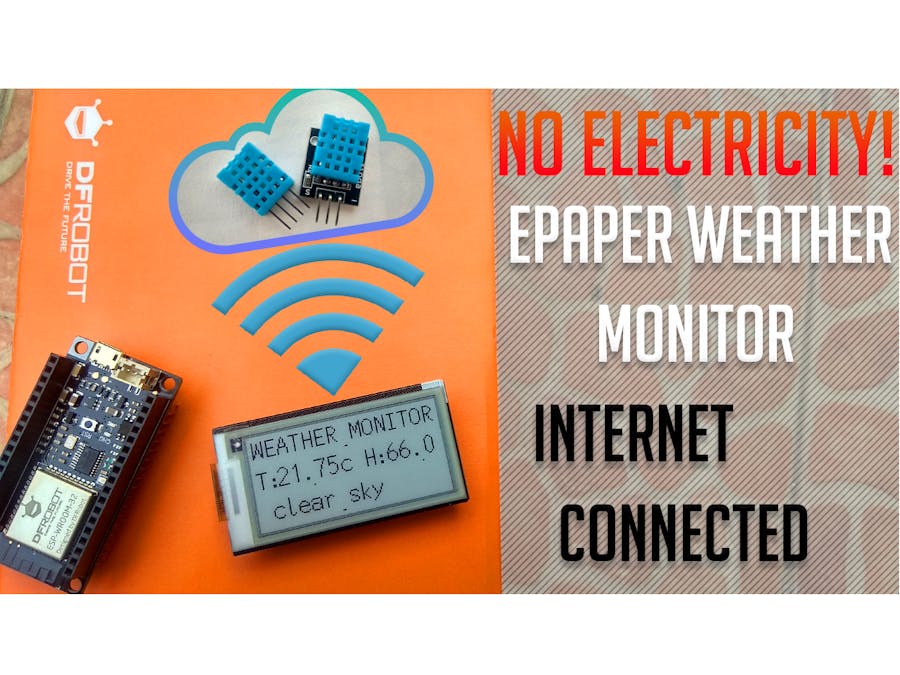
Today we are going to make a project which is a weather monitor which displays all the weather related information on an ePaper display from DFRobot.
The Display is connected to an esp8266, you can use an esp32 as well with this display. The esp8266 is connected to the internet using wifi whose details can be changed through the code which I have provided on github. So lets get started!
I have also made a video about building this project in detail, I recommend watching that for better insight and detail.
To make this you will need an ESP8266 board or an ESP32 and you can also add a battery if you want.
For the display I used an ePaper Firebeetle module.
I suggest to use a board from DFRobot with this module as the pinout will be compatible and you will face no issues anywhere, I used Firebeetle board from DFRobot as it has on board battery charging and monitoring solution.
I would also recommend using a PCB to make some project using this module so that adding battery/OLED display/switch/esp8266 doesnt remain difficult. You can order your PCBs from PCBWAY as they offer 10 PCBs for just 5$. Check out their online Gerber viewer function.
Download the Arduino IDE from here.
1. Install the Arduino IDE and open it.
2. Go to File > Preferences
3. Add http://arduino.esp8266.com/stable/package_esp8266com_index.jsonto the Additional Boards Manager URLs.
4. Go to Tools > Board > Boards Manager
5. Search for ESP8266 and then install the board.
6. Restart the IDE.
Step 3: Connect the ePaper display to the Firebeetle Micro controller1. Simply match & align white corners of both the modules and stack the modules on top of each other.
1. Goto the website.
2. Sign up with your email id and other credentials (FREE).
3. Once you are signed in, head over to the API Keys tab and copy your unique API Key which we will need in the next step.
1. Download the github repository: https://github.com/akarsh98/WiFi-Weather-Monitor-ePaper-Display
2. Extract the downloaded repository.
3. Copy the libraries from the downloaded repository to the Library folder in arduino sketch folder.
4. Open the Code.ino sketch in the Arduino IDE.
5. Change the Wi-Fi ssid and password in the sketch.
6. Add the API key from Step 4 to line number 44 of the code in place of the hashtags.
7. Navigate to Tools > Board. Select the appropriate board that you are using, Firebeetle ESP8266 in my case.
8. Select the correct comm. port by going to Tools > Port.
9. Hit the upload button.
10. When the tab says Done Uploading you are ready to use the weather monitor.
Step 6: Playing with the monitorAs soon as the module connects itself to the WiFi network the display starts refreshing and you will see the project coming to life.


Comments
Please log in or sign up to comment.