These days we hear a lot about the Internet of Things and how Smart Devices will be Internet enabled to do cool things and make our lives better. Smart Thermostats have the capability to save a lot of energy by keeping the temperature of your home steady, heating your water to just the right temperature, and giving you controllability from your smartphone from anywhere. So no need to leave the heat on when it's cold and your going out just so it will be warm when you get home. Just turn on the heating from your phone.
In this project we'll be using the Spark Core, which is an Arduino compatible, Internet Connected microcontroller. Being Arduino Compatible you can program it using the Arduino programming language. Being Internet Connected you can program it over Wifi, remotely read program variables and acitvate program functions remotely. Perfect for our Smart Home Thermostat.
Features:
- Controls 3 Mains devices up to 40W each (Boiler, 2 Electro-Mechanical Valves)
- Sense Temperature at up to 4 Locations
- Turns Electro-Mechanical Valves On/Off to control the temperature of the house
- "Heat Water" mode (Boiler On, Valves Off).
- Android App to monitor temperatures, change Setpoint and Turn on/off.
Step 1: You Will Need
Step 2: Mains Control
CAUTION: There are Mains Voltages involved in this project. The
design is opto-isolated, but poor construction or housing could expose the user to lethal Voltages that could cause death. If you don't feel satisfied you can build this safely then please do not proceed.
We're going to use a Photovoltaic Relay (see picture) to control the mains because it's:
- Mains Rated (250V AC)
- Opto-isolated for safety
- Solid-State for reliability
- <10mA turn on current so it can be driven directly by the Spark Core
- Can switch 170mA (max) at 250V
170mA mains switching may not seem like much (40W), but it's enough to drive an electro-mechanical valve, so it can control the water to a radiator system (On / Off). If you need more power to control your boiler you can use it to drive the coil of a mains relay and make sure the relay contacts are appropriately rated for the load you require.
Step 3: Schematic and Hook-Up
Here's the Schematic of how to wire it up and a picture of one I made earlier.
Make sure the mains voltages are safely isolated from the low voltage side of the circuit.
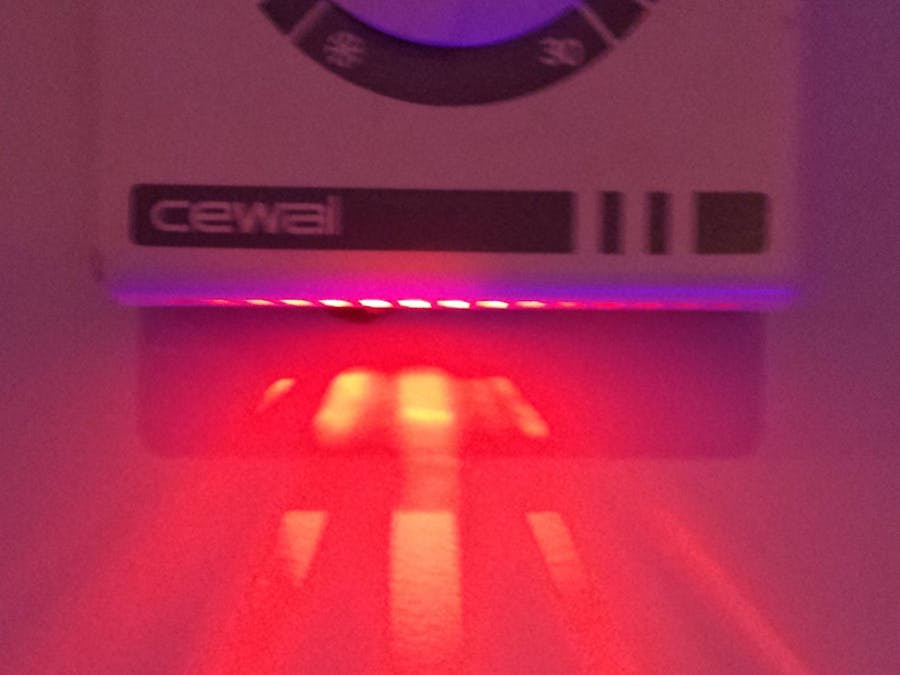
I housed the Temp Sensor and the RGB LED in an existing (old) thermostat housing.
As I mentioned the 3 mains relays control the boiler, and 2 electromechanical valves.
The variable resistor and push button are used for manual override.
If you need to override the set temperature, turn the Pot clockwise, The setpoint will be the maximum of the programmed value or the value set by the pot.
Step 4: Spark Core Code
You can find the code over on Snip2Code.
Step 5: Internet Control
Use GET requests to interrogate the Spark Core to get temperatures etc..
https://api.spark.io/v1/devices/{DEVICE_ID}tempDOWN?access_token=123412341234
you should see something like this coming back:
where "result": 208 means that the value (i.e. temperature downstairs) is 20.8 . The float value is multiplied by 10 so it can be sent as an INT .
Use POST commands to change the setpoint:
POST /v1/devices/{DEVICE_ID}/SetVal
To change the Temperature Setpoint to 20.0 for example;
# Core ID is 0123456789abcdef # Your access token is 123412341234
curl https://api.spark.io/v1/devices/0123456789abcdef/... \ -d access_token=123412341234 \ -d params=SETDOWN:200
For guidance see, examples on Spark Core over at spark.io.
That's it.
Once you have the GET and POST working you can embed that into an Android app. You can even use App Inventor so it's dead easy.
Also, you can log the data to a Google Drive Spreadsheet. The following line of code
sprintf(resultstr, "{\"data1\":%d,\"data2\":%d,\"data3\":%d,\"data4\":%d}", tempDOWNInt, tempWATERInt, tempOUTInt, State);
writes the relevant variables out to a string that can be read by the Spreadsheet.
See here for details.
Enjoy!
Step 6: App Inventor
If you want to use App Inventor to make the App the only thing that's not totally straightforward is the Web Connectivity.
Use the Web block to perform the REST functions :
https://api.spark.io/v1/devices/55544eeefd/tempDOWN?access_token=74edfedf455
Call the Web GETs on a timer tick as shown and deal with the receive event as shown.


Comments
Please log in or sign up to comment.