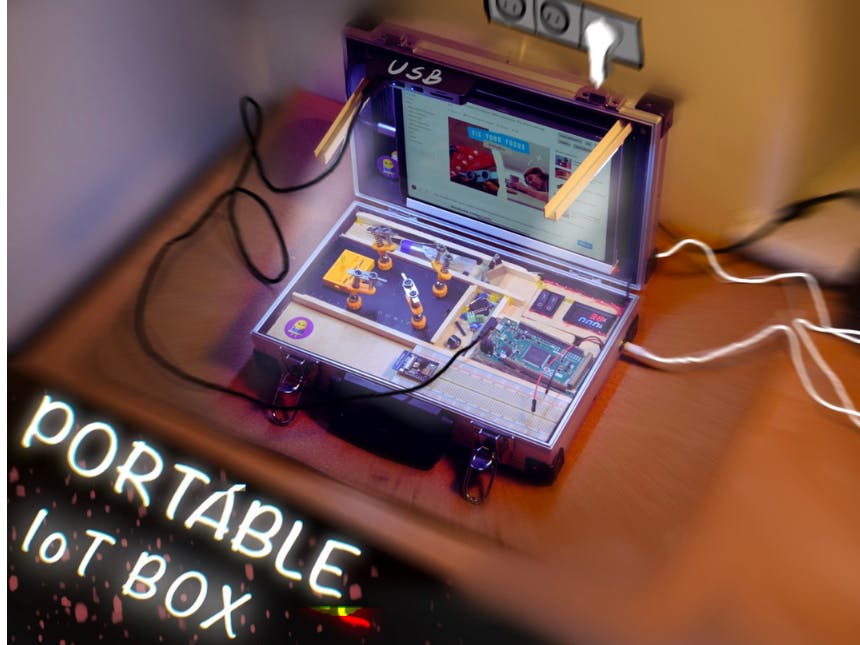
For less than a year, I have been studying IoT at a university located half a thousand kilometers from my home, or rather from my parents' home. From the moment I moved to the dormitory, my life is constantly traveling: in the morning I travel to school, after school to bed. Sometimes I also come home to get the jars. Before I left for college, I had my workstation in my room, but after leaving, I found it needed to be mobile so I could use it anywhere.
Step 1: IdeaAt first, I thought I'd make a sketch of my idea for this device, but my artistic skills quickly knocked the idea out of my head. 3D - this is definitely a better idea.
After an hour of work, a provisional representation of my idea was created, which consists of parts for prototyping and parts for parts... prototyping parts.
In the upper area, there will be breadboards with microcontrollers, a soldering stand, a soldering iron, basic tools, and a control panel.
On the other hand, at the bottom of the box, there will be modules, tools, connection cables, and the rest of the components. Of course, the LEDs shedding light on the link to the free surprise from Altium and giving hope that the projects created in the box will be finished. It's just a prototype, everything can still change.
There is no need to waste any time - I thought wasting my time and ordered an aluminum suitcase and the items I needed.
Step 2: DesigningTwo days later I had all my orders, it was time to figure it out!
First, I put a suitcase on the operating table and, using a wallpaper knife, I performed the operation to remove the unnecessary pocket for crap. Later, I unpacked all the elements and threw them into the suitcase so that they would not get lost. I had a plan in mind, what and where to put it, but I decided to visualize it, so I took a photo and came up with something like this on the photo in step 1.
I will divide the suitcase into two segments - bottom and top, and a control panel.
In the lower segment there will be an organizer for parts and tools, while in the upper segment, as I said before, there will be a prototyping panel.
Step 3: Time to Work!Enough thinking, time to act!
I cut a few tiny pieces from the MDF board and glued them with hot glue to the suitcase. Then I also cut a larger piece to be pulled out which is why I couldn't stick it on. I have left a place for the voltmeter and switches in the upper right corner of the case. I regularly removed major unevenness using sandpaper. I also made holes in the suitcase and put the DC socket through them and the screws for attaching the LED strips.
Step 4: Final EffectNow, thanks to my portable prototyping station, I can work on my projects anywhere. The box consists of many modules and electronic components, tools, microcontrollers, ESP, NodeMCU, Raspberry Pi, adjustable power supply, and lighting. Soon you will see the professional realization of this project :).
My Youtube: YouTube
My Facebook: Facebook
My Instagram: Instagram
Get 10 PCBs for only $5: PCBWay


Comments
Please log in or sign up to comment.