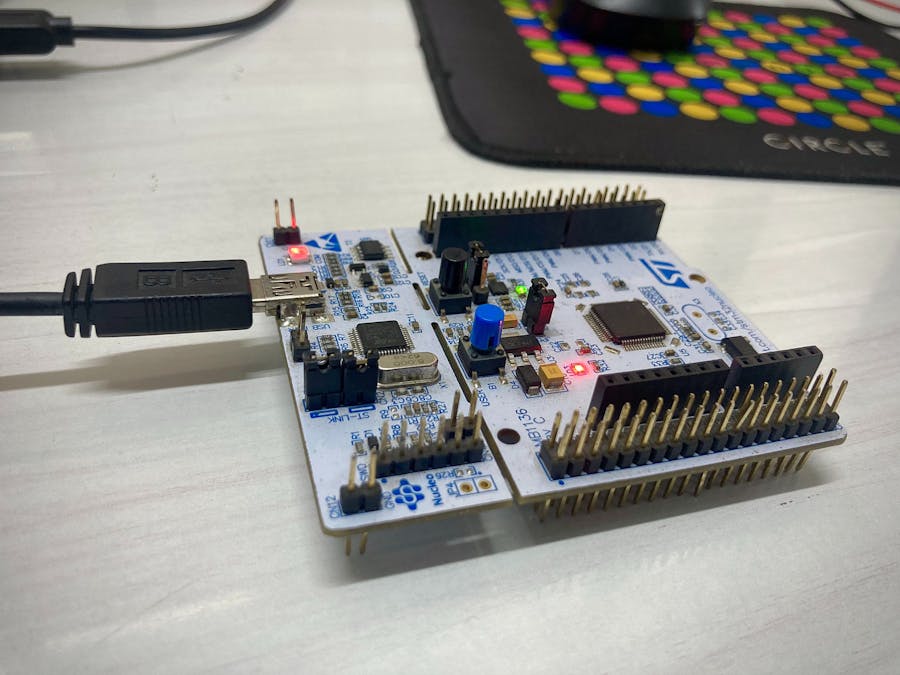
Here I have explained how to write our custom bootloader in STM32.
A bootloader is an application whose primary purpose is to allow the systems software that has to be updated without using any specialized hardware such as a JTAG programmer.
- The bootloader manages the system's images.
- It receives new program information externally via some communication means and writes that information to the program memory of the processor.
The above figure shows a Bootloader for the microcontroller to program it. A bootloader is an optional way to program the application firmware onto the device.
STEP 1:Creating New Projects
We are going to create two separate projects for implementing a bootloader using STM32CubeIDE. If you are a beginner, Here is an example to create a new project in stm32CubeIDE.
L0_APP1 Project - BootloaderL0_APP2 Project - User ApplicationSeparating Flash Memory
We need to separate the memory section as per the MCU memory layout. In my case, I'm using STM32L0 Microcontroller. Click here to get the datasheet, and find here the Hardware User manual for STM32L0.
I have separated it into two sections from the total flash memory size.
1. Bootloader            0x8000000 - 0x08008FFF
2. User Application      0x8009000 - 0x0802FFFF
The below image describes Flash memory mapping,
Implementing this section separation into the Source code.
Add this source to the both bootloader and user application to switch the memory address
uint32_t go_address = *((volatile uint32_t*) (MEM_ADDR+ 4));
void (*jump_to_app)(void) = (void *)go_address;
jump_to_app();
In my case memory address,
- Bootloader,
#define MEM_ADDR 0x08009000- User Application
#define MEM_ADDR 0x08000000Add the above MACRO for the respective projects.
Changing the Vector Table OFFSET for User Application as per your separated memory sections. Bootloader OFFSETremains the same,
To change the OFFSETplease go to the below file,
L0_APP2\Src\system_stm32l0xx.c
Change the ORIGIN to keep the bootloader section erasable while we are uploading the User application program from STM32CubeIDE.
To change the ORIGIN, please go to the below file,
L0_APP1 \STM32L073RZ_FLASH.ld
connect the board to your computer and flash the application source code into your STM32 microcontroller one by one.
Here we go we are done with all changes. we can write our bootloader application program in the L0_APP0 project.
It is possible to write two different applications and able to switch alternatively depending on user applications.
I have created two basic projects. I guess that gives you a good understanding of bootloader concepts.
Finally, Here is the output for switching two applications running in the same STM32 Microcontroller.
NOTE :Before switching from one application into another application please make sure that disabled all the ISR and used Peripherals


Comments
Please log in or sign up to comment.