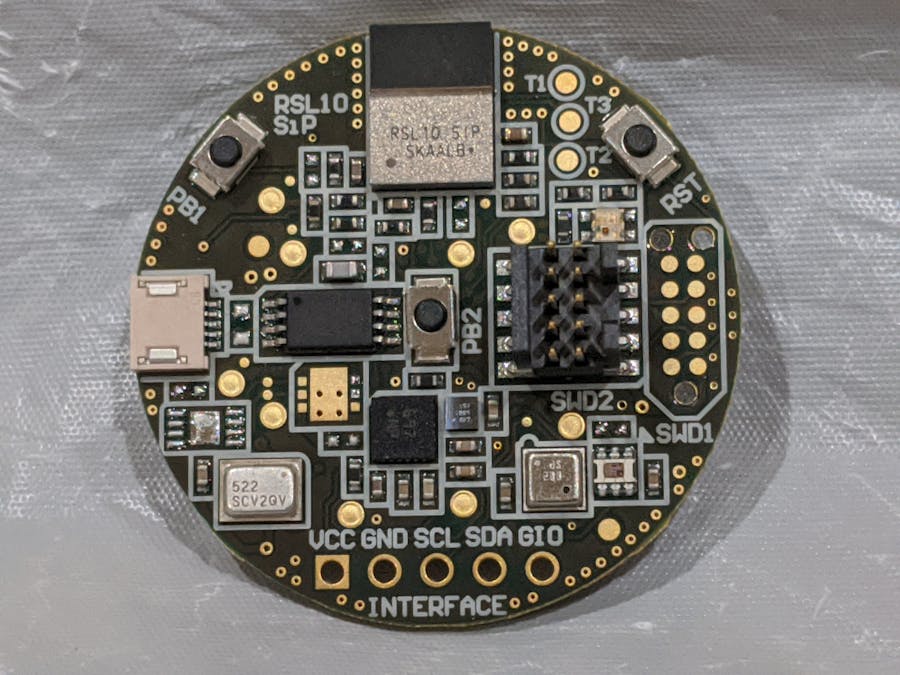
ON Semiconductor introduced a System on a Chip (SoC) for the development of solutions to everyday problems using ultra-low power consumption Bluetooth Low Energy (BLE). This note illustrates the rapid deployment of a dashboard to display data read from the RSL10-SENSE-DB-GEVK board by the vendor’s mobile application in pub-sub mode.
The RSL10-SENSE board has the following sensors:
- Accelerometer, gyroscope, 3 x 2 axes integrated, BHI160
- Ambient light, NOA1305
- Environment sensors, gas, humidity, pressure and temperature, BME680
- Geomagnetic sensor, 3-axis, BMM150
- Microphone, ultra-low noise digital, INMP522
- Programmable RGB LED, APTF1616
- Programmable push-buttons, x3
- RFID/NFC tag with EEPROM, N24RF64
The SoC has very low power consumption in Deep Sleep Mode – 62.5 nW (isn’t that incredible?!!!) to enable extended period of operation using the most prevalent coin cell battery – CR2032.
The mobile app for RSL10 (available at Apple and Google mobile app Stores) has the following interfaces:
- Monitor data from multiple devices
- Transmit data to a cloud service or custom broker
The Antenna should be attached to the board as shown below:
Download the mobile app from the store. The example below is that from Google Play Store:
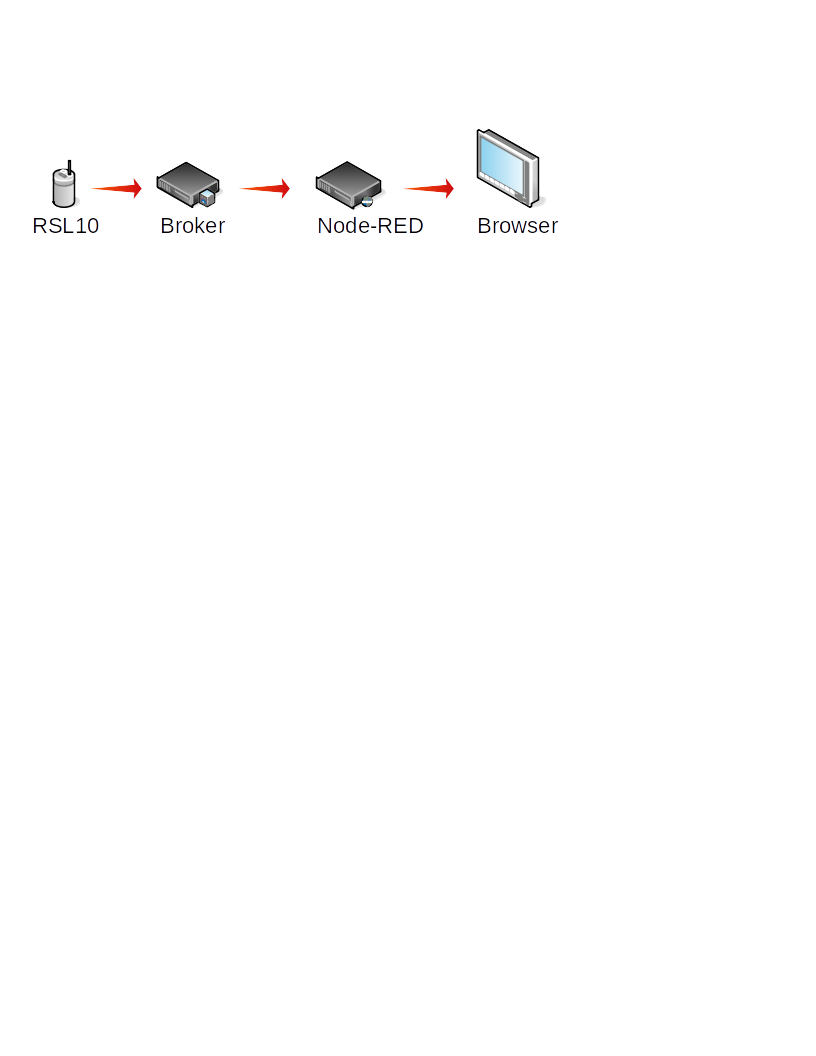
The data flow for the limited purposes of this introductory article is purely unidirectional from the board to viewing from browser with intermediate hops to coordinate the transfer of messages in a reliable and portable manner.
Operation- Launch the mobile application
- Assuming the the RSL10 board has power, press the Reset (RST) button momentarily and then release it
- The app will display the MAC address of the device under the device name HB_BLE_Terminal
- Select the device and add a configuration by selecting the buttons for known sensors (since the app supports other sensors that are not present in RSL10)
- On the Manage Brokers page of the app, in the bottom right corner, click '+'
- On the Select Broker Type page, click Generic Broker (if a custom broker will be used as is the case in this example)
- On the New Broker page, enter the details relevant to setup a new broker connection. A confirmation will confirm the connectivity to the designated broker.
- On the Manage Brokers page, ensure that the newly defined broker is selected (by default)
- On the main Dashboard page of the app, select a Configuration created in a previous step of this exercise
- Upon selection of a configuration the app displays the session connection
- The messages published to the broker then scroll on the page
A very basic and nominal dashboard for the data published by the custom broker is shown below. While there may be more opportunities to tweak and tune the data for specific applications (and display), the main purpose of the article is to illustrate the ease in leveraging the RSL10 board for a wide variety of consumer, commercial and industrial applications.
This article should be viewed as basic introductory note on the data that can be read from the many sensors on the board by a mobile app and subsequently rendered to a dashboard for basic viewing purposes. The remarkable low power consumption of the board and the dense packing of the sensors makes it versatile for many different applications that will be explored in subsequent articles.
Future articles will explore the development of more granular and custom apps using the ON Semiconductor IDE for practical applications.
ReferencesEVBUM2614/DEVBUM2614RSL10-SENSE-DB-GEVK User Guide


Comments