In view of restrictions on mobility due to the worldwide lockdown scenario because of the pandemic, face-to-face medical consultations are difficult. But the healthcare industry continues to evolve and is adopting telemedicine to facilitate the accessibility of health care services. Telemedicine is a blend of information and communication technologies with medical science. But using telemedicine we can only diagnose common diseases as no physical examination is possible, which may increase the number of the wrong diagnoses. A vast majority of the Indian population suffers from cardiovascular diseases & Respiratory diseases. Physical inspection is a mandatory process for proper diagnosis.
Every doctor has a stethoscope, but how many people own their own? And the digital stethoscopes on the market are generally not affordable at an individual level, especially in developing nations and struggling communities, they are a great tool for the doctor, but in telemedicine, we need the tool to be able to diagnose patients remotely.
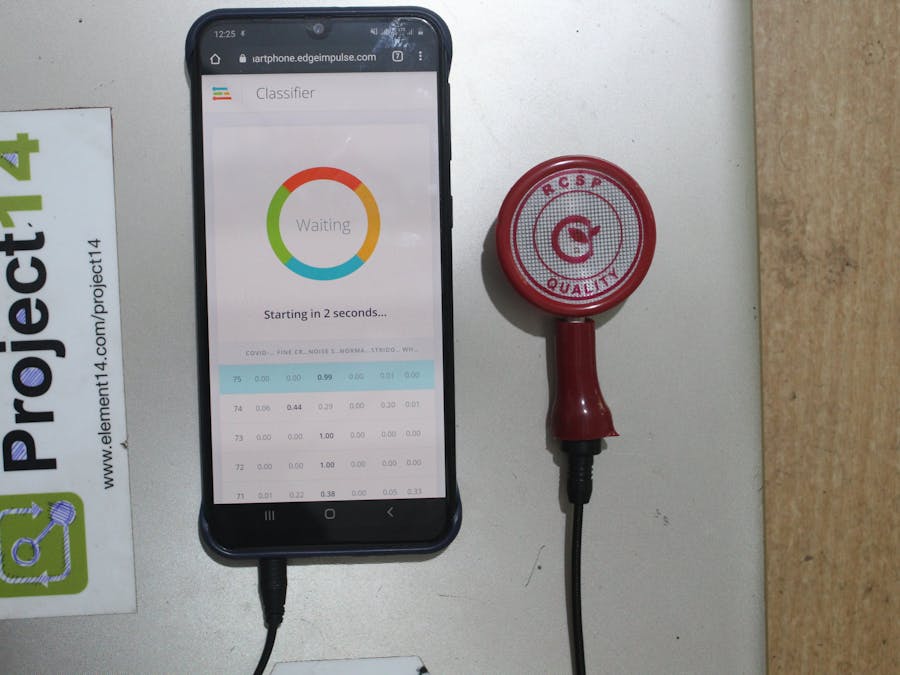
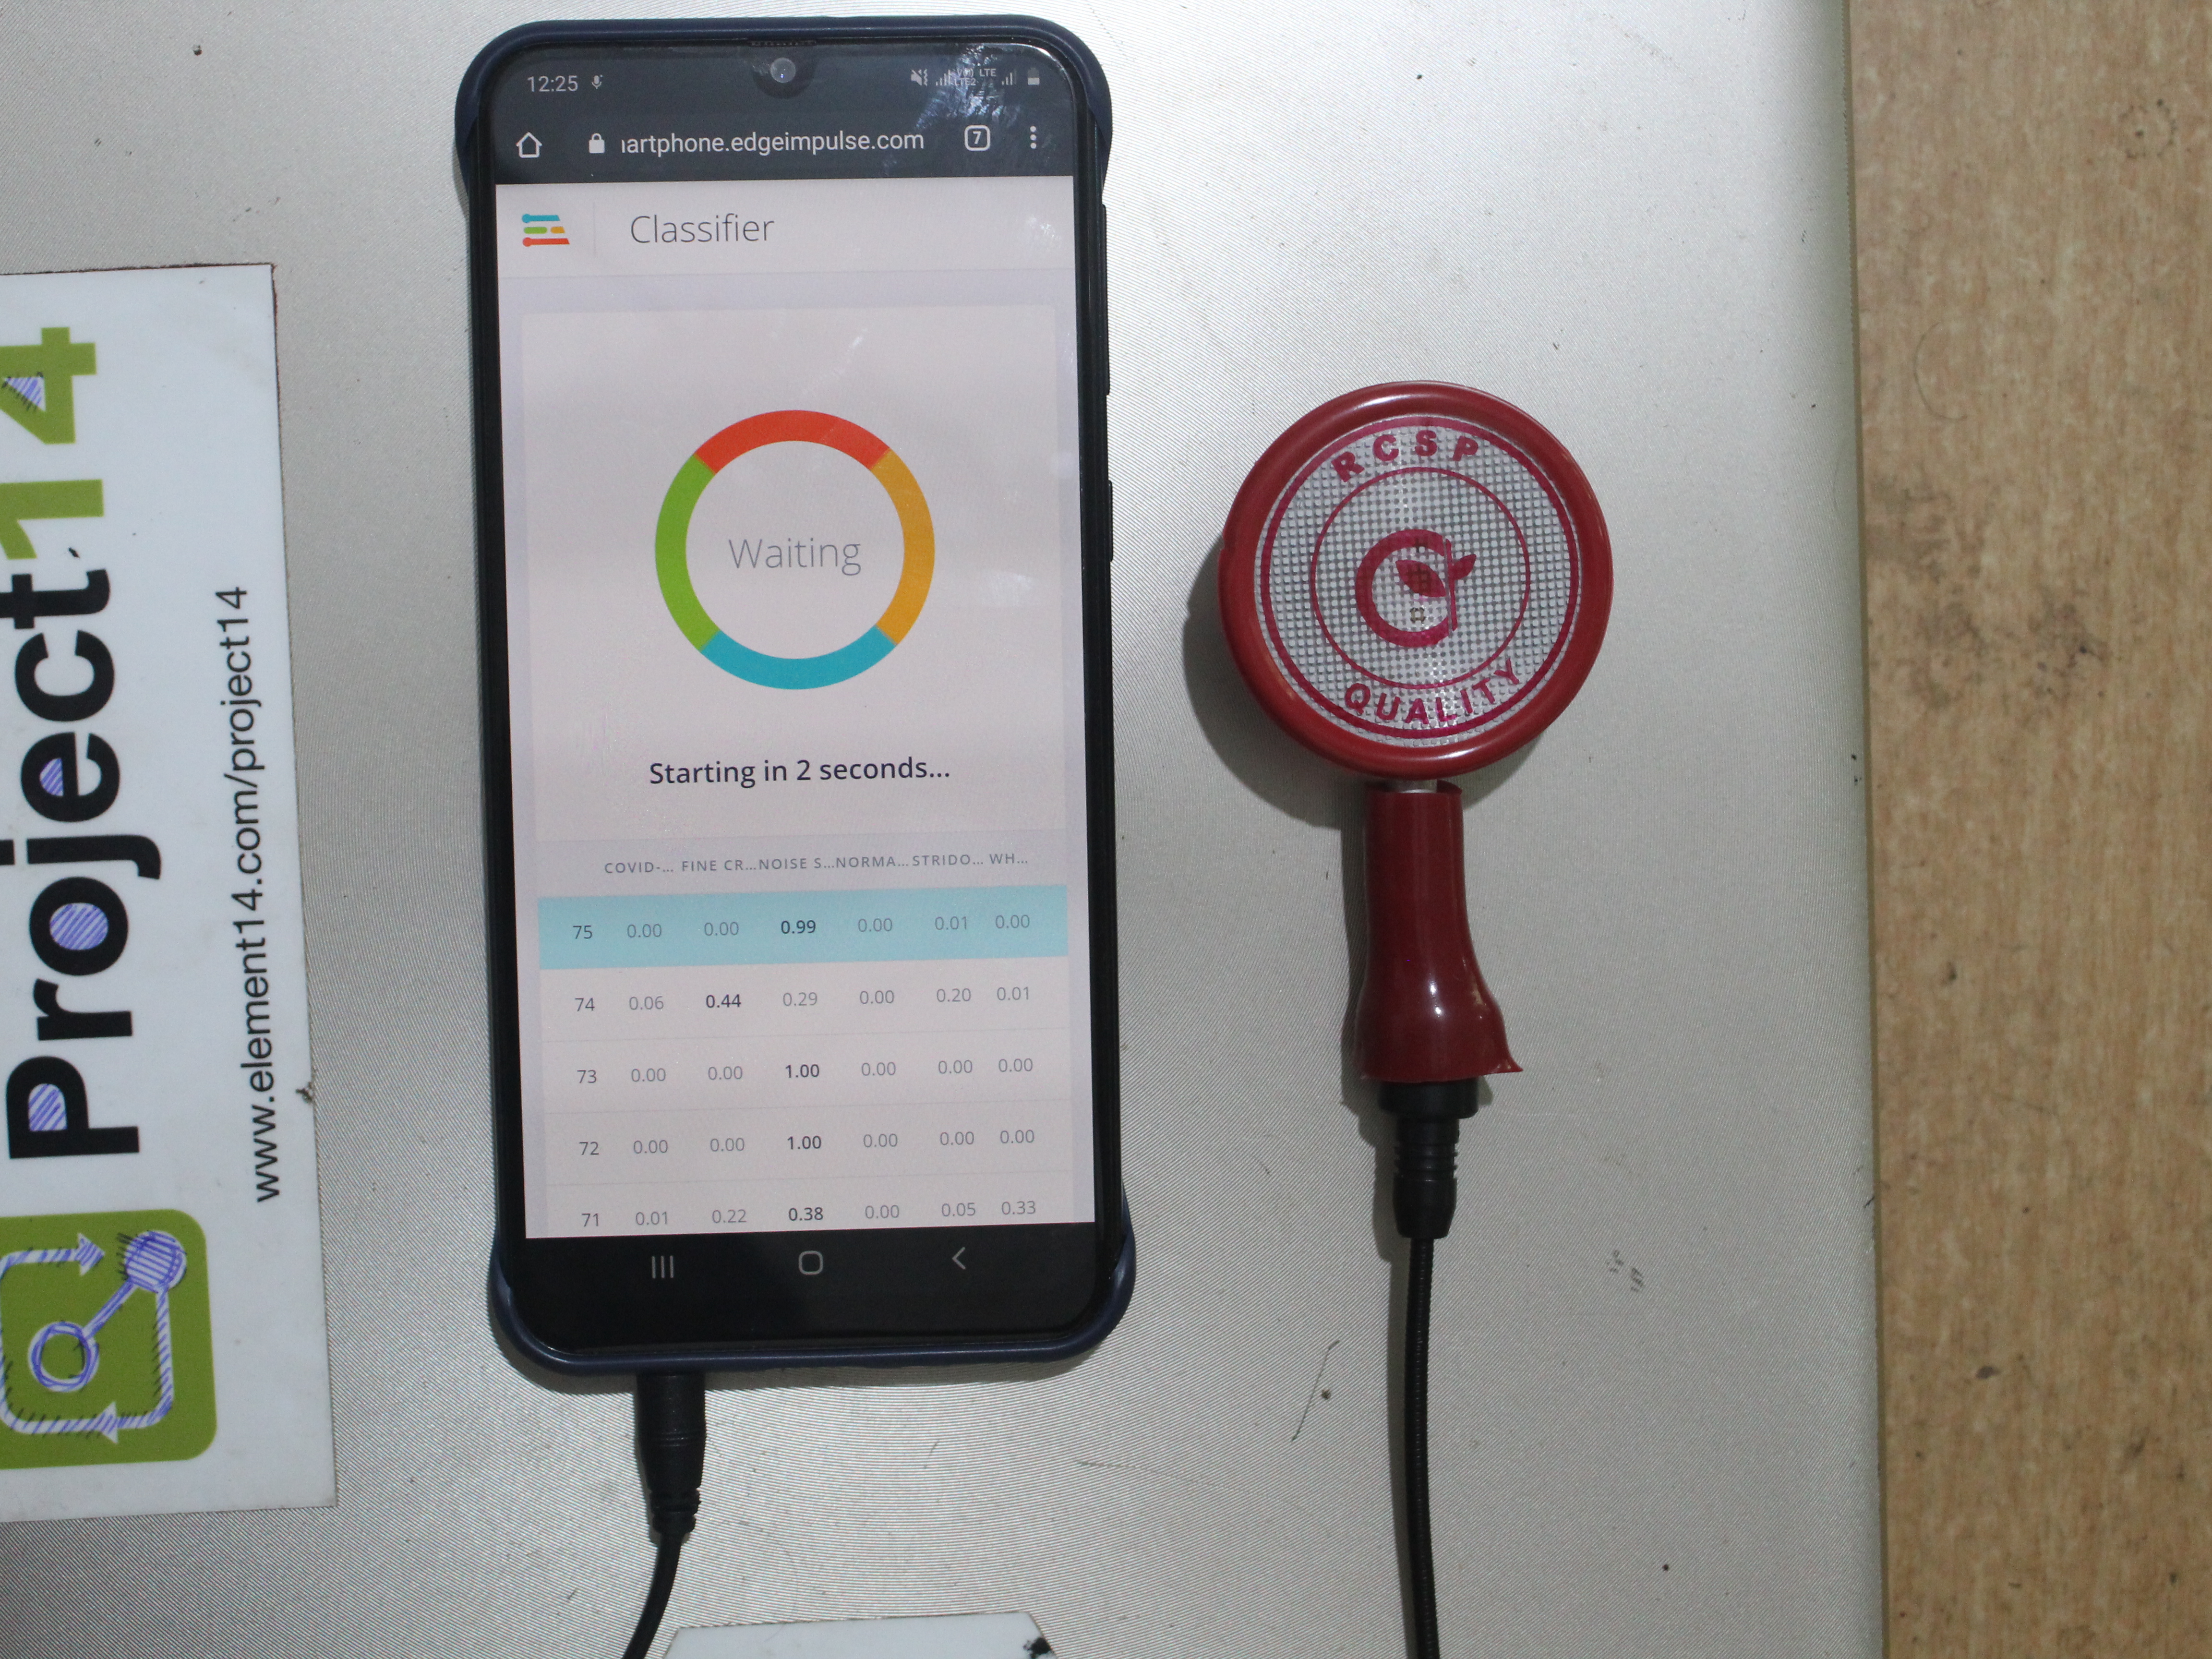
Hence the idea is to develop a solution that combines any normal stethoscope paired with a wide-bandwidth microphone and recording the sound of heart or respiratory system using a smartphone. An app designed which detects the device, records parses the recording for signs of specific symptoms. For this project currently along with potential symptoms of upper respiratory tract infection, chronic obstructive pulmonary disease, or pneumonia as these are the most common symptoms associated with COVID-19. This idea solely belongs to Peter Ma and this is a link to the project Digital Stethoscope AI.
Here the goal is to build the project without diving deep into machine learning. Edge Impulse is an emerging startup that is doing a great job in bridging the gap between firmware/hardware engineers and Machine Learning engineers. A huge variety of inputs can be processed including radar, motion, electromagnetic fields, audio, images, and device logs. All this could be done on your microcontroller or mobile phone or even on your PC. You can even put the same model to different devices and the process remains the same.
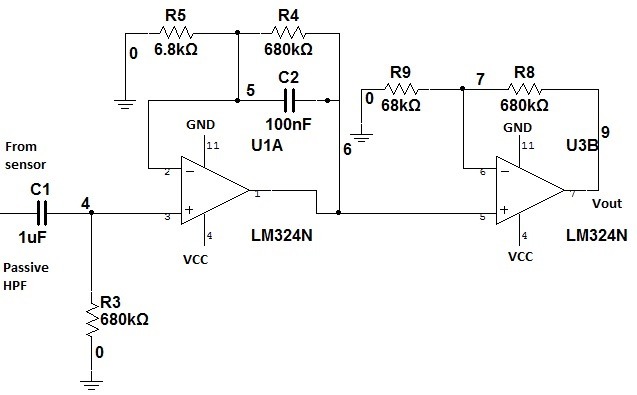
Here I have used a filter circuit in order to eliminate sounds except for the lungs. You can proceed without connecting this filter circuit but you might lose some accuracy while performing detection through the model.
Hardware :Audio Processing is an integral part of our system and as we are dealing with biomedical signals we have to ensure that only the data of interest is retained and everything else is filtered out
In subjects with healthy lungs, the frequency range of the vesicular breathing sounds extends to 1, 000 Hz, whereas the majority of the power within this range is found between 60 Hz and 600 Hz. Other sounds, such as wheezing or stridor, can sometimes appear at frequencies above 2, 000 Hz. In the range of lower frequencies (< 100Hz), heart and muscle sound overlap. This range must, therefore, be filtered out for the assessment of lung sounds
Hence to reduce the influence of heart and muscle sounds, as well as noise, and to prevent aliasing, we bandpass-filtered all sound signals, using a bandpass of 100 Hz to 2, 100 Hz. Below you can see the Band Pass Filter circuit.
We have to buy an entry-level stethoscope and a collar microphone which has a mono jack for connecting to the PC. Cut the stethoscope tube near the starting and insert the mic firmly and then connect the microphone to the filter circuit and the output of the filter circuit goes into the PC.
As you cut the microphone wire into two pieces you'll find two wires which are insulated from each other using a coating that is done on each strand of the wire. Roll the wire strands and remove the inner insulator as shown below.
To remove the insulation from each strand you have to apply some heat. After that just gently brush off the burnt insulated material with your hands. Go can go through these videos if you get stuck.
Now connect the ground pin to mic the ground of the filter circuit and the signal pin to the input of the filter circuit. Provide the power supply using a 5V DC adapter. The final assembly should look like this. The header pins are used to connect the power supply and check the out of the filter if gain adjustment is required.
Now we are ready to move on to the software part.
Software:1. To get it up and running we have to first Sign up for an Edge Impulse account —and guess what it’s free! Yeah, it's true you can build a cool awesome project without spending a penny.
After entering your information and verifying your email, you will be greeted by a getting started page. This will walk you through the process of connecting a device, gathering data, and finally deploying a model. Login into your account and give a name to your project, it can be anything you like.
2. After that, you need to connect a device to the Edge Impulse Service. Here the device can be anything from a microcontroller to a phone or a laptop. I have used my laptop for the data acquisition task.
The model would be trained on the data acquired by the connected device, hence the model would give accurate results only to the specific input data from that device. So please select the deployment device as your acquisition device as well. You should get a page like this
Now click on the hyperlink "this URL" and that would take you to the data collection page. You would get something like this.
3. Now keep this web-page open, go-to data collection tab in the Edge Impulse site, and connect your stethoscope-microphone setup to your PC. Tune your PC microphone setting to get accurate results. You can go to this link for more details https://www.windowscentral.com/setting-your-headset-windows-10.
After this, in the data collection tab tweak options under "Record new data" label. Choose microphone as the sensor with the highest sampling rate as we don't want to miss out on any important signals, name type of sound you are recording in the "Label" option, and select the data acquisition device you are using to record the samples. A sample could be of any length as long as it contains enough data to generate features. I kept it at 10 sec.
4. Click on the RAW DATA tab to begin sampling. You will be prompted to allow access to record data from the device. Once the access has been granted the sampling starts. The microphone I used could not detect the sounds of lungs through my t-shirt, so I had to remove the t-shirt placed it right above my lung base. The picture indicates the position of the stethoscope for proper data collection.
Inhale and exhale for the selected time period. Wait for a while till the data gets uploaded. When the data has been uploaded, you will see a new line appear under 'Collected data'. You will also see the waveform of the audio in the 'RAW DATA' box. You can use the controls underneath to listen to the audio that was captured. Repeat this process until you are satisfied with the variants of different labels of data you have. I took around 1 minute i.e 6 X 10 sec per sample of data for each of the different categories of sound you want you model to detect.
5. After data acquisition is done successfully, we have to create the model and define its parameters. This is where the Edge Impulse stands out and makes things simpler. With the training set in place, you can design an impulse. An impulse takes the raw data, slices it up in smaller windows, uses signal processing blocks to extract features, and then uses a learning block to classify new data. Signal processing blocks always return the same values for the same input and are used to make raw data easier to process, while learning blocks learn from past experiences.
For this tutorial, we'll use the "MFCC" signal processing block. MFCC stands for Mel Frequency Cepstral Coefficients. This sounds scary, but it's basically just a way of turning raw audio—which contains a large amount of redundant information—into a simplified form. We'll then pass this simplified audio data into a Neural Network block, which will learn to distinguish between the various classes of audio. Since we'll be mostly using this model on phone or laptop hence memory is not a constraint here so we could train as many classes as we want.
Edge Impulse slices up the raw samples into windows that are fed into the machine learning model during training. The Window size field controls how long, in milliseconds, each window of data should be. A one-second audio sample will be enough to determine whether a faucet is running or not, so you should make sure Window size is set to 1000 ms. You can either drag the slider or type a new value directly.Each raw sample is sliced into multiple windows, and the Window increase field controls the offset of each subsequent window from the first. For example, a Window size value of 1000 ms would result in each window starting 1 second after the start of the previous one.
By setting a Window increase that is smaller than the Window size, we can create windows that overlap. This is actually a great idea. Although they may contain similar data, each overlapping window is still a unique example of audio that represents the sample's label. By using overlapping windows, we can make the most of our training data. For example, with a Window size of 1000 ms and a Window increase of 100 ms, we can extract 10 unique windows from only 2 seconds of data. The Raw data block looks like this for me, as this gives me the desired output with great accuracy. You can tune these parameters to get the desired results.
Next, click Add a processing block and choose the 'MFCC' block. Once you're done with that, click Add a learning block and select 'Neural Network (Keras)'. Finally, click Save impulse. Your impulse should now look like this:
6. Now that we've assembled the building blocks of our Impulse, we can configure each individual part. Click on the MFCC tab in the left-hand navigation menu. You'll see a page that looks like this:
Don't worry about the Parameters of the MFCC, as Edge Impulse provides sensible defaults that will work well for many use cases, so we can leave these values unchanged.
The data from the MFCC is passed into a neural network architecture that is good at recognizing patterns in tabular form of data. Before training our neural network, you can click the Generate features button at the top of the page, then click the green Generate features button. You can ignore the feature explorer tool, which isn't particularly useful when working with MFCC. But you can still play around with it.
7. With all the preprocessing we are now ready to train the neural network with this data. Click on NN Classifier on the left-hand menu. You'll see the following page:
I suggest proceeding with the default setting that has been generated for the model. Once the first training is completed you can tweak these parameters to make the model perform accurately. To begin training, click Start training. Training will take a few minutes. When it's complete, you'll see the Last training performance panel appear at the bottom of the page like this :
Now you can change some values in the configuration. The number of training cycles means the full set of data will be run through the neural network 300 times during training. If too few cycles are run, the network won't have learned everything it can from the training data. However, if too many cycles are run, the network may start to memorize the training data and will no longer perform well on data it has not seen before. This is called overfitting. Here our aim is to get maximum accuracy by tweaking the parameters.
The minimum confidence rating means that when the neural network makes a prediction according to this threshold. For example, that there is a 0.8 probability that some audio contains a noise, Edge Impulse will disregard it unless it is above the threshold of 0.8.
8. Now even though the model shows good accuracy we have to test it out on real data. Hence click on Live classification in the left-hand
menu. Your device should show up in the 'Classify new data' panel. Capture 5 seconds of background noise by clicking Start sampling. The sample will be captured, uploaded, and classified. Once this has happened, you'll see a breakdown of the results.
9. The moment of truth: let's check if the model can accurately classify live incoming data. Switch on to the data collection tab and select the classification mode. Place your stethoscope on the lower lobe of the chest and start to inhale & exhale. You should get classification results like this.
Hurray! Now go on test this on your family members.
Resources:
Edge Impulse: https://docs.edgeimpulse.com/docs/audio-classification
Peter Ma: https://www.hackster.io/Nyceane
Lungs Sound Playlist: https://www.youtube.com/playlist?list=PL3n8cHP87ijAalXtLG2YbDpuwjxuJRR-A


Comments
Please log in or sign up to comment.