


Hardware components | ||||||
| × | 1 | ||||
Software apps and online services | ||||||
 |
| |||||
This project will help the user create an AWS IoT Core Thing, and then configure the aws-iot-device-client application to connect to the new Thing. Amazon provides a working c++ example application called aws-iot-device-client that we'll leverage for the exercise.
The aws-iot-device-client application is an open-source project that demonstrates AWS best practices for developing device client applications. In this project we'll use a pre-built aws-iot-device-client application to send and receive MQTT data to/from AWS.
PREREQUISITES
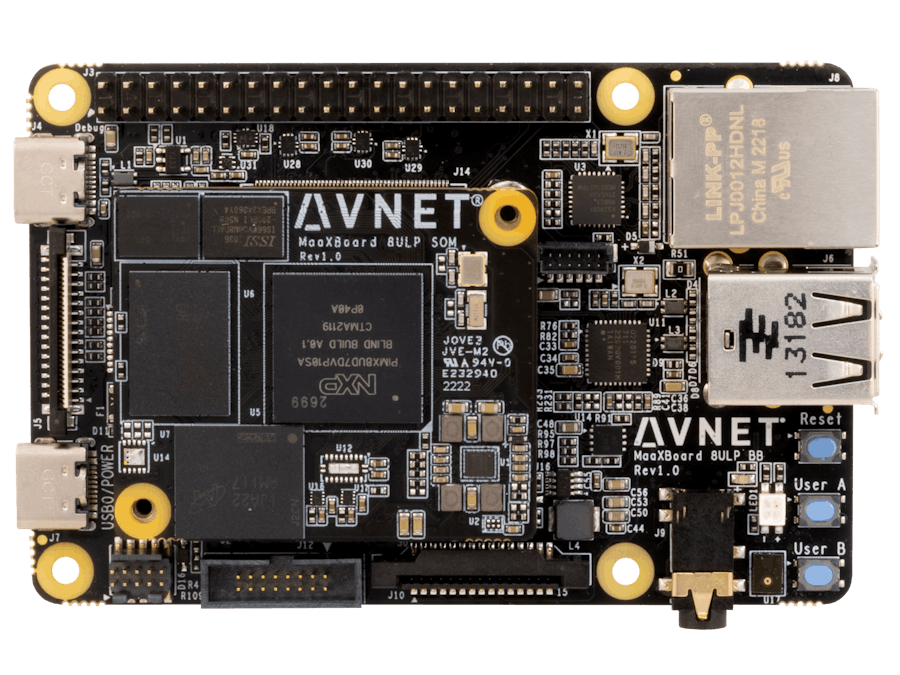
- MaaXBoard 8ULP board
- Ethernet Cable
- 2 - USB-C cables to connect windows computer to the MaaXBoard 8ULP
- AWS account
The setup consists of...
- Creating a new AWS IoT Core Thing
- Downloading the Certificates and Keys associated with the new thing
- Flashing a new image onto the MaaXBoard 8ULP
- Copying the certificates and keys onto the MaaXBoard 8ULP
- Updating the configuration file to identify details of your system
CREATING A NEW THING
- Login to your AWS account
- Select IoT Core
- Select Manage --> All devices --> Things
- Select the "Create things" link
- Select "Create a single thing" then Next
- Name your thing and click Next
- Auto generate thing certificates
- Create a policy for the new thing
- Note the policy below does NOT follow AWS best practices
- Create a policy similar to the one shown below
- Click the Create link
- Navigate back to the Create single thing web page; my new policy form opened in a separate tab in my browser.
- Select the new policy just created
- Select the Create thing link
- The Download certificates and keys dialog opens
- Download all the items identified below
- Click on the Done link
- I like to rename the device certificate and the keys to match my thing's name
FLASH THE AWS IMAGE ONTO THE MAAXBOARD 8ULP
- Download the file package from here
- Unzip the contents into an empty directory
- Open a Windows PowerShell instance and change directory to the new directory
- Disconnect all cables from the MaaXBoard 8ULP board
- Set SW1 (on the bottom of the board) as shown. Position #4 ON, all others OFF
- Back in PowerShell, execute the command to flash the board
- > .\uuu.exe -b emmc_all.\u-boot-maaxboard-8ulp.imx.\avnet-image-full-maaxboard-8ulp-aws.rootfs.wic
- Connect both USB-C ports on the MaaXBoard to the Windows PC
- The board is flashed with the new images
- Remove the USB-C cables from the MaaXBoard
- Reconfigure SW1 for normal operation as shown. Position 5 ON, all others OFF.
- Open a terminal application such as TeraTerm. There will be three com ports enumerated from the MaaXBoard, select the middle port number with settings 115200, 8, N, 1.
- Connect both USB-C ports to the computer
- Connect an ethernet cable from the MaaXBoard to a network switch with internet access
- The device boots to a Linux login prompt. Enter the login user as "root"
- Expand the file system to use all available storage: > expand_rootfs
- Reboot the system: > reboot
CHECKPOINT
At this point in the exercise, we have...
- Created a new AWS IoT Core Thing
- Flashed our MaaXBoard 8ULP device with an image that contains the aws-iot-device-client application
Next we'll move the HacksterThing certificates and keys to the MaaXBoard and update the aws-iot-device-client configuration
MOVE CERTIFICATES TO THE MAAXBOARD 8ULP
- Determine the IP Address with: > ifconfig
- Create a new directory for the certificates and configuration file
- On the MaaXBoard create a new directory called aws and another called aws/certs
- Using a tool such as WinSCP, copy the certificates and keys to the ~/aws/certs directory
- Copy the myConfig.json and publish.sh files from the download package to the ~/aws directory
- Change the file permissions
- > chmod 600 certs/*-private.pem.key
UPDATE THE CONFIGURATION FILE
- Open the myConfig.json file to edit: > nano myConfig.json
- If using winSCP you can also edit remote files from the WinSCP interface
- Edit the file to include...
cert, key, root-ca: entries should be updated to reference your path and certificate file names
thing-name: Update to match the thing name we created earlier in the AWS console
publish-file: Update to match the path and filename of a Json document containing JSON to publish on the "publish-topic"
endpoint: Can be found in the AWS IoT Console under Settings
- Exit and save your changes using the ctrl-x nano command
- Review the contents of the publish.json file
- Update the permissions on the new publish file
- > chmod 600 publish.json
CHECK POINT
We're ready to connect the MaaXBoard to AWS!
Exercise the aws-iot-device-client- Run the application using our new configuration...
- > aws-iot-device-client --config-file myConfig.json
At this point you may see some errors. Most likely there are file permission errors. Examine the output to see which files need to be updated. The debug will output what the expected permissions should be set to. A successful startup looks similar to the graphic below.
- Go back to the AWS console
- Select Test --> MQTT test client
- Subscribe to the topic "myTopic"
- Kill the aws-iot-device-client and restart it. When the application connects to AWS it sends a MQTT message with the content from your publish.json file
- Observe the incoming MQTT message from the MaaXBoard
- Now in the MQTT test client publish to a topic
- For topic name enter "myTopic"
- For the message payload enter "DC-Publish"
- Hit the Publish button
- Note in the debug windows you see that a message was received, and another message was sent. The aws-iot-device-client will resend the MQTT publish data when it receives the "DC-Publish" text!
In this project the user learned how to...
- Create a new AWS IoT Thing
- Flash the MaaXBoard 8ULP board with a new image
- Configure the aws-iot-device-client to connect to AWS to receive and send MQTT data
The aws-iot-device-client application supports other features that we're not exercising. Feel free to review the on-line documentation and exercise other features on the MaaXBoard 8ULP.
Please post any questions or comments below and thank you for your time!
Brian


Comments
Please log in or sign up to comment.