


Hardware components | ||||||
_ztBMuBhMHo.jpg?auto=compress%2Cformat&w=48&h=48&fit=fill&bg=ffffff) |
| × | 1 | |||
 |
| × | 1 | |||
 |
| × | 1 | |||
 |
| × | 1 | |||
| × | 1 | ||||
 |
| × | 1 | |||
Software apps and online services | ||||||
 |
| |||||
Inspired by my sister's pet, Amora.
I'm still improving this project, mainly structural components that are only a prototype so far.
My sister works a lot and we can't help her to take care of Amora, so I decided to create something to help her to do it (in almost all your basic needs) even when she's not at home.
That's the first step that I want to come it bigger and improved, to help more and more people (and for sure i'm with arms wide open to constructive opinions :).
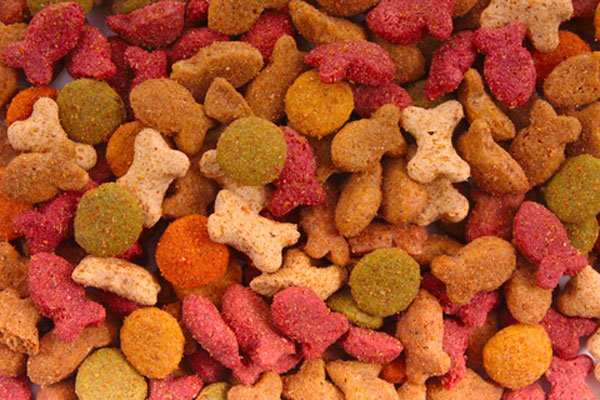
In this first step the idea is plays a music to warn that the food will be delivered, controlled through an interface hosted in a website.
The wheel goes one time to deliver the food (that was already filled) and come up to be fullfilled again and deliver one more time (or how many times you want). It means that I just project a simple wheel right now, but it's necessary to project the compartment responsible to fill this wheel.
And that's my user interface so far:
Hey guys I'm Amora, by the way.
This is my first project and I hope you enjoy it!
Thanks! :-)


Comments
Please log in or sign up to comment.